-
Quilting Pin Caps: More!
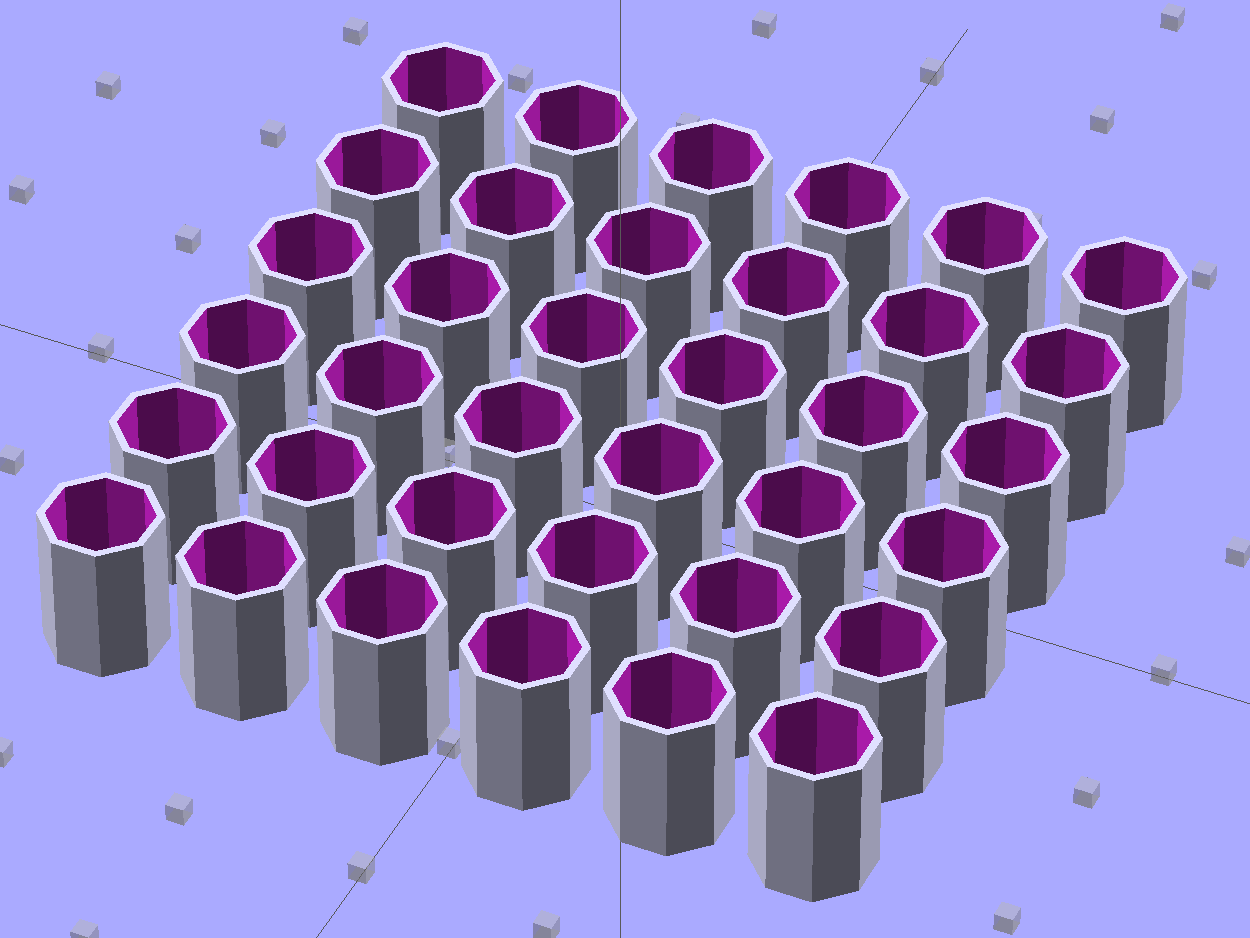
These quilting pin caps are slightly longer than the previous version and, due to the M2’s smaller nozzle, have slightly thinner single-thread walls. Because Slic3r does a better (although not ideal) job of path planning than Skeinforge, it’s easier to create an array of the caps in the solid model than to manually add duplicates in Slic3r:
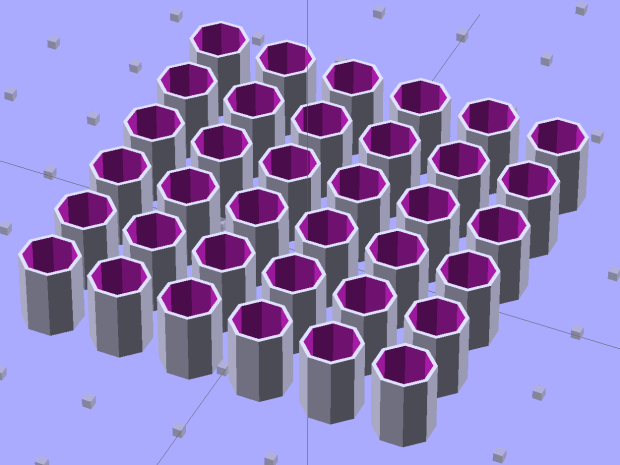
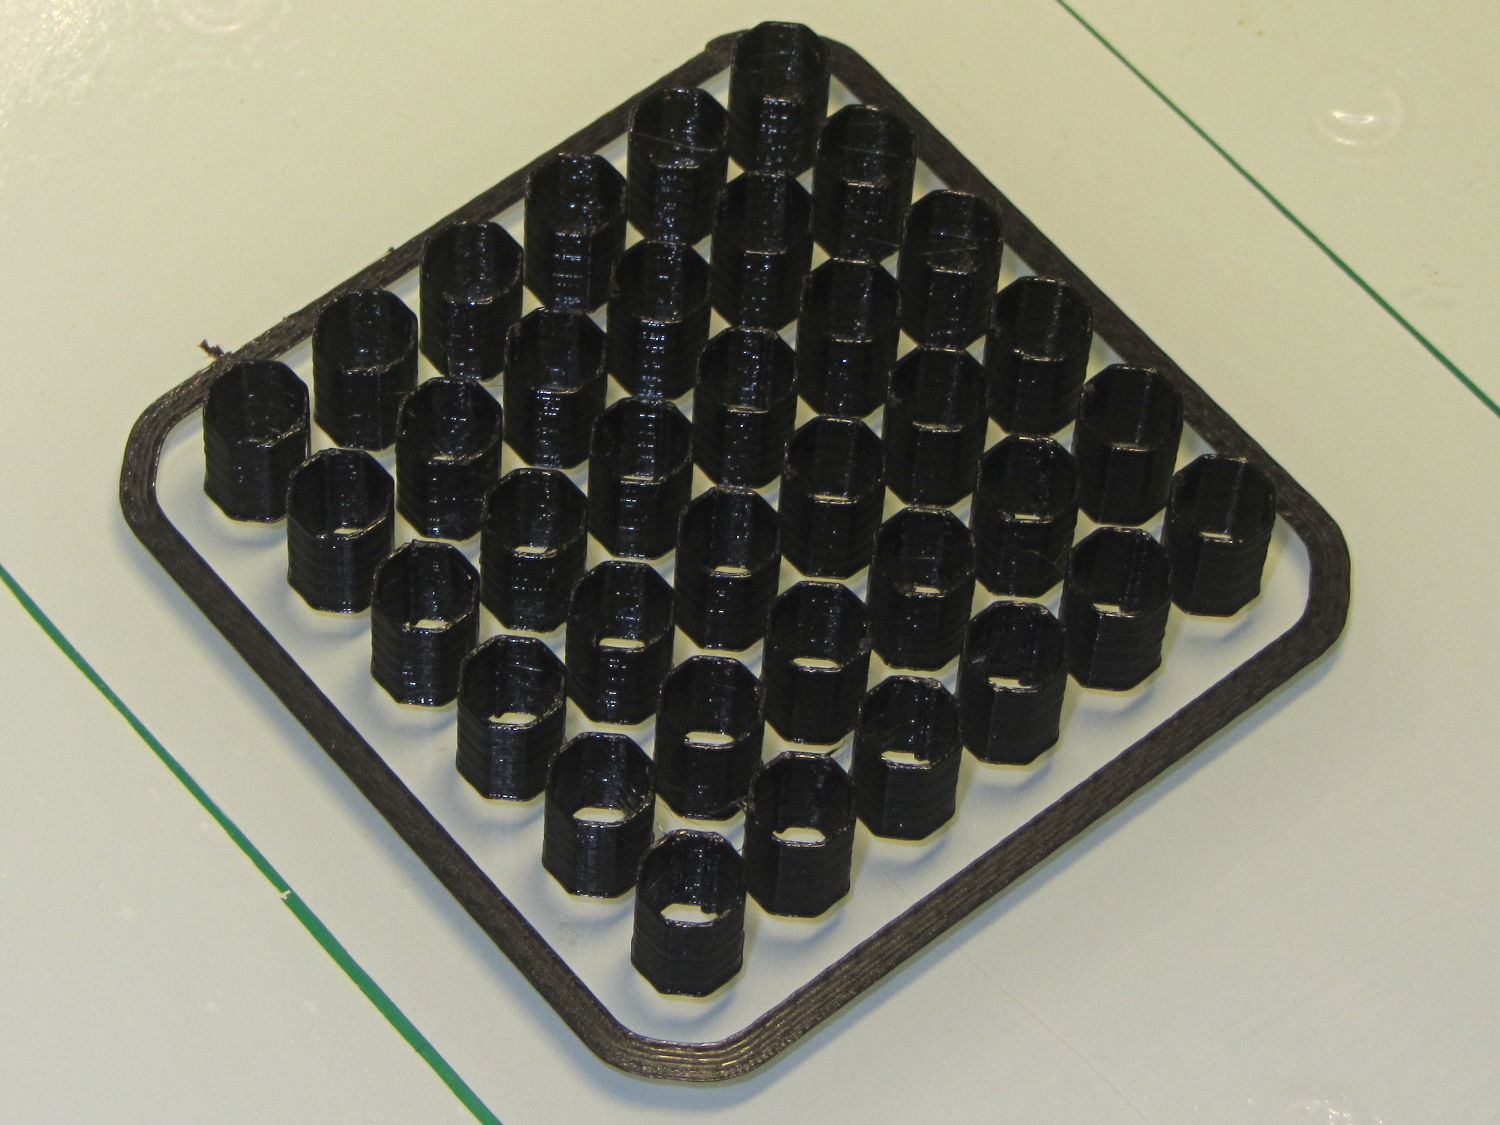
Quilting Pin Cap – array They look like egg cases from Prometheus:
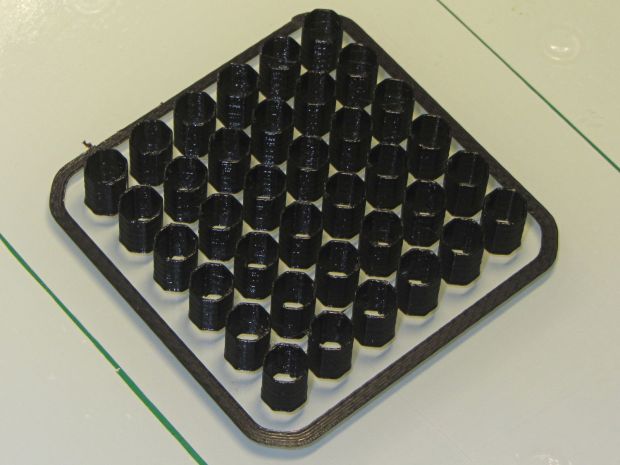
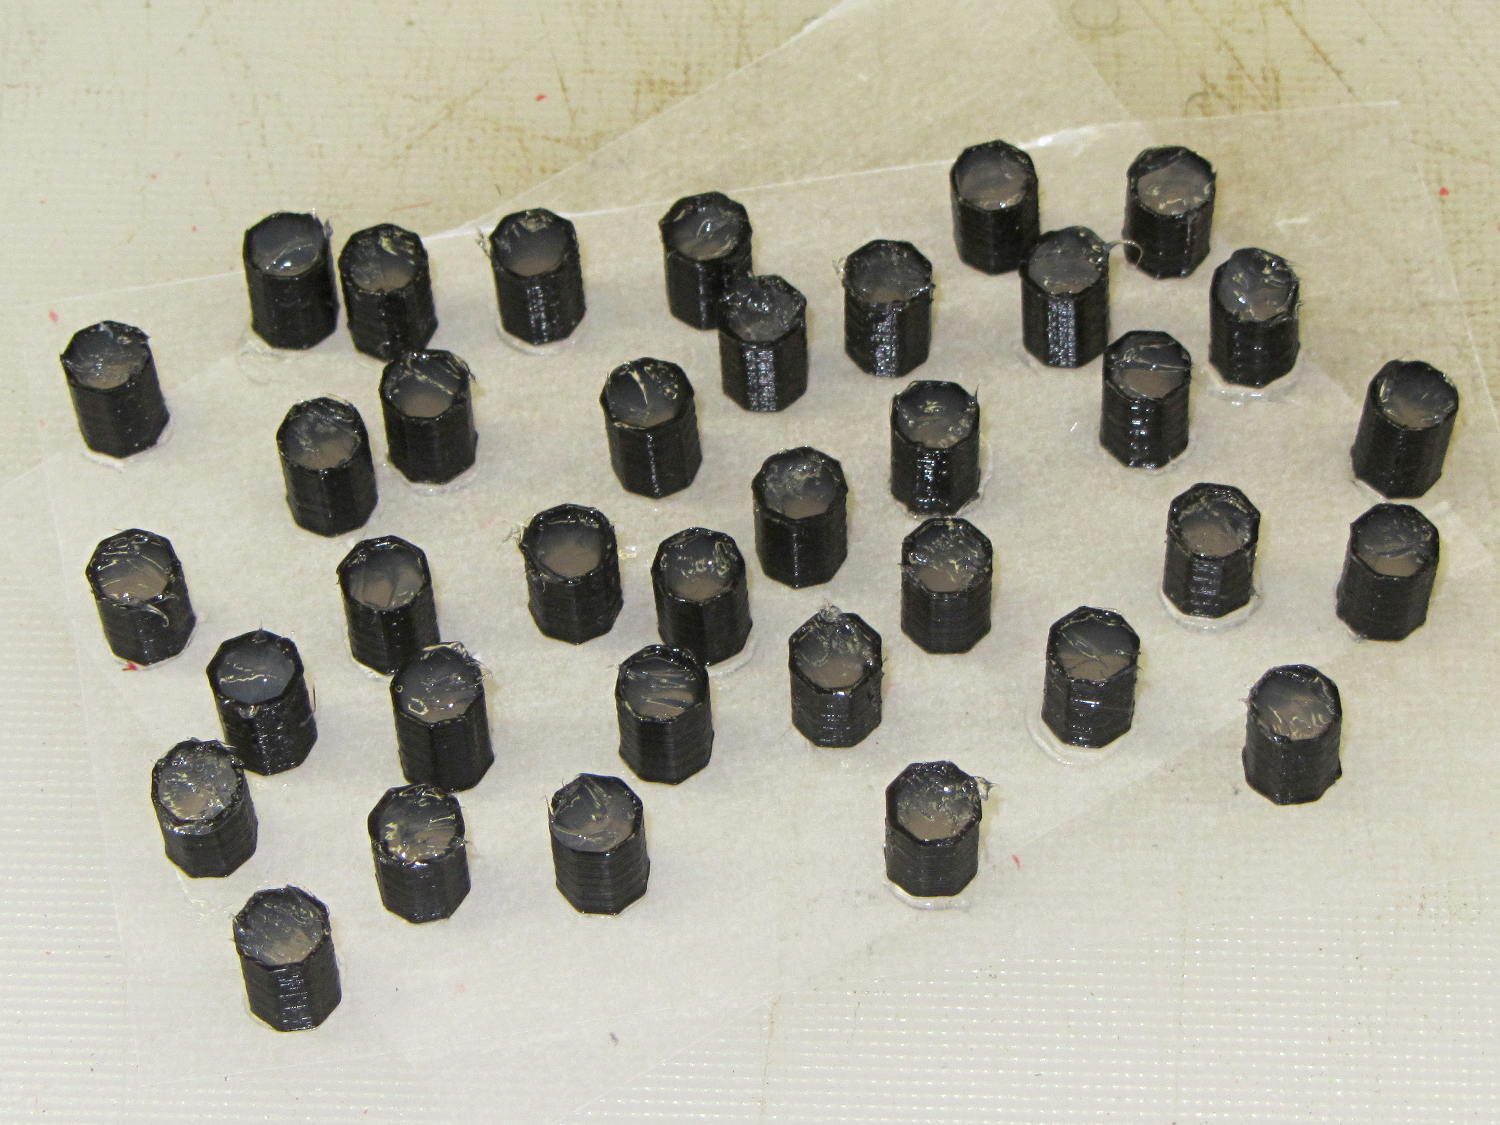
Quilting pin cap array – on platform Fill with silicone caulk on waxed paper and they look even more like that:
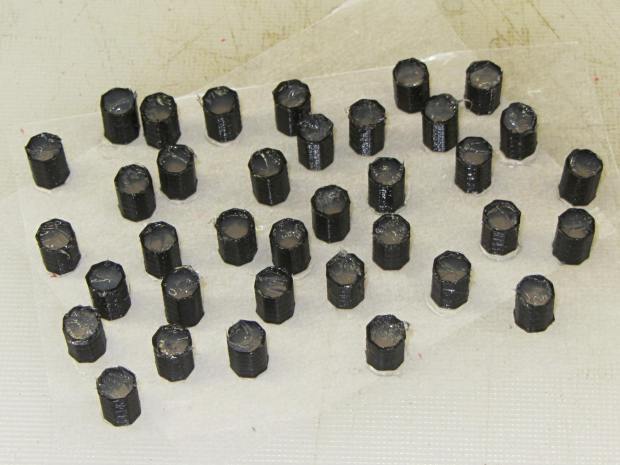
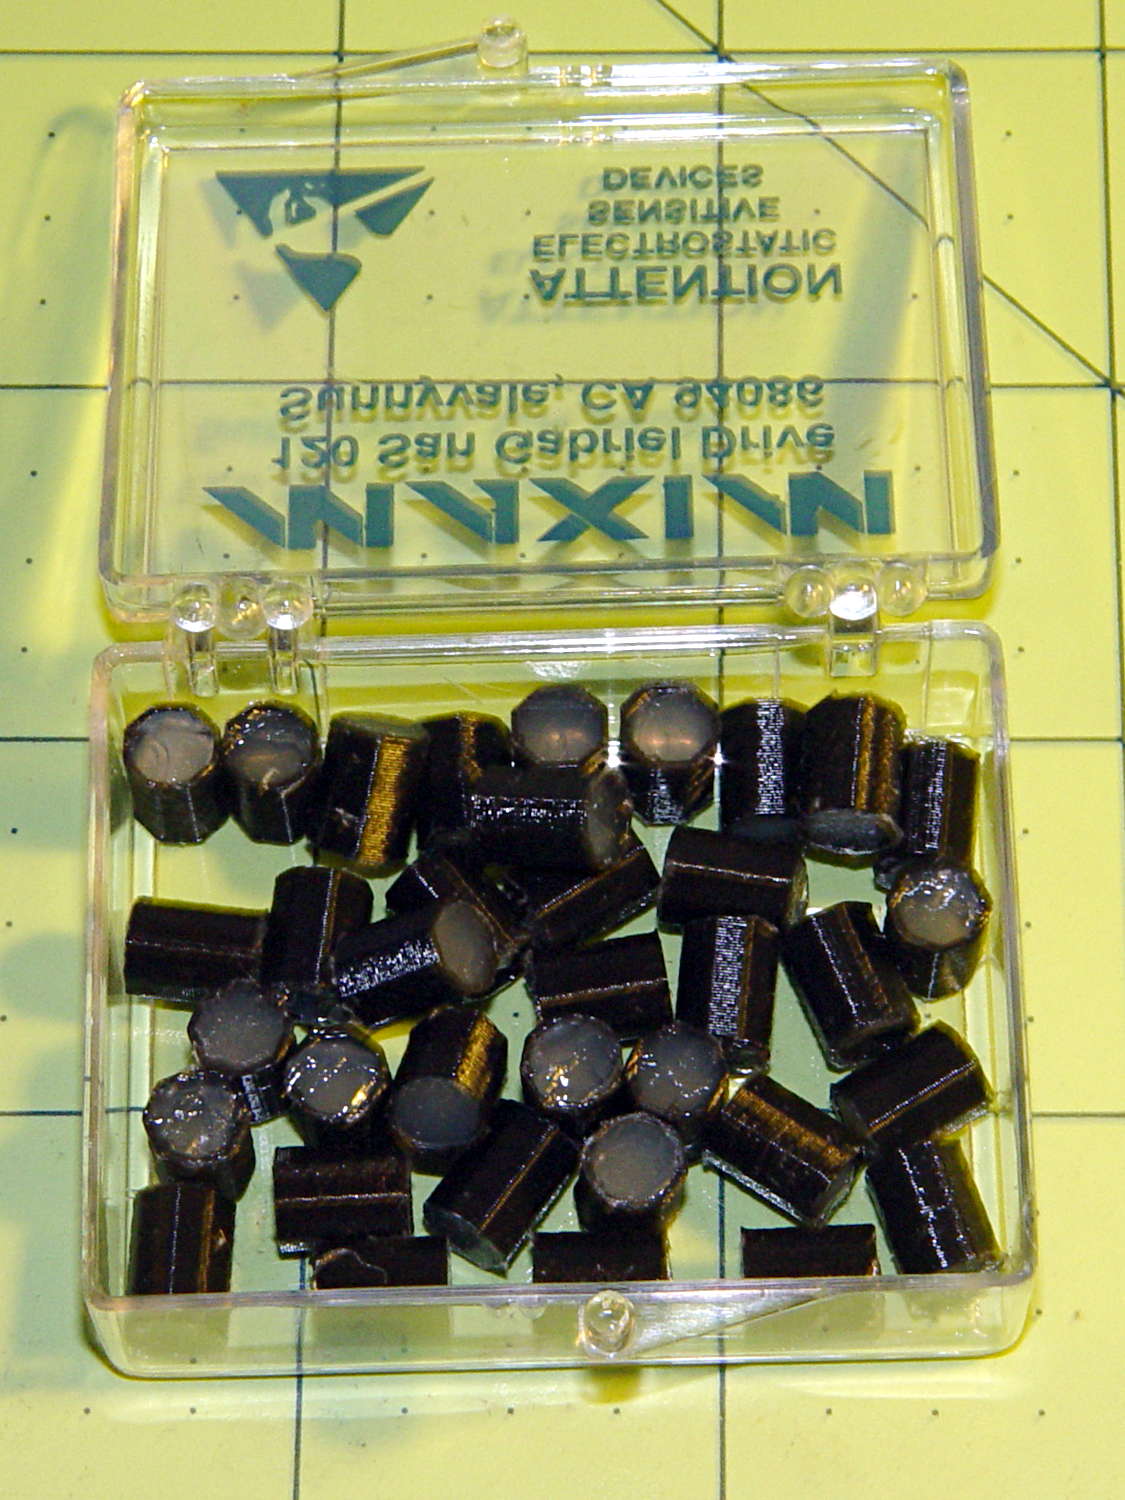
Quilting pin caps – silicone fill Fast-forward a few days, rub off the excess caulk, trim off a few blobs, and they’re ready for presentation:
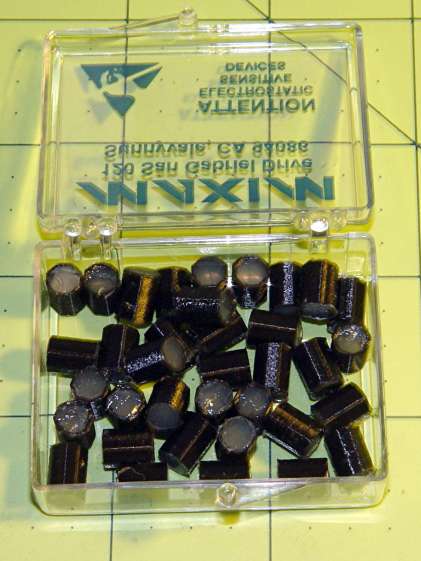
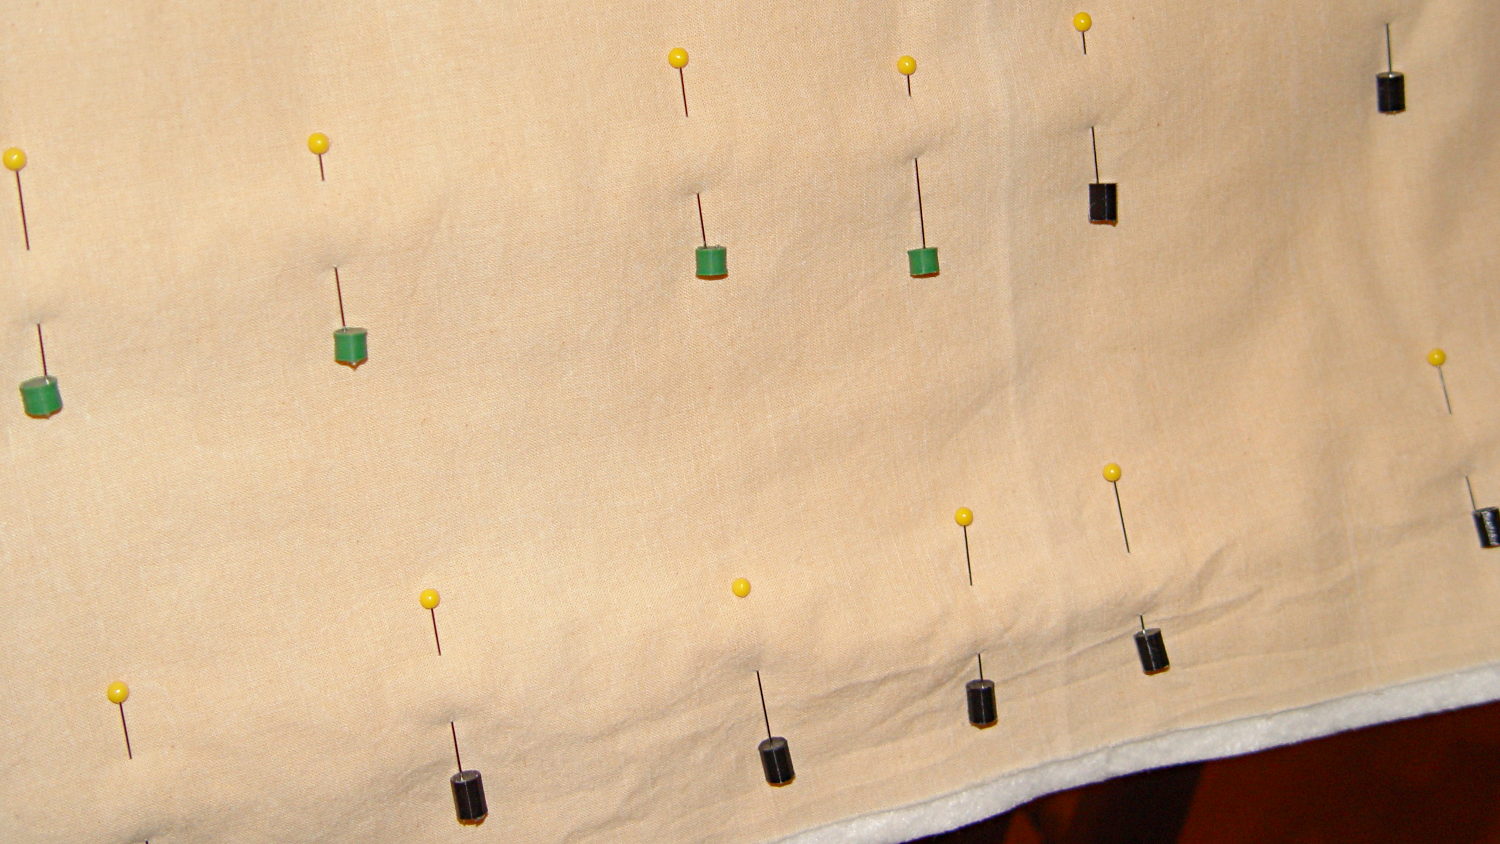
Quilting pin caps – finished In use, they look about like you’d expect:
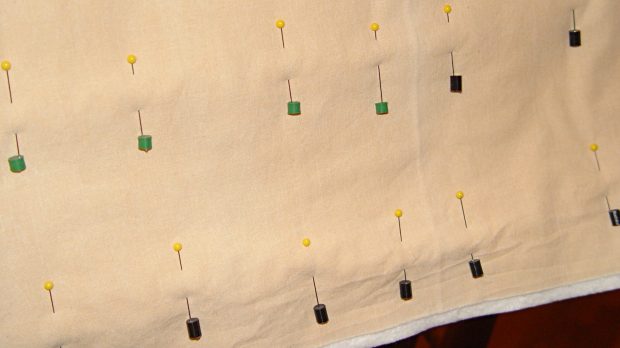
Quilting pin caps – in use The pin caps I made from a 5 gallon bucket’s O-ring gasket didn’t work out well, as the plastic didn’t like being poked with pins and put up a stiff resistance. Silicone caulk has exactly the right consistency.
When Mary ramps up a full-scale quilt, we’ll need a few hundred of the things. The commercial version has dropped to 40 cents each, which makes all this worthwhile.
The OpenSCAD source code:
// Quilting pin caps
// Ed Nisley KE4ZNU April 2012
//	January 2013 - modify for Slic3r and M2

//- Extrusion parameters must match reality!
//  Print with +1 shells and 3 solid layers

ThreadThick = 0.20;
ThreadWidth = 0.40;

HoleWindage = 0.2;

function IntegerMultiple(Size,Unit) = Unit * ceil(Size / Unit);

Protrusion = 0.1;			// make holes end cleanly

//----------------------
// Dimensions

ID = 5.0;
OD = ID + 2*ThreadWidth;
Length = 8.0;
Sides = 8;

CapArray = [6,6];			// XY layout of caps
CapsOC = OD + 2.0;			// OC spacing

//----------------------
// Useful routines

module PolyCyl(Dia,Height,ForceSides=0) {			// based on nophead's polyholes

  Sides = (ForceSides != 0) ? ForceSides : (ceil(Dia) + 2);

  FixDia = Dia / cos(180/Sides);

  cylinder(r=(FixDia + HoleWindage)/2,
           h=Height,
	   $fn=Sides);
}

module ShowPegGrid(Space = 10.0,Size = 1.0) {

  RangeX = floor(100 / Space);
  RangeY = floor(125 / Space);

	for (x=[-RangeX:RangeX])
	  for (y=[-RangeY:RangeY])
		translate([x*Space,y*Space,Size/2])
		  %cube(Size,center=true);

}

module PinCap() {
	rotate(180/Sides) {
		difference() {
		PolyCyl(OD,Length,8);
		translate([0,0,-Protrusion])
			PolyCyl(ID,(Length + 2*Protrusion),8);
		}
	}

}

//----------------------
// Build them!

ShowPegGrid();

translate([(-CapsOC*(CapArray[0] - 1)/2),(-CapsOC*(CapArray[1] - 1)/2),0])
	for (i=[0:(CapArray[0] - 1)],j=[0:(CapArray[1] - 1)])
		translate([i*CapsOC,j*CapsOC,0])
			PinCap();
They seem to work pretty well…
-
Subscribe
Subscribed
Have a WordPress.com account? Log in now.

