-
Sears Microwave: Laying-On of Hands Repair
Although essentially all kitchens feature a microwave over the stove, essentially all women have difficulty reaching it. As a result, our kitchen has two microwaves: the built-in Samsung over the stove and our trusty Sears Kenmore on the counter.
We’ve had it for a while:

Sears Microwave – data plate Apart from the turntable rollers, it’s been utterly reliable for the last two decades, until the
Startbutton stopped working: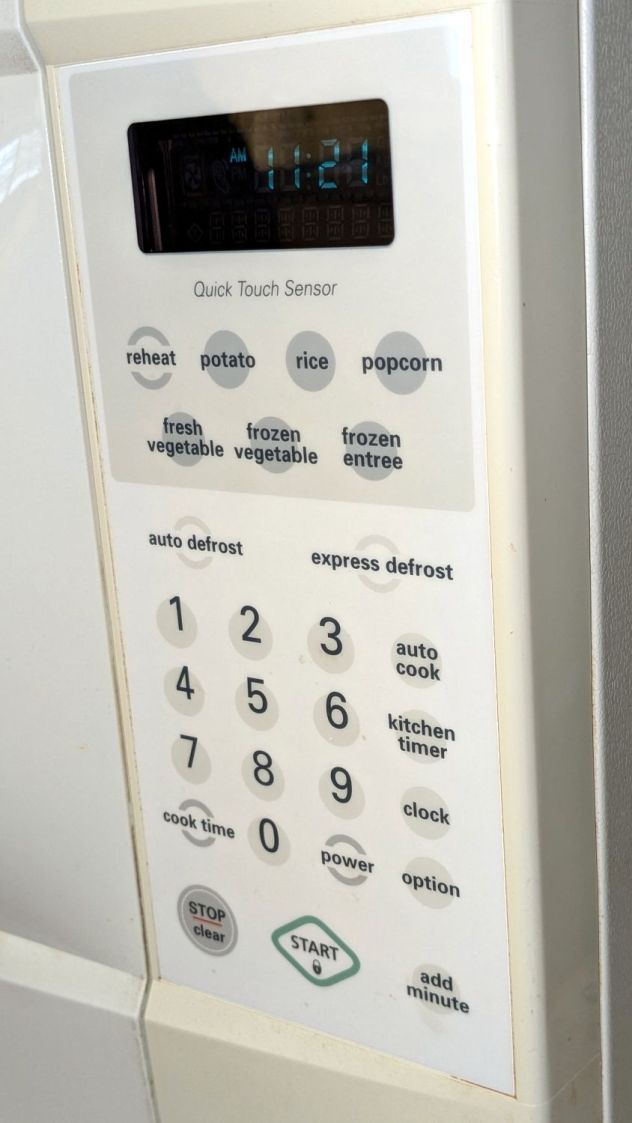
Sears Microwave – control panel The membrane switch panel seems to be in good shape, with no cracks in the plastic surface. Only the
Startbutton failed, which suggested the switch contact pad had failed and ruled out broken matrix traces on the flexible circuitry.Back in the day, they kept casual tinkerers out of the dangerous interior:

Sears Microwave – Torx security screw That would not be me:
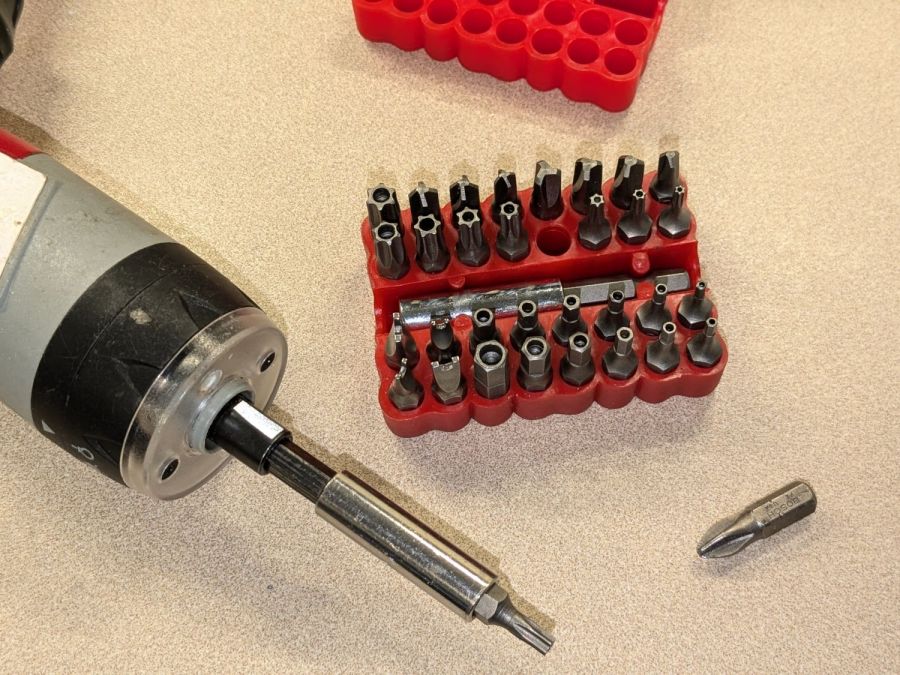
Sears Microwave – security bit set Over the course of two decades, an occasional food explosion produces a surprising amount of debris:
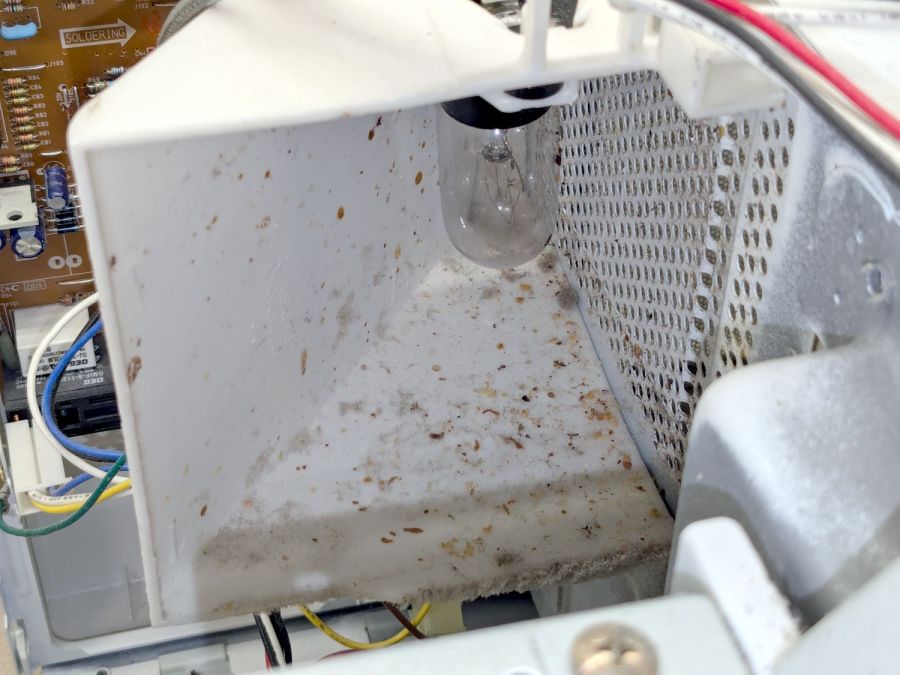
Sears Microwave – exhaust vent spatter Go ahead, I dare you, show us your microwave exhaust vent.
The control panel circuit board & wiring looks like this:
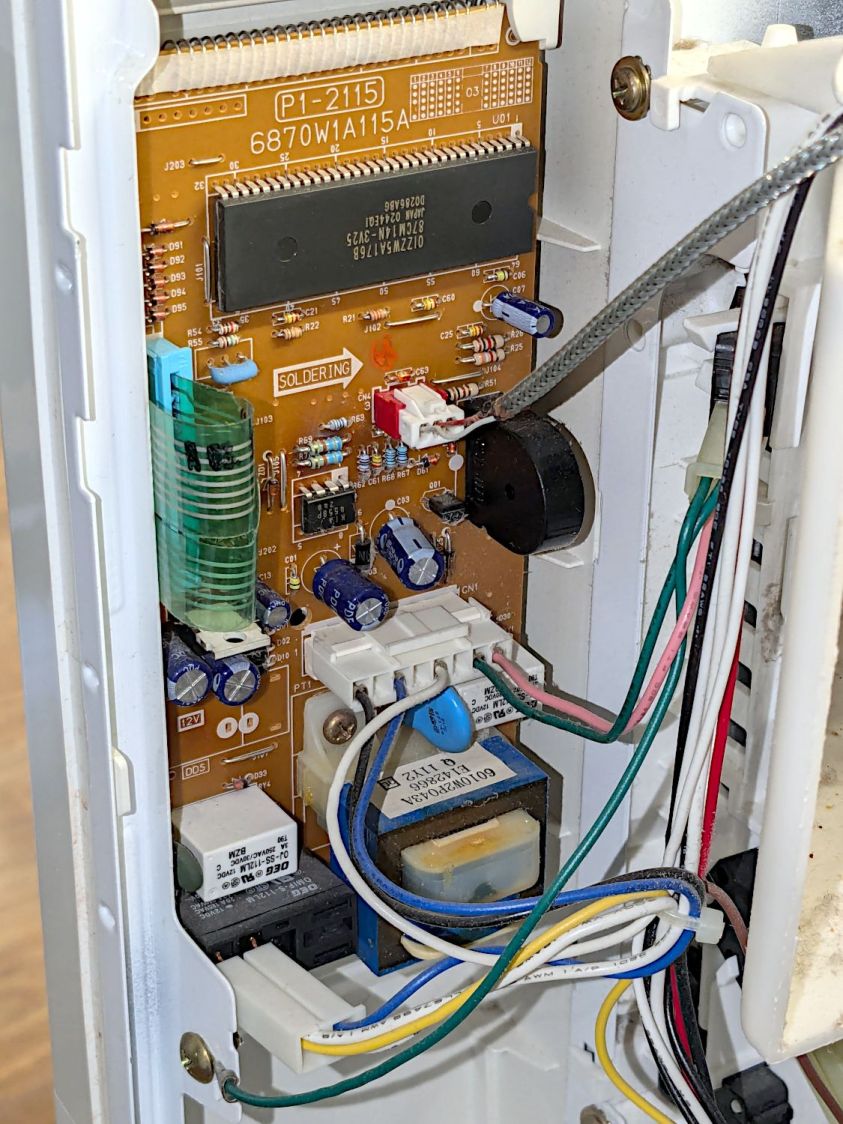
Sears Microwave – control board – in place Unplugging all the connectors proceeds as you’d expect, whereupon a single screw (out of sight to the top) releases the control assembly and pulling the whole thing upward gets it out of the cabinet:
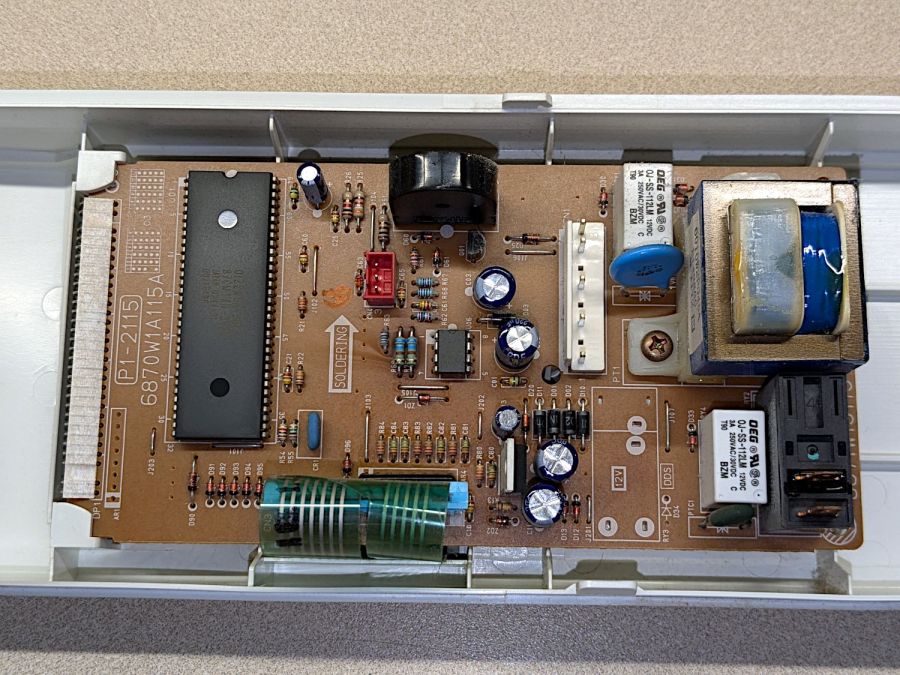
Sears Microwave – control board The capacitors show no signs of The Plague, but those resistors near the optoisolator (?) in the middle have a suspicious thermal plume.
The ribbon cable from the control surface goes into a connector with the usual locking collar:

Sears Microwave – control panel cable connector The cable also has cutouts latching into tabs molded into the collar:

Sears Microwave – control panel ribbon cable – locking tabs Removing two screws at the transformer releases the PCB:
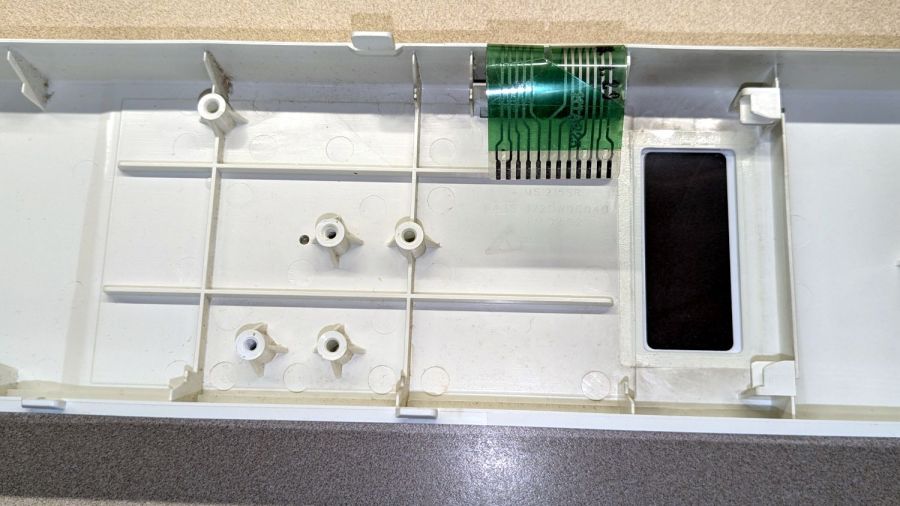
Sears Microwave – control panel interior Which promptly slammed the whole repair mission to a dead stop: with the entire membrane switch assembly glued to the front of the plastic shell, there is no way to get to the
Startswitch. Trying to peel the membrane off will most certainly destroy it.Because all the other functions still worked, including the
Add Minutebutton, we figured we can eke out a few more years before something else fails or the lack of one button gets intolerably annoying.I reassembled everything in reverse order, plugged it in, and, while setting the clock, discovered the
Startbutton once again worked perfectly.It’s a classic laying-on of hands repair: take something apart, replace nothing, reassemble, and it works!
If the
Startbutton is not part of the overall switch matrix, with a separate conductor through the ribbon cable, un- and re- plugging would be enough to restore a flaky contact. We’ll never know the rest of the story, although with this post as a reminder, maybe I can remember to tear the matrix apart when we scrap it out.Somebody give me an Amen!
-
Subscribe
Subscribed
Already have a WordPress.com account? Log in now.
