-
Kenmore 158: LED Strip Light Cable Clips
Commercial LED strip lights for sewing machines mount their cables with little stick-on anchors and cable ties. I wasn’t happy with the cable tie thing and finally figured this out:
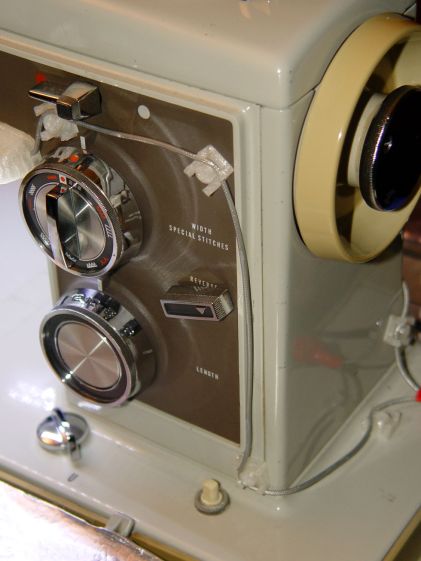
Kenmore 158 – LED strip light cable clips The clips have that size & shape because they fit exactly atop some pre-cut foam squares from the Tape Lookaside Buffer:
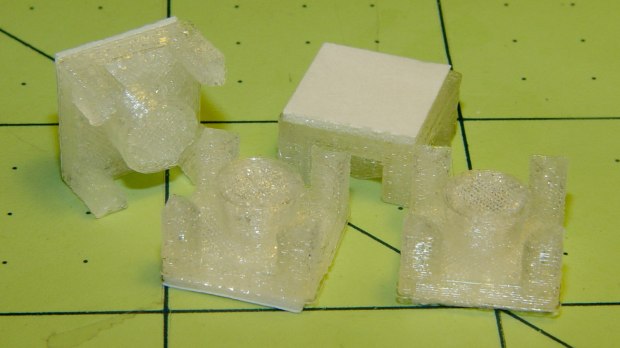
LED strip light cable clips You can see the shape better in the solid model:
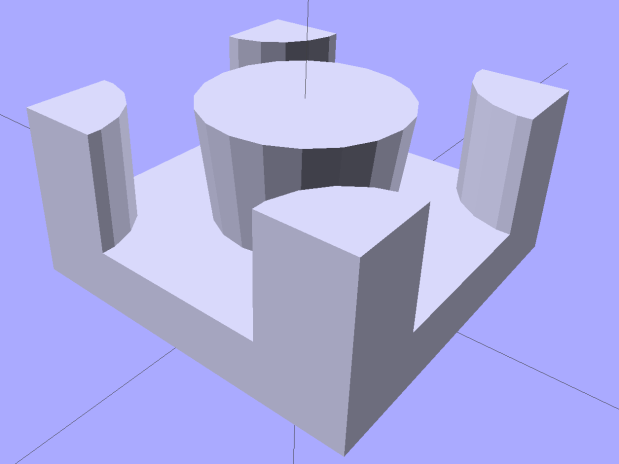
LED Cable Clips The central bollard has a slight taper to retain the cable, the quarter-posts are straight, and they’re both twice the cable diameter tall. The clearance between the center and corner posts at the top matches the cable diameter, so there’s a bit of bending room at the bottom, and, with the cable bent around the center, it won’t fall out on its own.
The cute coaxial cable I’m misusing for the LED strips measures just shy of 2 mm, making these into little bitty things. The corner posts seem surprisingly strong, despite 3D printing’s reputation for crappy quality; I haven’t been able to break one off with more effort than seemed warranted.
The OpenSCAD source code:
// LED Cable Clips
// Ed Nisley - KE4ZNU - October 2014

//- Extrusion parameters must match reality!

ThreadThick = 0.20;
ThreadWidth = 0.40;

HoleWindage = 0.2;			// extra clearance

Protrusion = 0.1;			// make holes end cleanly

AlignPinOD = 1.70;			// assembly alignment pins: filament dia

function IntegerMultiple(Size,Unit) = Unit * ceil(Size / Unit);

//----------------------
// Dimensions

Base = [12.0,12.0,IntegerMultiple(2.0,ThreadThick)];	// base over sticky square

CableOD = 2.0;

BendRadius = 3.0;

Bollard = [BendRadius,(sqrt(2)*Base[0]/2 - CableOD - BendRadius),2*CableOD];
B_BOT = 0;
B_TOP = 1;
B_LEN = 2;

NumSides = 5*4;

//----------------------
// Useful routines

module PolyCyl(Dia,Height,ForceSides=0) {			// based on nophead's polyholes

  Sides = (ForceSides != 0) ? ForceSides : (ceil(Dia) + 2);

  FixDia = Dia / cos(180/Sides);

  cylinder(r=(FixDia + HoleWindage)/2,
           h=Height,
           $fn=Sides);
}

module ShowPegGrid(Space = 10.0,Size = 1.0) {

  RangeX = floor(100 / Space);
  RangeY = floor(125 / Space);

	for (x=[-RangeX:RangeX])
	  for (y=[-RangeY:RangeY])
		translate([x*Space,y*Space,Size/2])
		  %cube(Size,center=true);

}

//----------------------
// Build it

ShowPegGrid();

intersection() {
	translate([0,0,(Base[2] + Bollard[2])/2])			// overall XYZ outline
		cube(Base + [0,0,Bollard[2]],center=true);

	union() {
		translate([0,0,Base[2]/2])						// oversize mount base
			scale([2,2,1])
				cube(Base,center=true);

		for (i=[-1,1] , j=[-1,1]) {						// corner bollards
			translate([i*Base[0]/2,j*Base[1]/2,(Base[2] - Protrusion)])
				rotate(180/NumSides)
				cylinder(r=Bollard[B_BOT],h=(Bollard[B_LEN] + Protrusion),center=false,$fn=NumSides);

		translate([0,0,(Base[2] - Protrusion)])			// center tapered bollard
			cylinder(r1=Bollard[B_BOT],r2=Bollard[B_TOP],h=(Bollard[B_LEN] + Protrusion),center=false,$fn=NumSides);
		}
	}
}
Now that I think of it, maybe a round clip would look nicer. The central bollard would stay, but the circular outside rim could have three cutouts. When these fall off, I’ll give that a try.
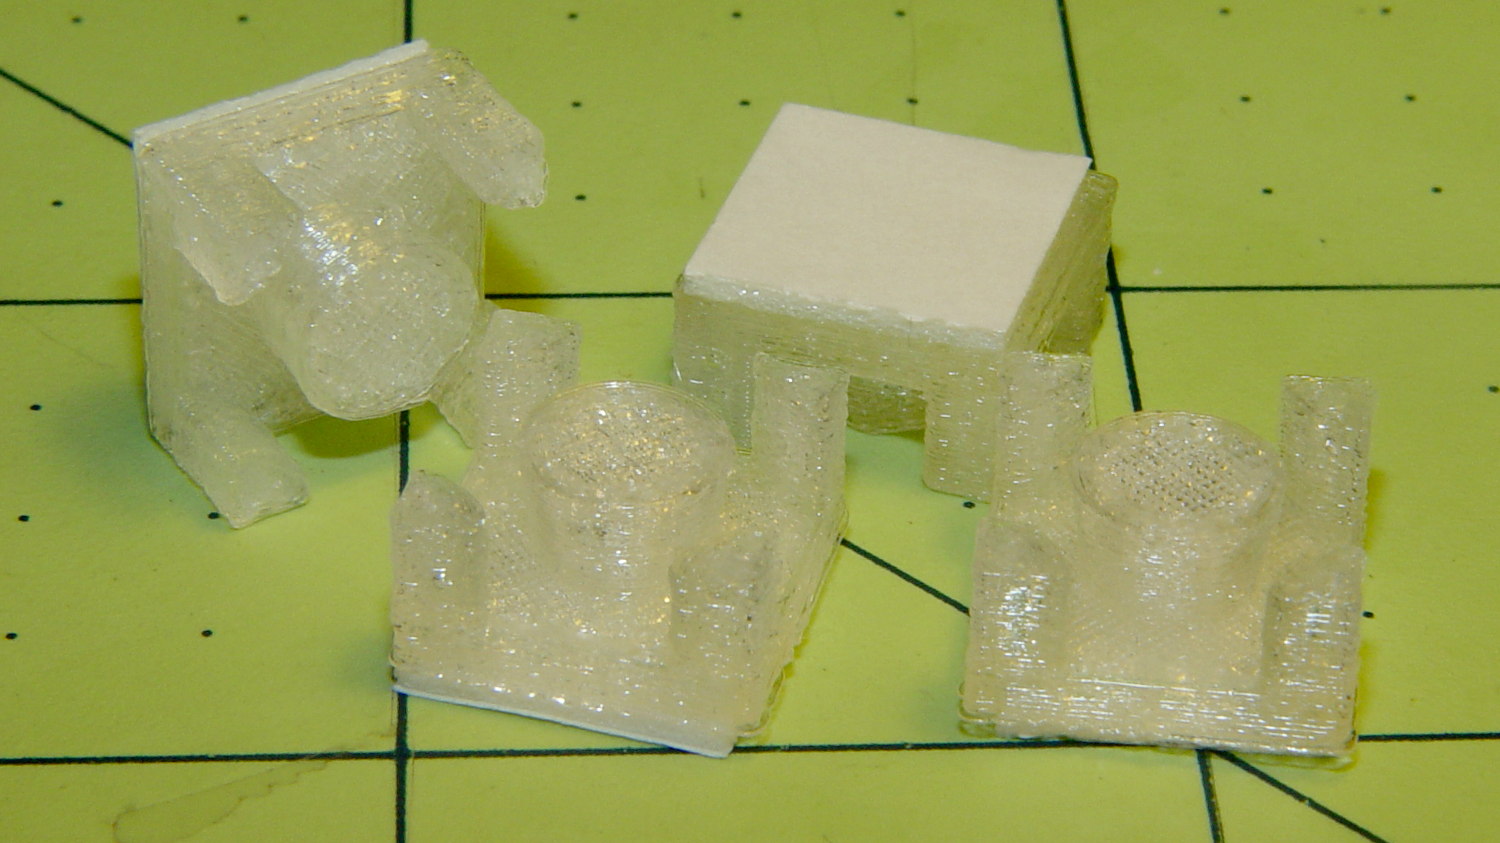
They may be square and clunky, but they look much better than Gorilla Tape…


-
Subscribe
Subscribed
Have a WordPress.com account? Log in now.

