-
Quick-n-Easy Window Shade End Cap
While tracking down an air leak in a living room window, I noticed one of the cellular blinds was missing an end cap, so I scanned a pair of surviving caps:
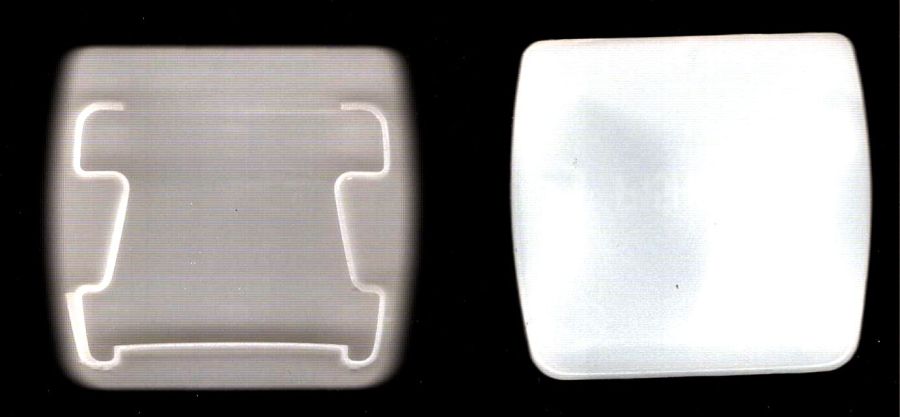
Living Room shade end caps – level adjust Blow out the contrast, save as a JPG.
Import into LightBurn:
- Trace the outlines into paths
- Use LightBurn’s shape optimization tool to dramatically reduce the number of nodes & smooth the outlines
- Overlay & align the shapes
- Export as an SVG file
Import into Inkscape:
- Put the paths on named layers
- Center around an alignment mark
- Save as an Inkscape SVG
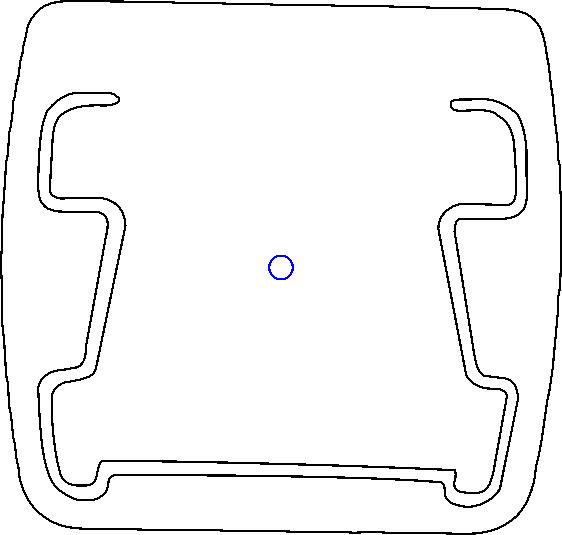
Living Room shade end caps – Inkscape alignment It is slightly tilted, but that doesn’t matter. You could devote more time to smoothing / reverse-engineering the shapes, but that doesn’t make much difference, either.
Inkscape exports the SVG coordinates with respect to the overall page origin in the lower left corner, so when OpenSCAD imports the SVG the paths end up far away from the origin. The trick is to put a 2 mm diameter circle at a known location, center the paths around it, then have OpenSCAD use the circle’s location to recenter the paths.
Because Inkscape uses the lower left corner of each shape as its origin, you must put the circle at (99,99) to have its center at (100,100). That is one of the many reasons you (well, I) can’t use Inkscape as a CAD program.
Import into OpenSCAD, recenter, and extrude the shapes:
CapCenter = [100,100];

PlateThick = 1.8;       // thickness of visible end cap

HolderTall = 10.0 + PlateThick;

union() {
  linear_extrude(height=PlateThick)
      translate(-CapCenter)
            import("Living Room shade end caps - Inkscape.svg",layer="Exterior");
  linear_extrude(height=HolderTall)
      translate(-CapCenter)
            import("Living Room shade end caps - Inkscape.svg",layer="Retainer");
}
Which produces a solid model:

Living Room shade end caps – solid model Save the model as
3mf, import into PrusaSlicer, and slice:
Living Room shade end caps – PrusaSlicer preview Making the retainer shape a little wider would be a good idea to get better infill, but it’s a slip fit into the blind (surely why it fell out long ago) and need not withstand any stress.
Print as usual:

Living Room shade end cap – on platform And then It Just Works™:
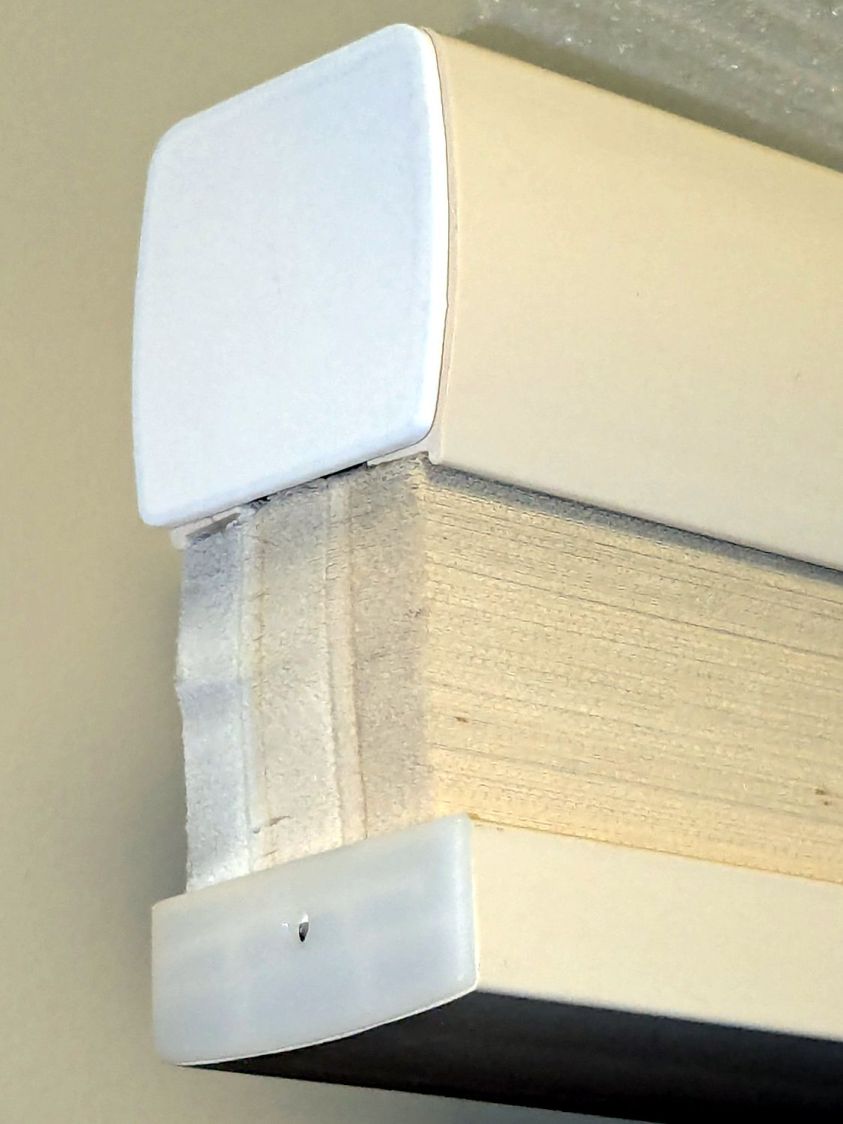
Living Room shade end cap – installed It’s sitting atop a bookcase while I finish tinkering with its window.
All that seems like a lot of fiddling around, but it uses each program to its best advantage and it’s surprisingly easy after the first few models.
-
Subscribe
Subscribed
Already have a WordPress.com account? Log in now.
