-
Blue Gauntlet Fencing Helmet Ear Grommet
Our Larval Engineer practiced fencing for several years, learning the fundamental truth that you should always bring a gun to a knife fight:

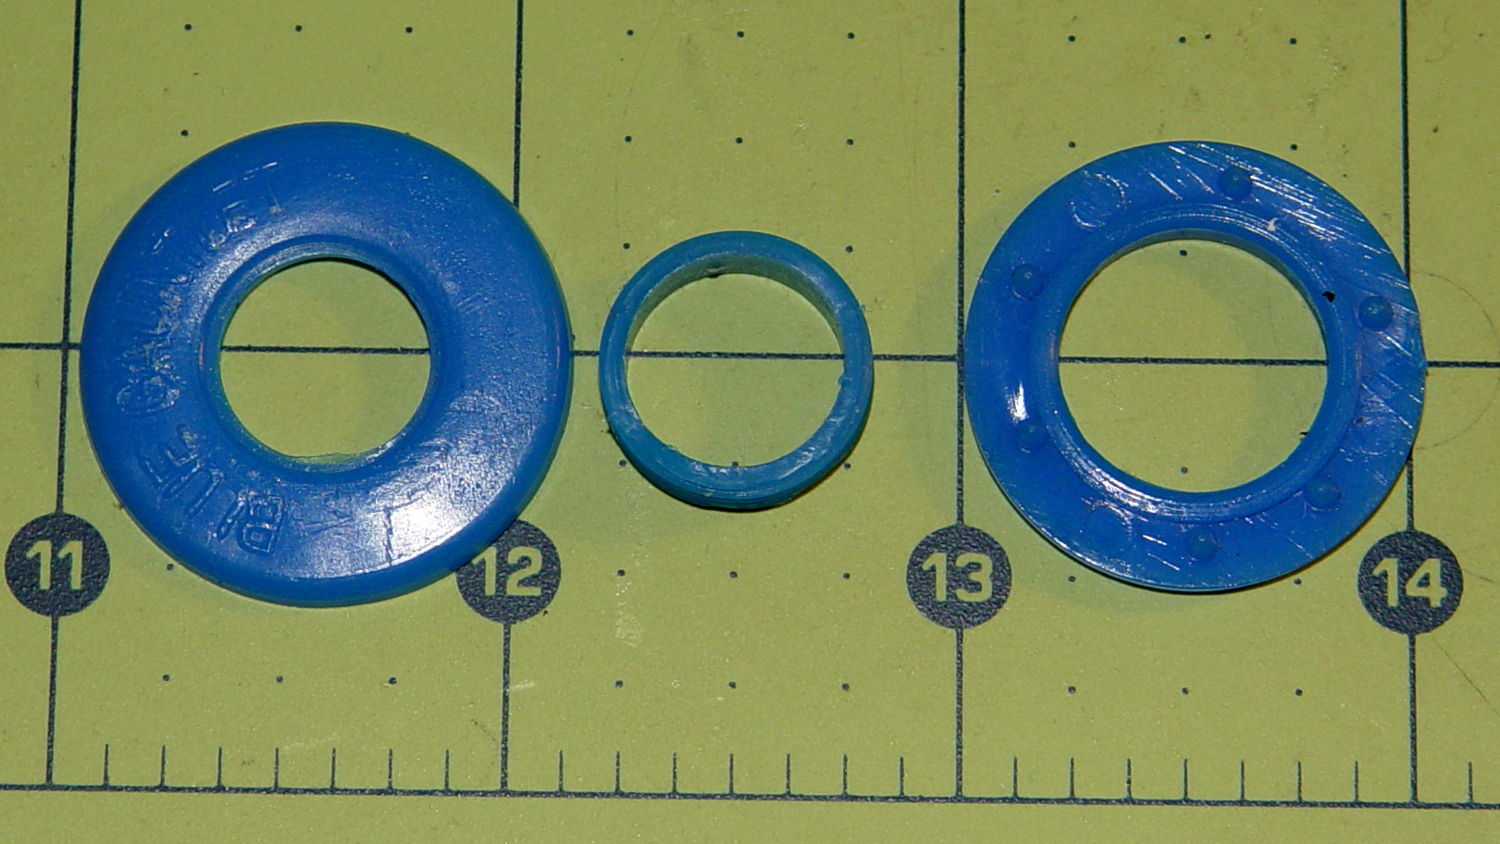
Fencing – taking a hit It’s time to pass the gear along to someone who can use it, but we discovered one of the ear grommets inside the helmet had broken:
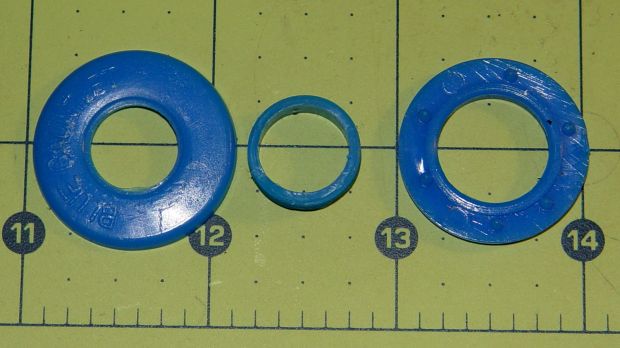
Blue Gauntlet M003-BG Helmet – broken ear grommet The cylinder in the middle should be attached to the washer on the left, which goes inside the helmet padding. It’s a tight push fit inside the washer on the right, which goes on the outside of the padding. Ridges along the cylinder hold it in place.
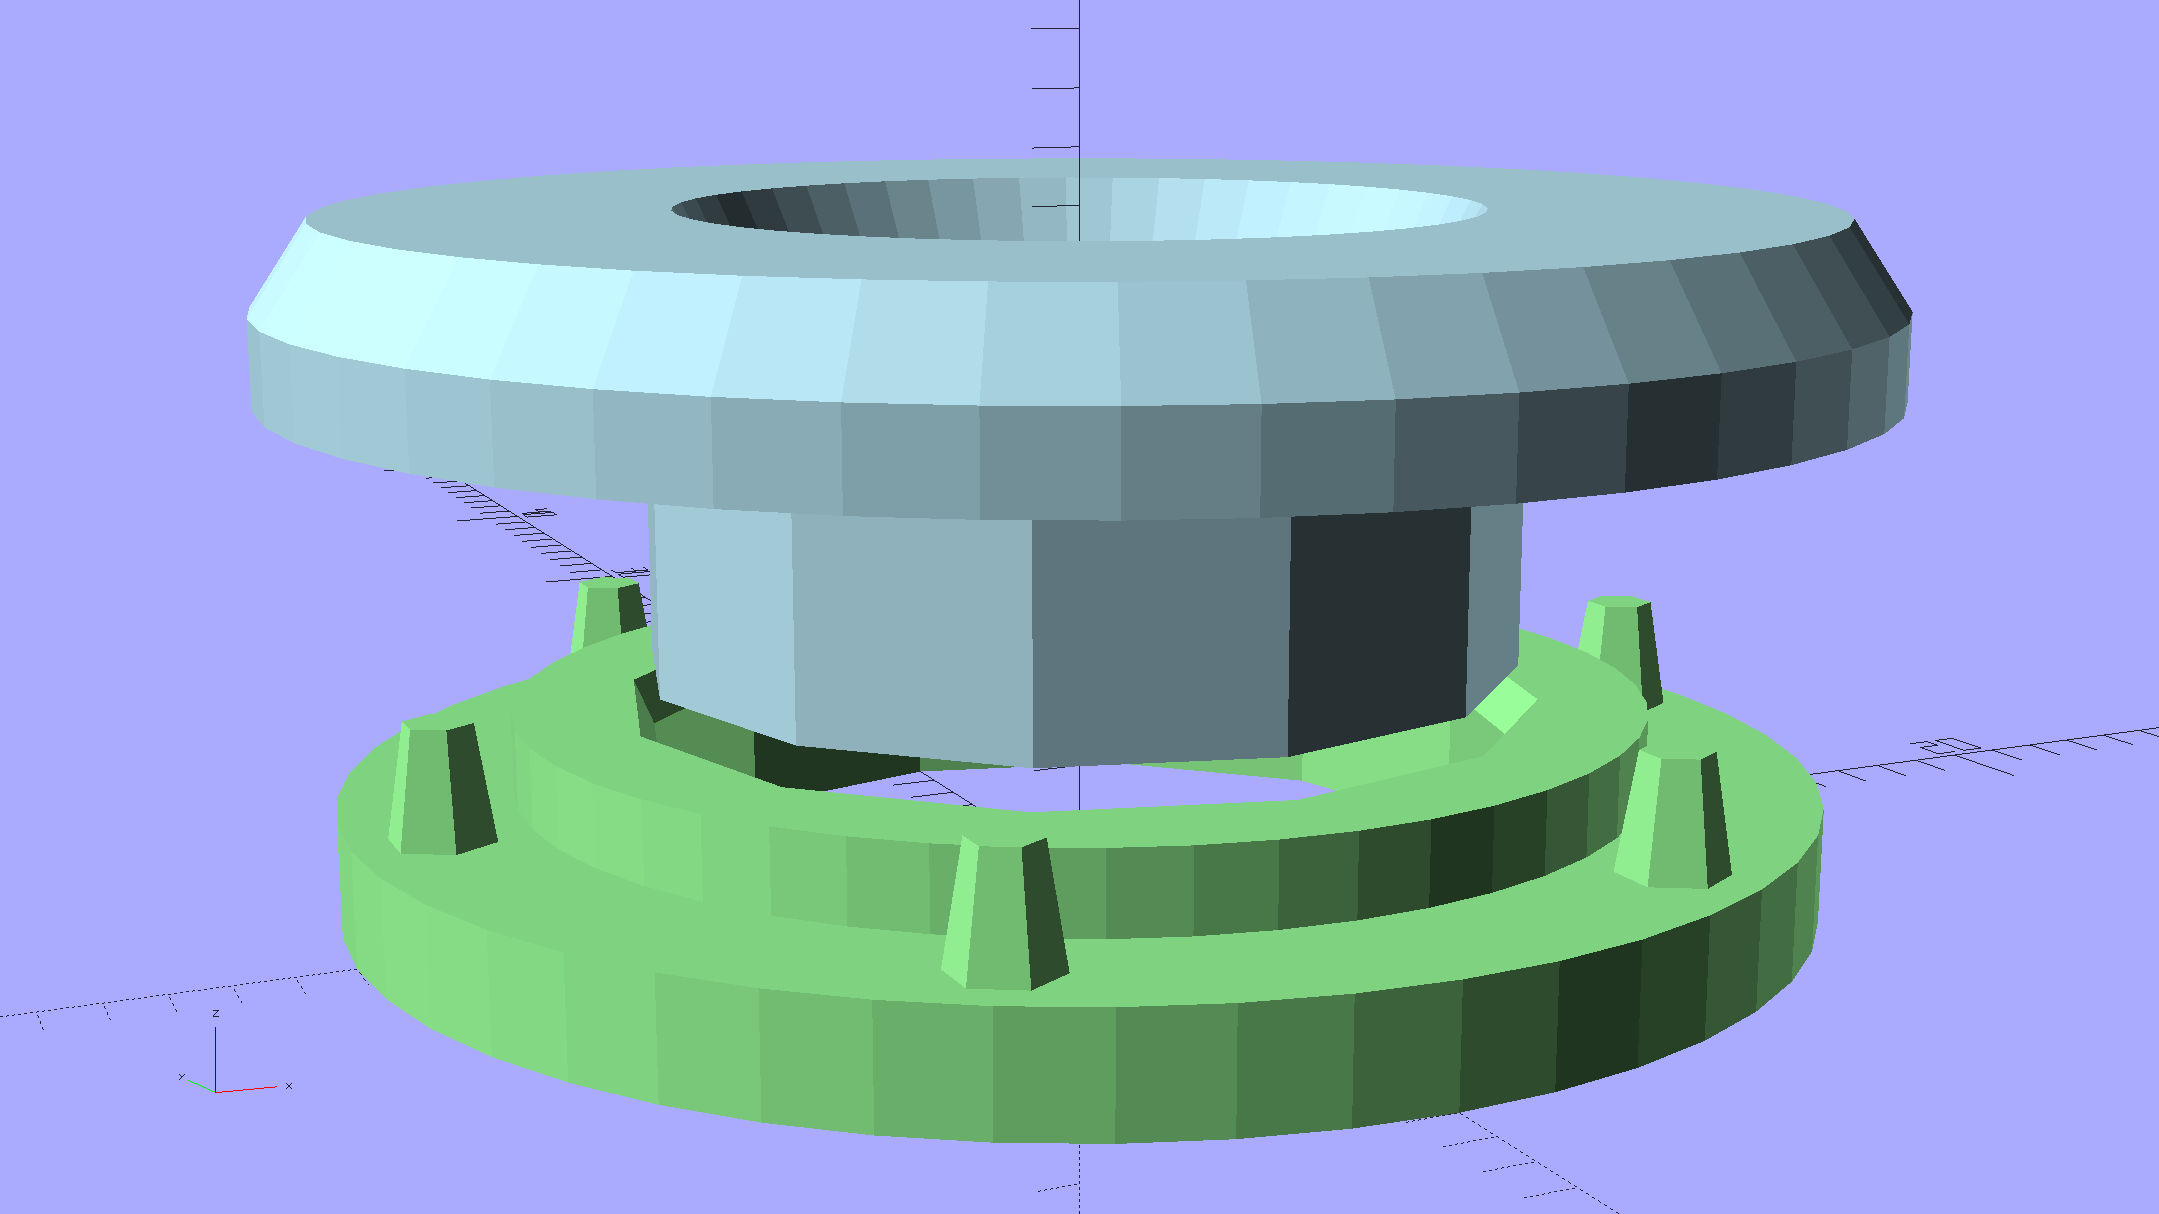
Being an injection-molded polyethylene part, no earthly adhesive or solvent will bother it, soooo… the solid model pretty much reproduces the original design:
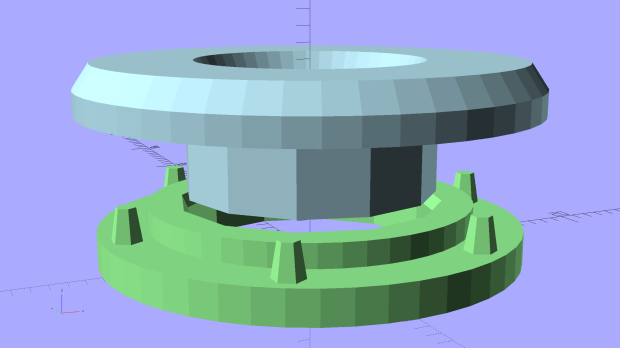
Fencing Helmet Ear Grommet – show The top washer goes inside the padding against your (well, her) ear, so I chamfered the edges sorta-kinda like the original.
There are no deliberate ridges on the central cylinder, but printing the parts in the obvious orientation with no additional clearance makes them a very snug push fit and the usual 3D printing ridges work perfectly; you could apply adhesive if you like. The outside washer has a slight chamfer to orient the post and get it moving along.
The posts keep the whole affair from rotating, but I’m not sure they’re really necessary.
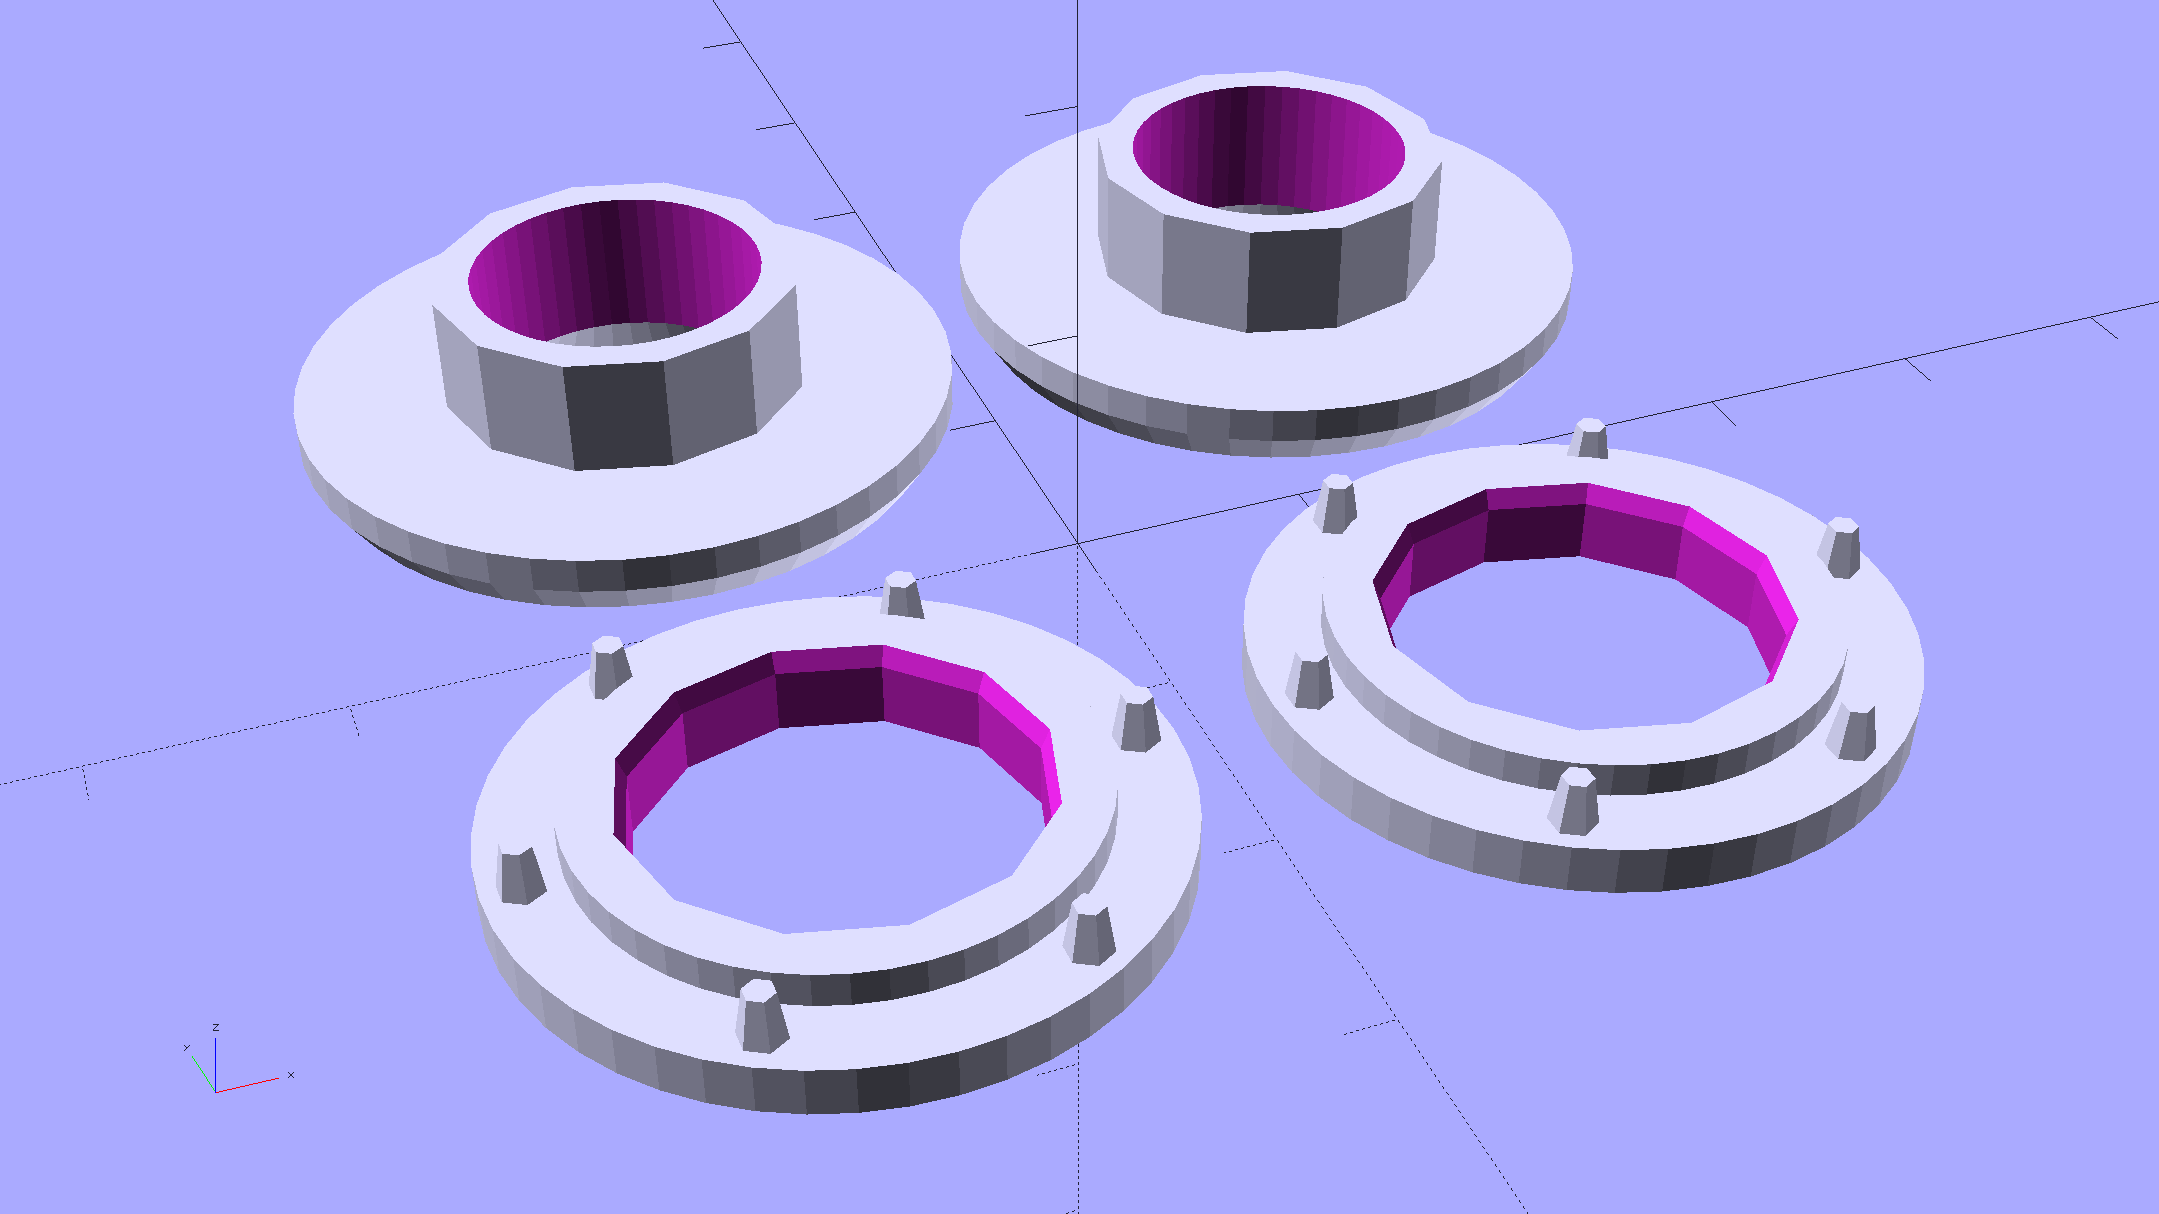
Printing a pair doesn’t take much longer than just one:
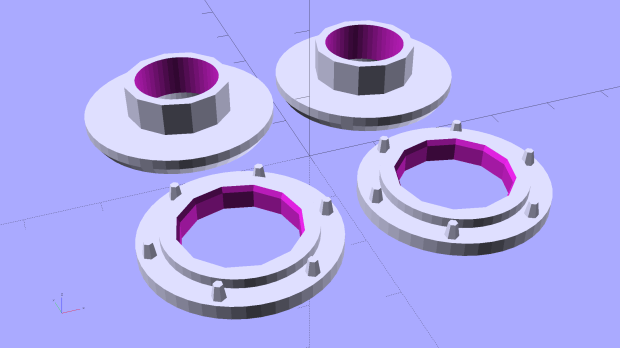
Fencing Helmet Ear Grommet – build It doesn’t look like much inside the helmet:
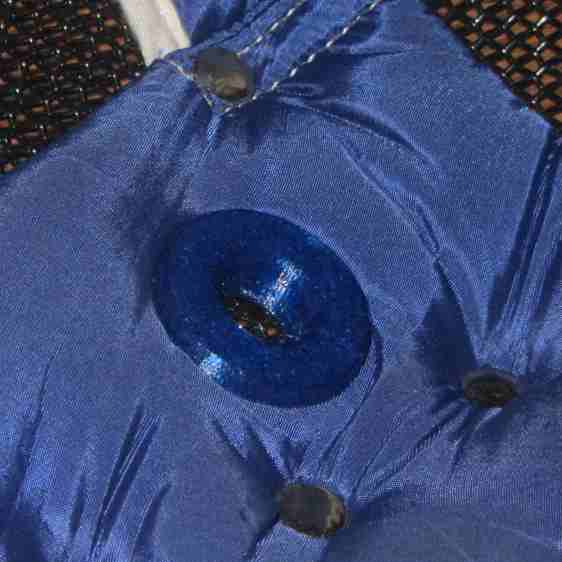
Blue Gauntlet M003-BG – replacement ear grommet – installed The OpenSCAD source code as a gist from Github:
This file contains hidden or bidirectional Unicode text that may be interpreted or compiled differently than what appears below. To review, open the file in an editor that reveals hidden Unicode characters. Learn more about bidirectional Unicode characters// Fencing Helmet Ear Grommet // Ed Nisley KE4ZNU December 2015 // Layout options Layout = "Show"; // Base Cap Build Show //- Extrusion parameters must match reality! // Print with +1 shells and 3 solid layers ThreadThick = 0.20; ThreadWidth = 0.40; HoleWindage = 0.2; function IntegerMultiple(Size,Unit) = Unit * ceil(Size / Unit); Protrusion = 0.1; // make holes end cleanly //———————- // Dimensions NumSides = 12*4; $fn = NumSides; //———————- // Useful routines module PolyCyl(Dia,Height,ForceSides=0) { // based on nophead's polyholes Sides = (ForceSides != 0) ? ForceSides : (ceil(Dia) + 2); FixDia = Dia / cos(180/Sides); cylinder(r=(FixDia + HoleWindage)/2, h=Height, $fn=Sides); } //——————- // Parts // Base on outside of liner PostOD = 15.5; PostLength = 8.0; BaseOD = 26.0; BaseLength = 3.4; module Base() { difference() { union() { cylinder(d=BaseOD,h=2.0); cylinder(d=20.0,h=BaseLength); for (i=[0:5]) rotate(i*360/6) translate([11.5,0,0]) rotate(180/6) cylinder(d1=2.5,d2=3*ThreadWidth,h=4.0,$fn=6); } translate([0,0,-Protrusion]) // PolyCyl(PostOD,4.0,NumSides/4); cylinder(d=PostOD,h=PostLength,$fn=NumSides/4); translate([0,0,(BaseLength – 4*ThreadThick)]) cylinder(d1=PostOD,d2=(PostOD + 2*ThreadWidth),h=(4*ThreadThick + Protrusion),$fn=NumSides/4); } } // Cap inside liner CapID = 12.0; CapOD = 28.0; CapThick = 3.0; module Cap() { difference() { union() { rotate_extrude(convexity=2) polygon(points=[ [CapID/2 + CapThick/3,0.0], [CapOD/2 – CapThick/3,0.0], [CapOD/2,CapThick/2], [CapOD/2,CapThick], [CapID/2,CapThick], [CapID/2,CapThick – CapThick/3] ]); translate([0,0,CapThick – Protrusion]) cylinder(d=PostOD,h=(PostLength – (CapThick – Protrusion)),$fn=NumSides/4); } translate([0,0,-Protrusion]) PolyCyl(CapID,10.0,$fn); } } //———————- // Build it! if (Layout == "Base") Base(); if (Layout == "Cap") Cap(); BuildSpace = 30/2; if (Layout == "Build") { for (j=[-1,1]) translate([j*BuildSpace,0,0]) { translate([0,-BuildSpace,0]) Base(); translate([0,BuildSpace,0]) Cap(); } } if (Layout == "Show") { color("LightGreen") Base(); translate([0,0,12]) rotate([180,0,0]) color("LightBlue") Cap(); }


-
Subscribe
Subscribed
Have a WordPress.com account? Log in now.

