-
XTC-3D Epoxy Coating: Results
Having figured the mixing ratios, found the mixing trays, and donned my shop apron, I buttered up several iterations of the badge reel case to see how XTC-3D epoxy works on the little things around here.
In all cases, I haven’t done any sanding, buffing, or primping, mostly because I’m not that interested in the final surface finish.
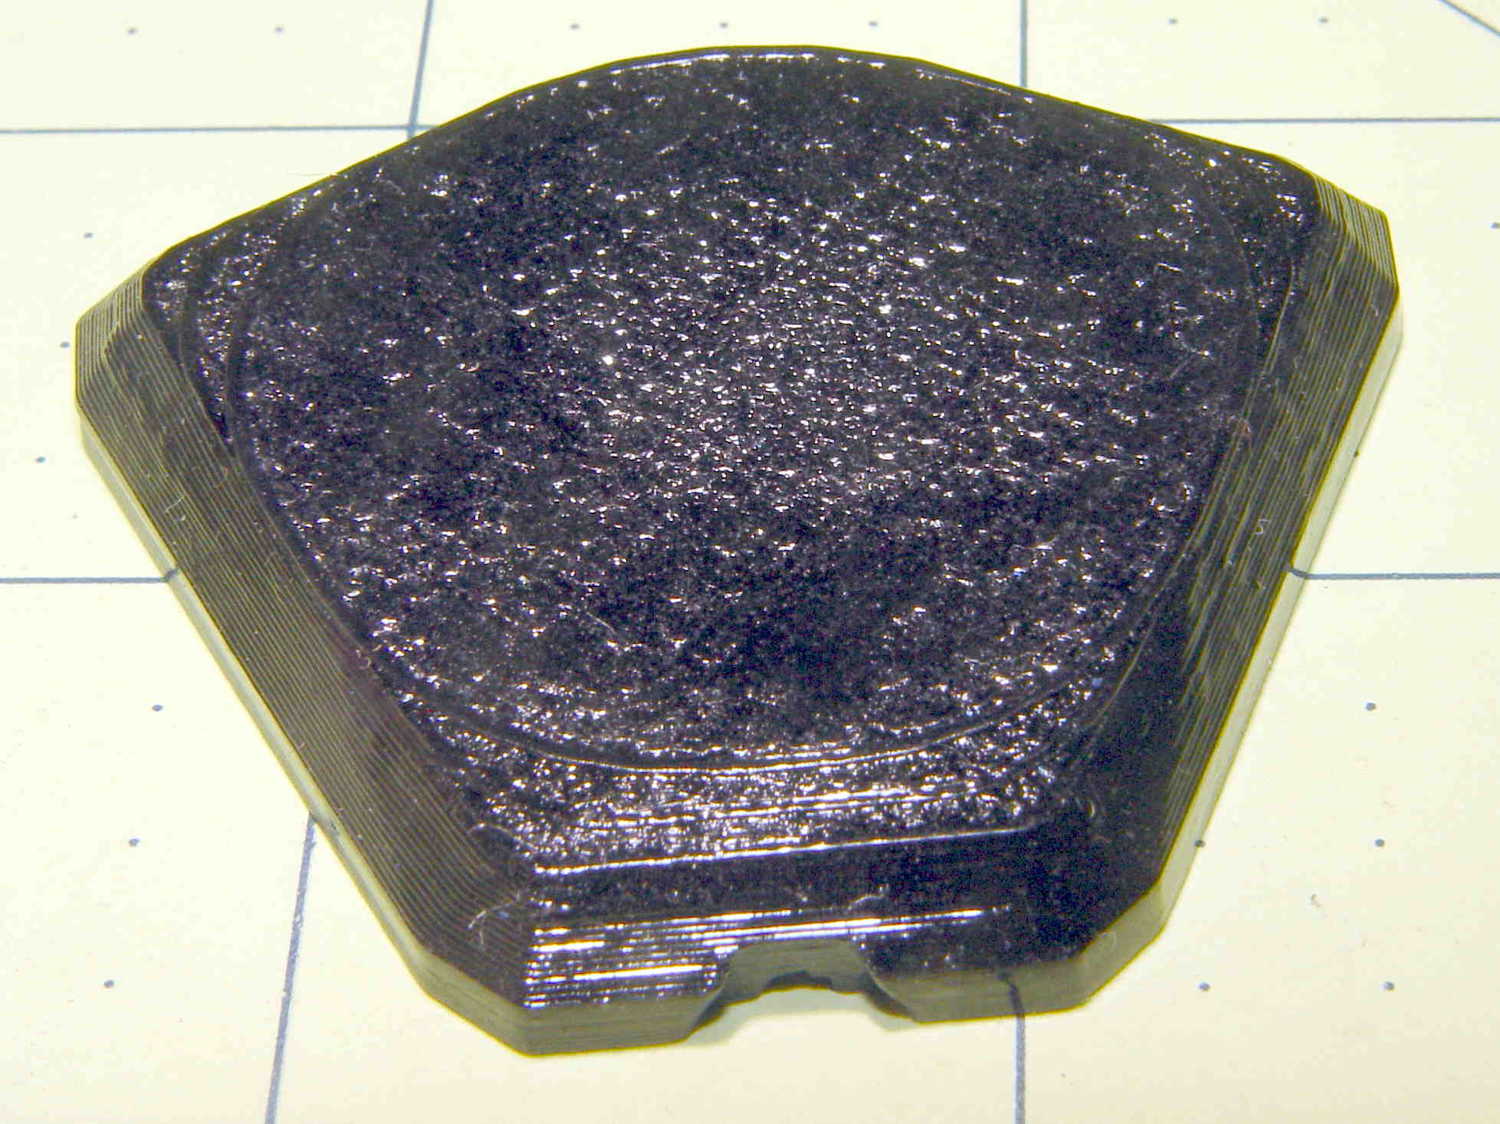
A single coat produces a glossy finish with ripples from the printed threads:
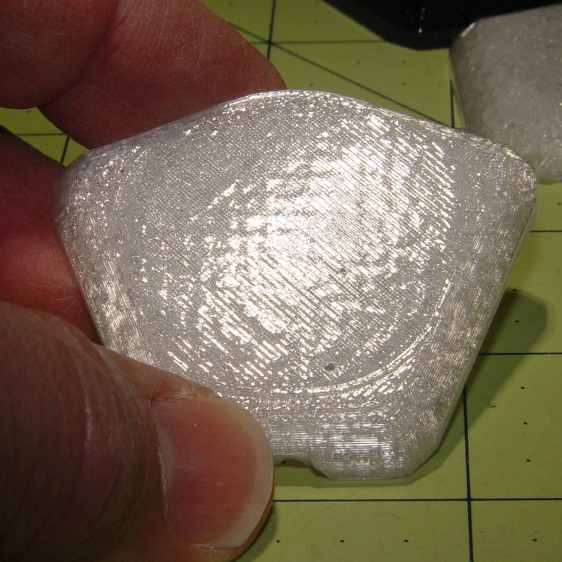
XTC-3D – Hilbert – reflective Seen straight on, without the glare, a little speck toward the lower right corner shows that cleanliness is next to impossible around here:
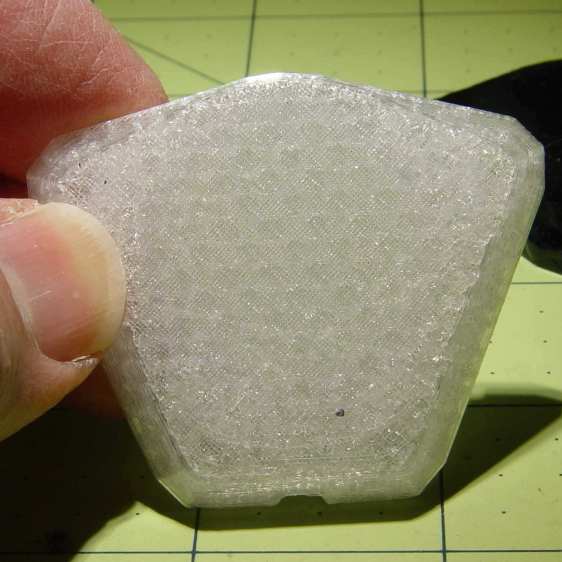
XTC-3D – lines – direct An additional coat atop a Hilbert-curve upper surface comes out somewhat smoother:
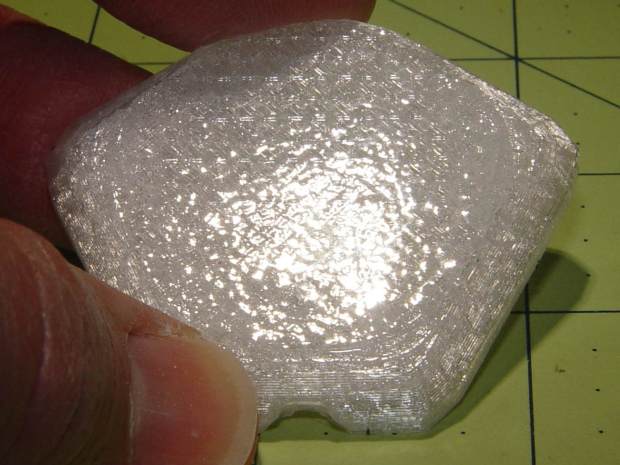
XTC-3D – Hilbert – reflective 2 Another view, with less glare, shows the pattern a bit better:
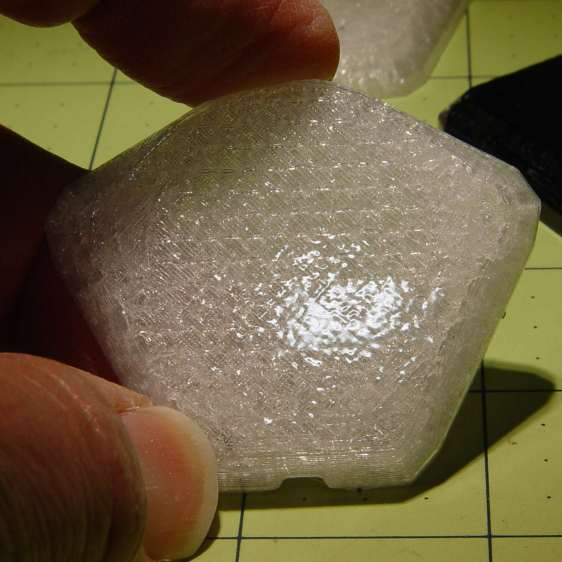
XTC-3D – Hilbert – reflective 1 With no glare, the 3D Honeycomb infill shows through the surface:
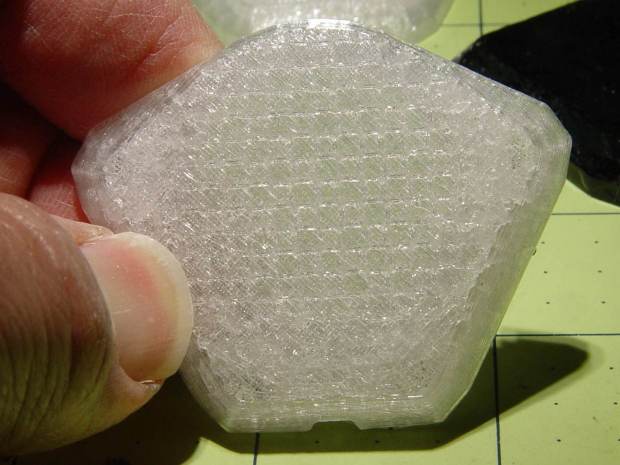
XTC-3D – Hilbert – direct Coating the surface with epoxy definitely makes it more transparent / less translucent by filling in the air gaps.
The sides of that part have only one coat and still show typical 3D printed striations.
Three coats wipe out the striations, along with all other surface detail:
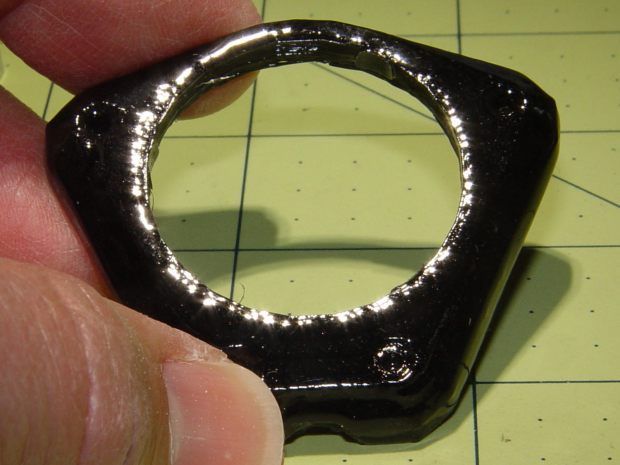
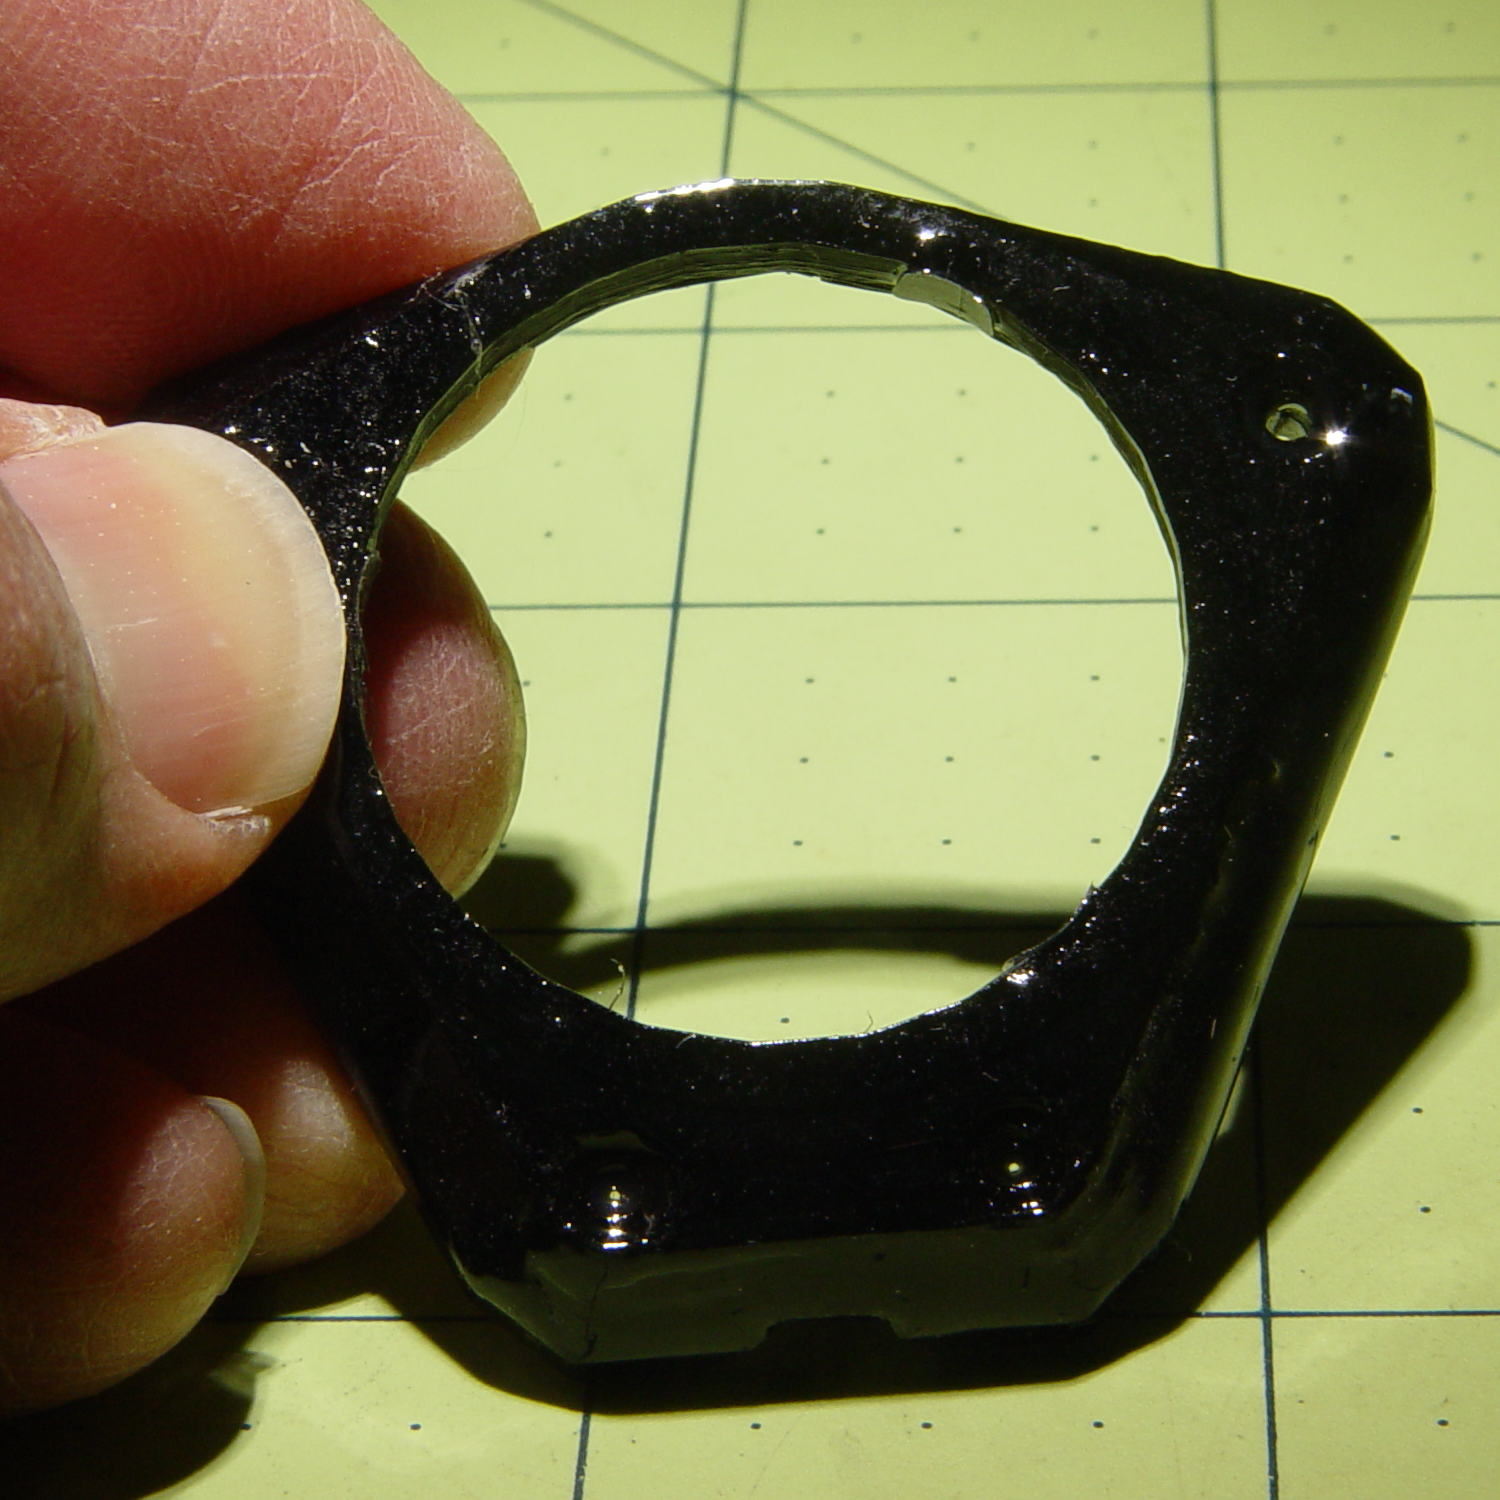
XTC-3D – Bezel – front oblique The bolt head recesses collected enough epoxy to require reaming / milling, which certainly isn’t what you want in that situation. The bolt holes also shrank, although my usual hand-twisted drill would probably suffice to clear the epoxy.
Another view shows a glint from the smooth surface filling the upper-right recess:
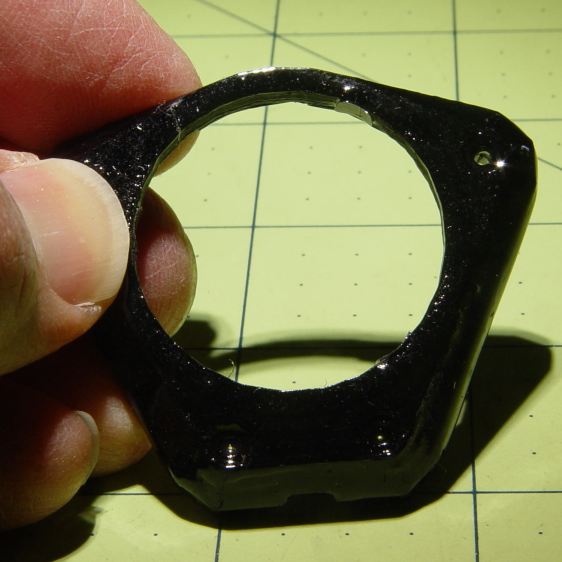
XTC-3D – Bezel – front Three coats definitely hides the 3D printed threads, although you can see some ridges and edges:
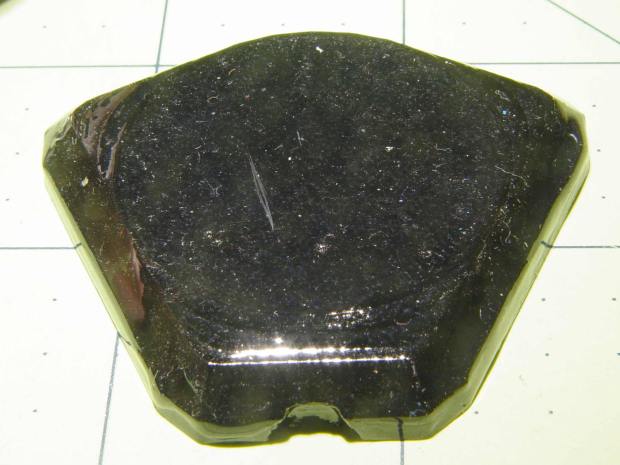
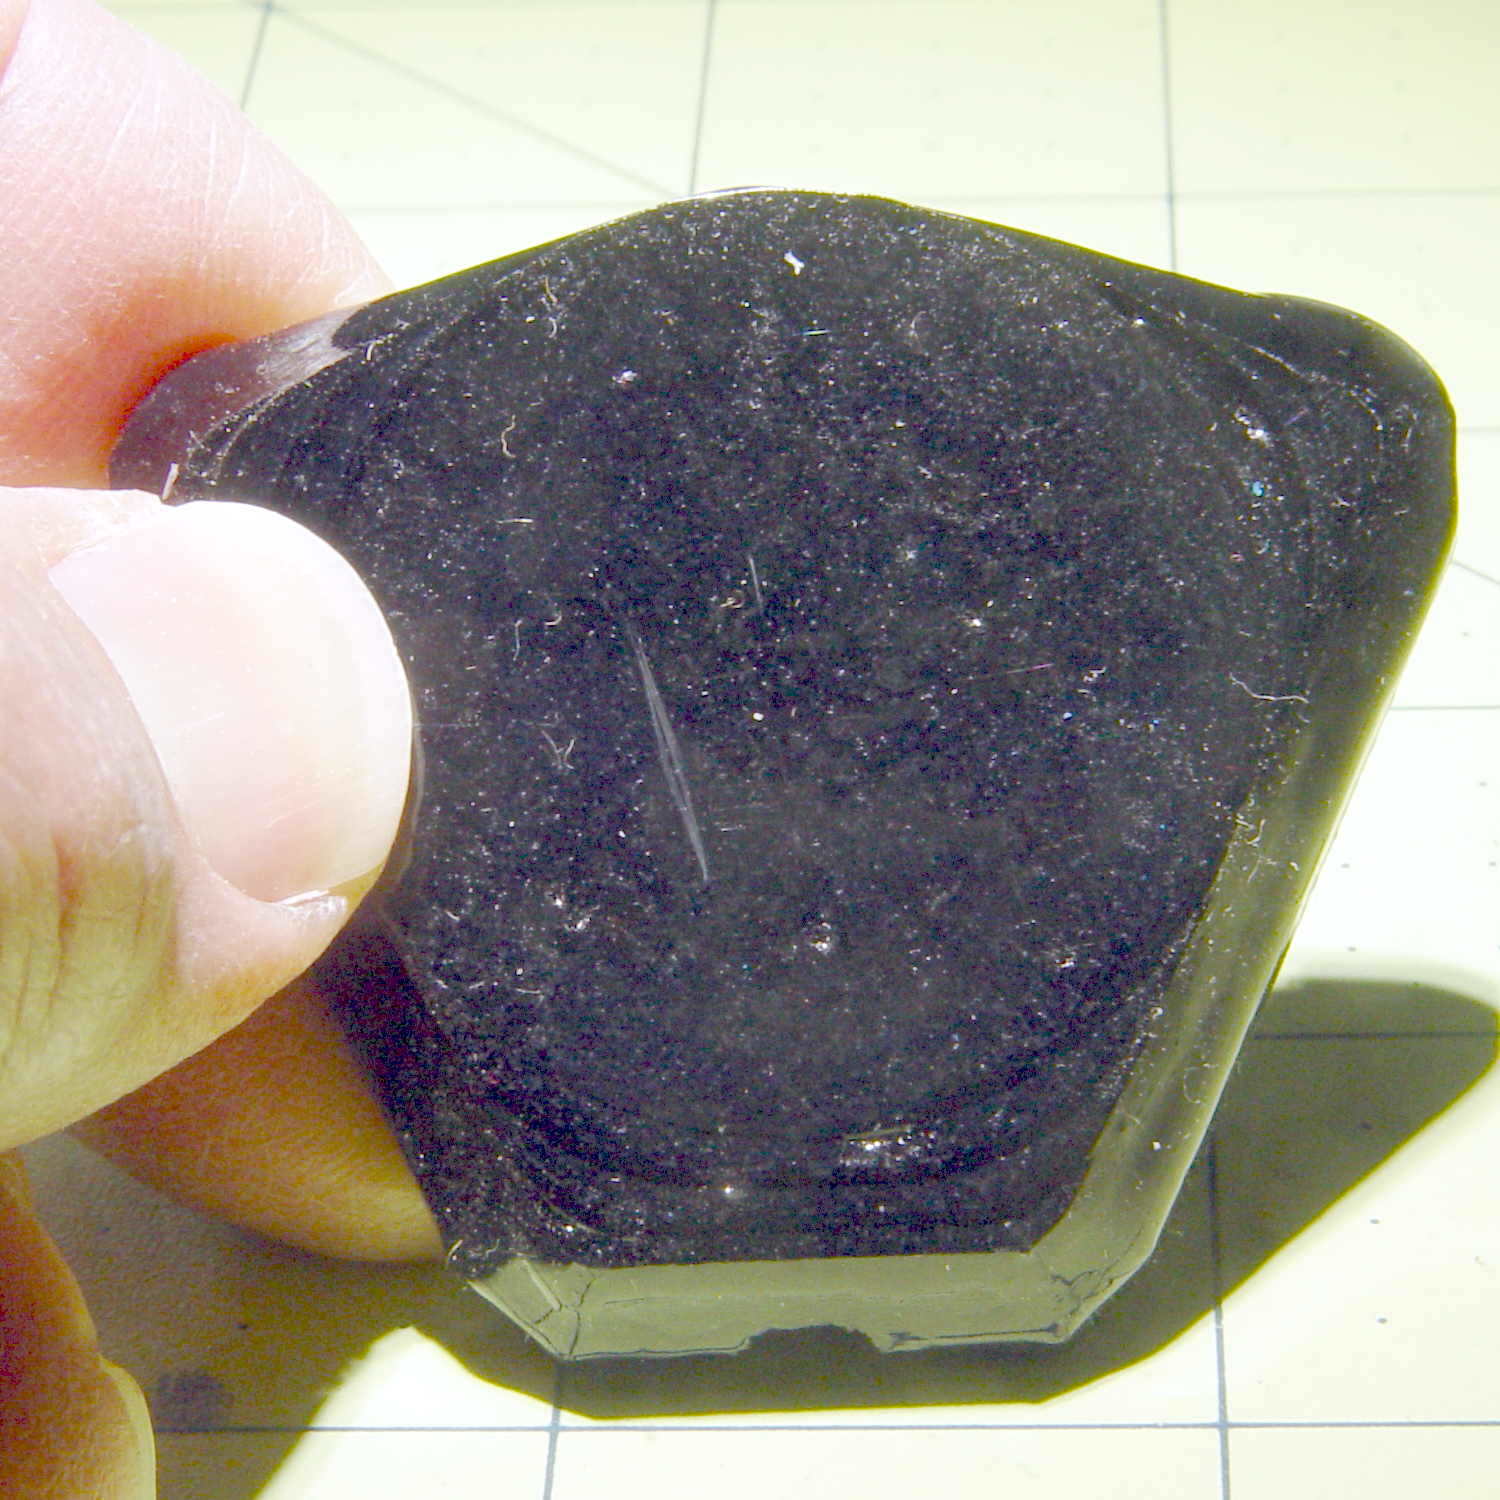
XTC-3D – heavy – oblique The epoxy isn’t perfectly self-leveling, probably due to my (lack of) technique:
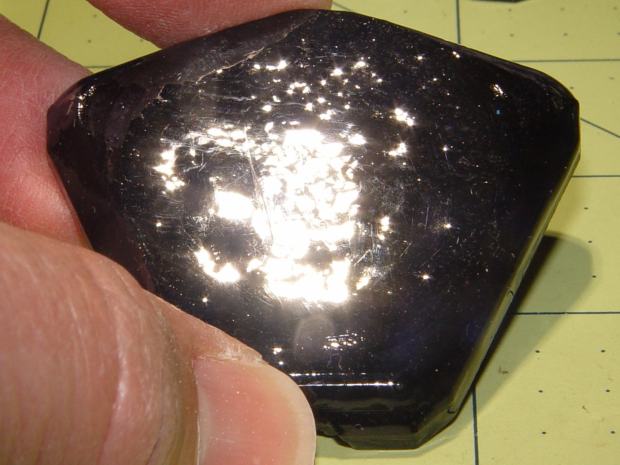
XTC-3D – heavy – reflection Blowing out the contrast shows the surface finish:
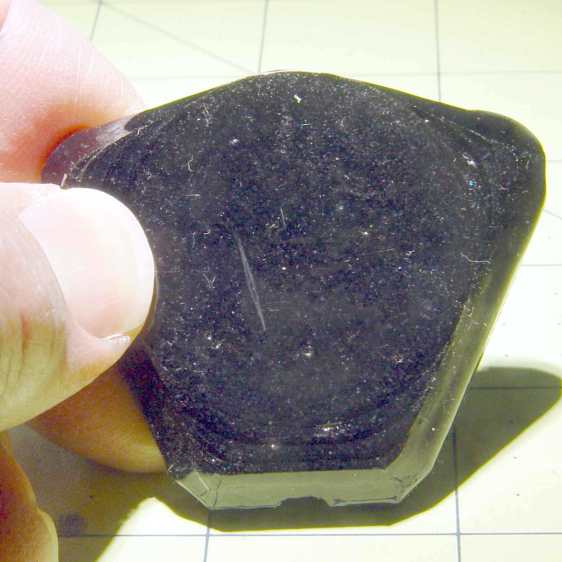
XTC-3D – heavy – direct – boost Those scratches come from fingernails, after the overnight curing time. The surface is hard, but not impervious to scratching, which is about what you’d expect for a clear epoxy.
Slightly over-thinning the XTC-3D with denatured alcohol in a 0.7 : 0.3 : 0.3 by weight ratio produced a watery liquid that penetrated directly into the surface:
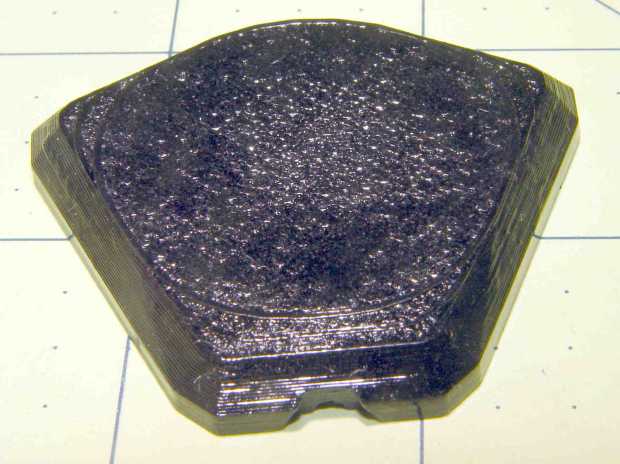
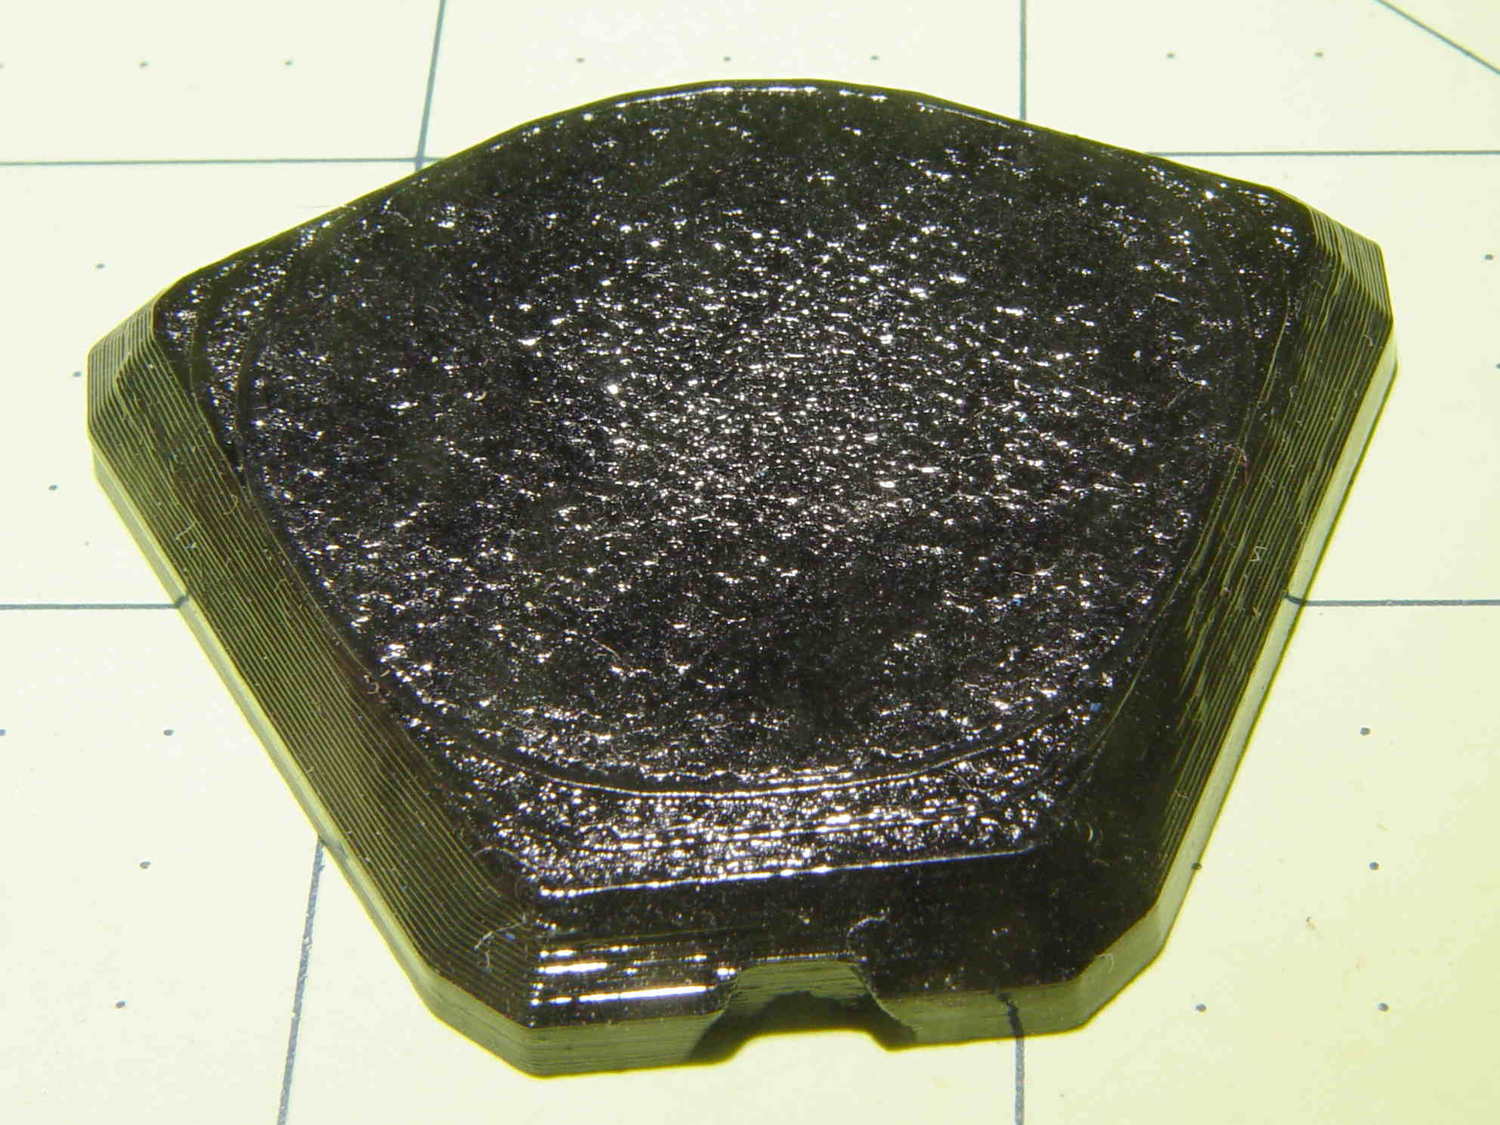
XTC-3D – thinned – oblique The finish depends critically on what’s below the surface and how much epoxy you apply. I tried to spread it uniformly with a foam brush, but the center came out somewhat rougher than the outer edge:
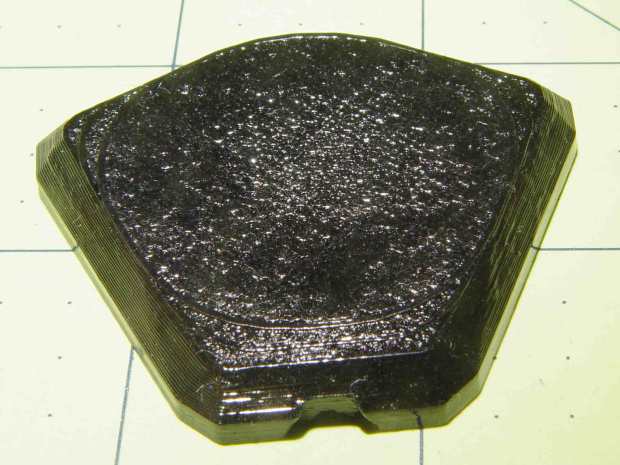
XTC-3D – thinned – oblique The striations along the sides filled in a bit, but surely not enough to satisfy anybody who worries about such things.
A specular reflection shows the changing surface smoothness:
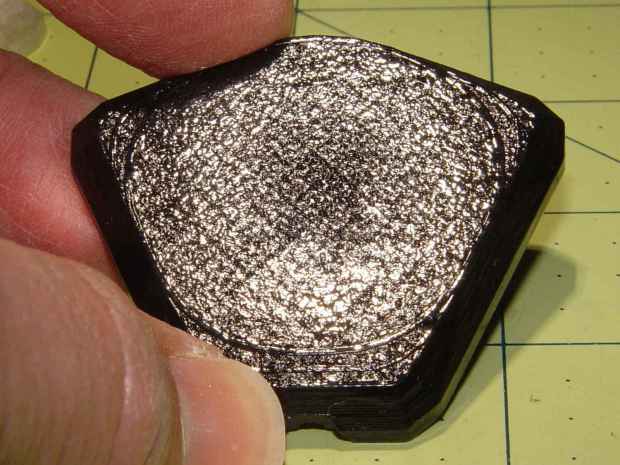
XTC-3D – thinned – oblique reflective Perhaps two coats of thinned epoxy would produce a watertight / airtight part, without changing the overall dimensions by very much. The mechanical properties depend almost entirely on the plastic-to-plastic bond, so I doubt a thin epoxy layer would improve its pressure-handling capabilities.
Few of the parts I make will benefit from an epoxy coating and I definitely don’t want to get into post-processing the parts just to improve their looks!





-
Subscribe
Subscribed
Have a WordPress.com account? Log in now.

