-
Plotter Grit Wheel Bushings
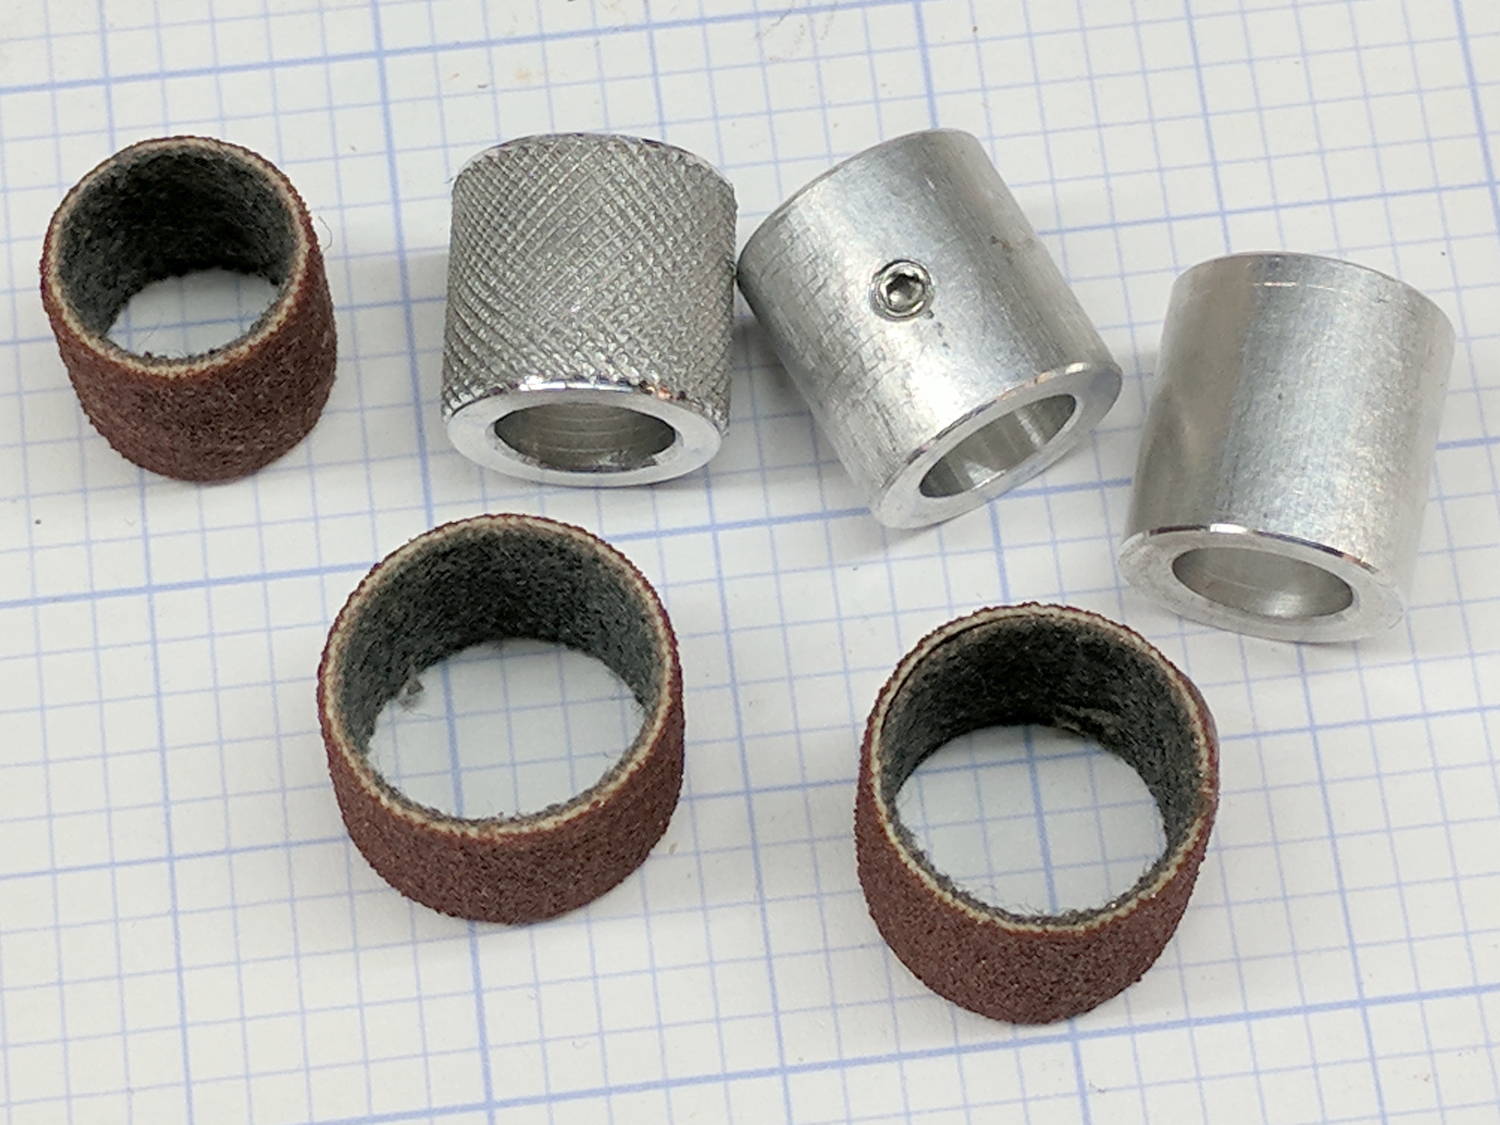
As part of recommissioning the lathe tailstock, I made some bushings to adapt Dremel sanding
drumsbands to an 8 mm shaft (in imitation of the grit drive wheels on the HP plotter):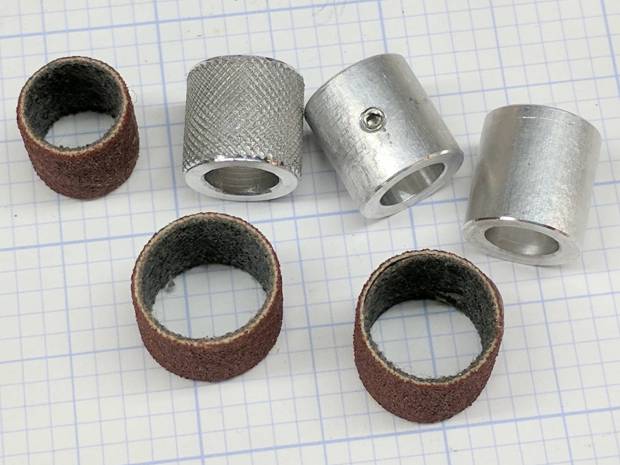
Plotter Y bushing – samples They’re not all the same because the lad who’s building the plotter got to turn out his own bushings. We think the knurled version, with a setscrew to lock it on the shaft, will work better than adhesive-bonding the drum to the bushing.
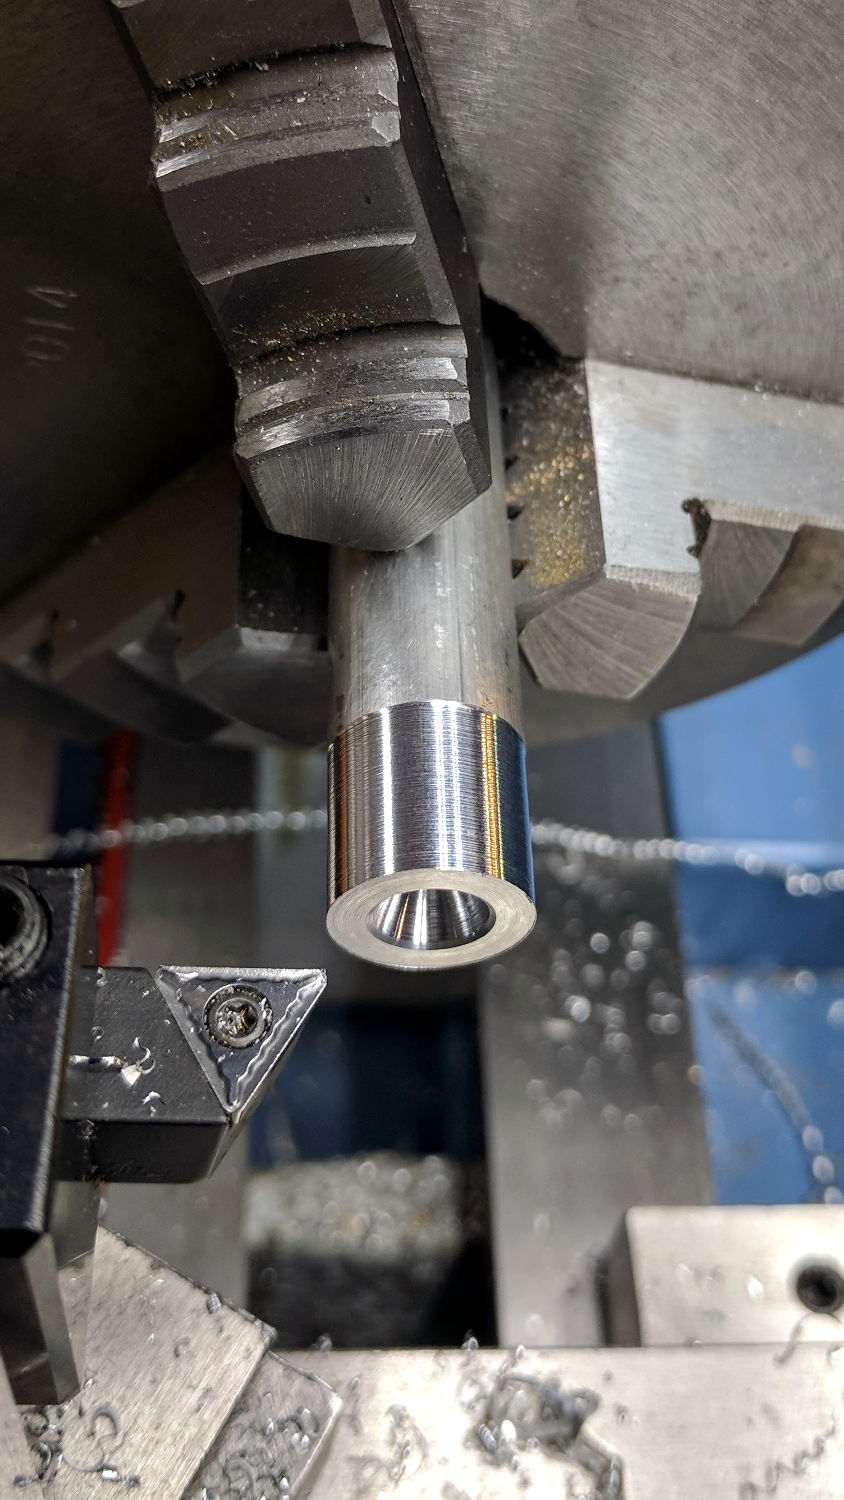
The overall process starts with a rough 1/2 inch aluminum rod. Skim-cut to get a concentric surface and face the end smooth:
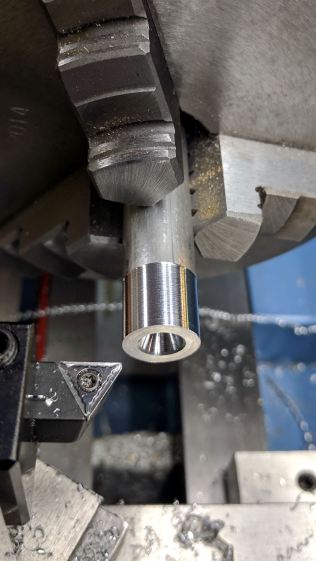
Plotter Y bushing – facing Then knurl it:
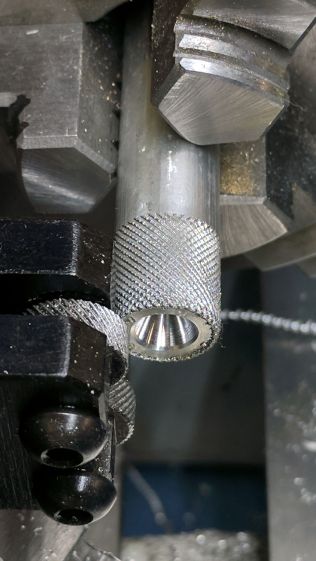
Plotter Y bushing – knurling The skim cut makes the aluminum rod a loose fit inside the sanding band, but the knurling enlarges the diameter enough to make it a firm press fit and I think it’ll have enough traction to stay in place.
FWIW, the wheels in the LittleMachineShop knurling tool seem pretty bad: the central holes aren’t quite concentric with the cutting edge, the bores are a loose fit on the mounting screws, the wheels are much narrower than the slots they ride in, so they wobble uncontrollably. It’s not a fatal flaw, but they definitely produce a sub-par knurl.
Face off the front, cut the knurling down at each end, then part it off:
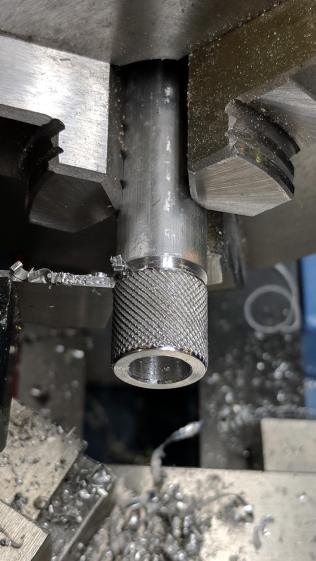
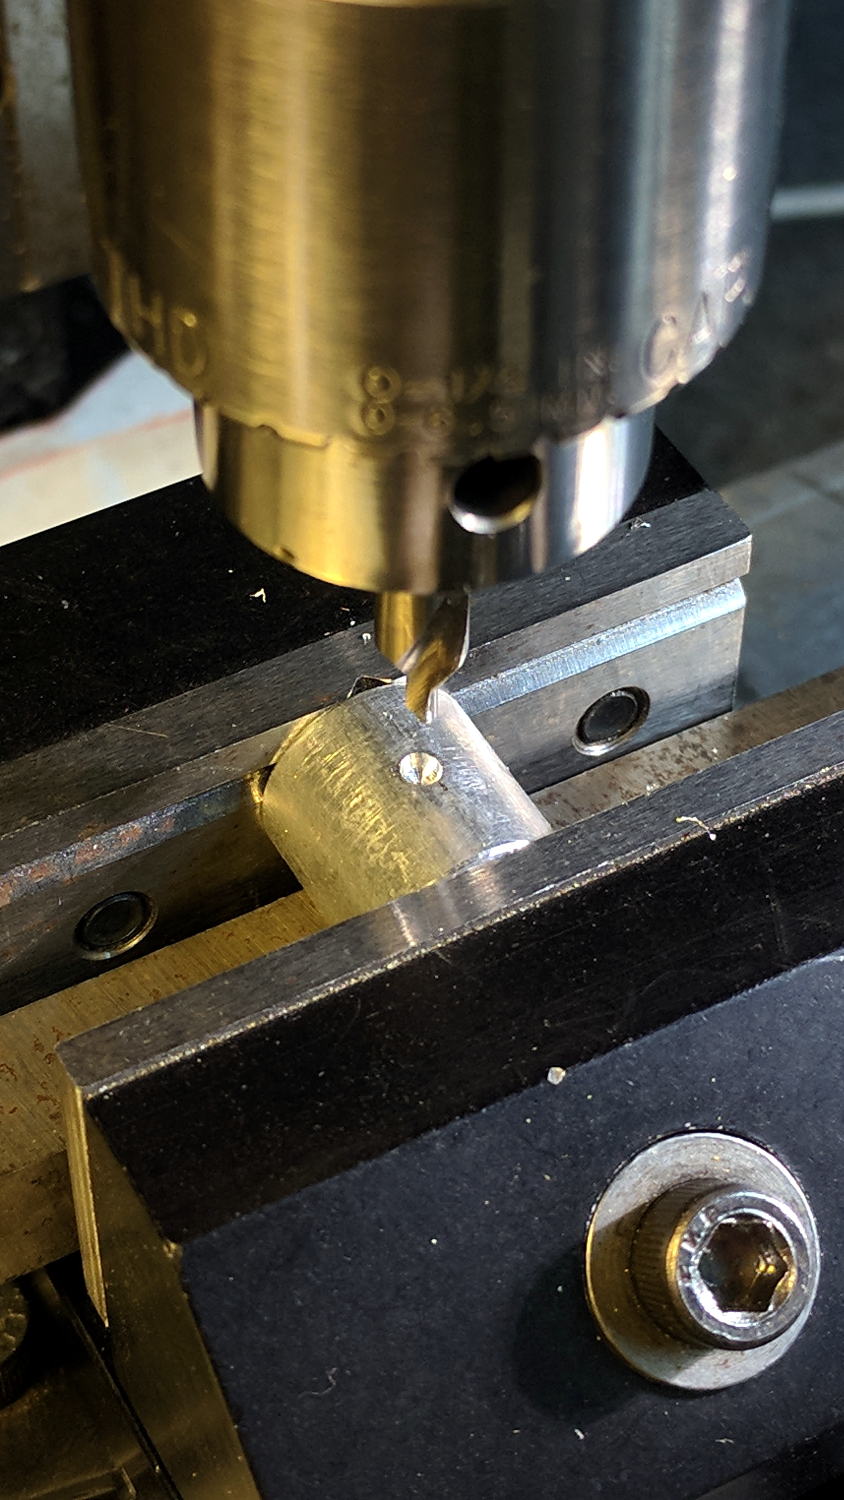
Plotter Y bushing – cutoff Clamp it in the Sherline mill, laser-spot the edges, set the origin in the middle, and center drill:
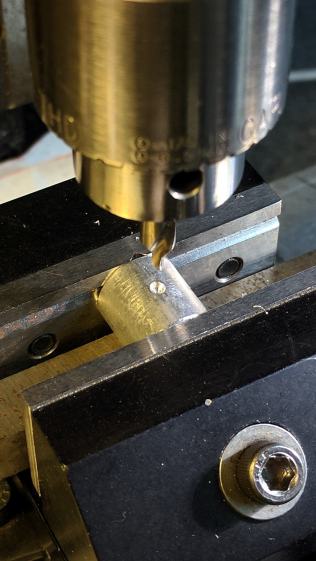
Plotter Y bushing – center drill Drill and tap for a teeny M3 setscrew:
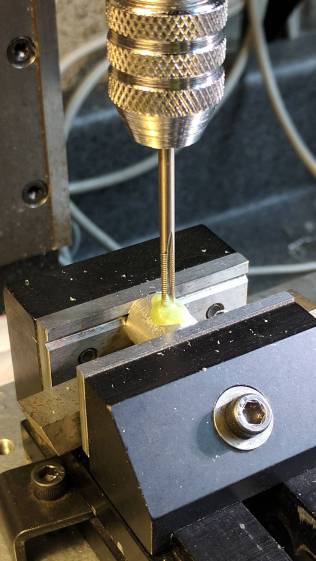
Plotter Y bushing – tapping Clean out the chips, debur the hole, install the setscrew, and you’re half-done: do it again to get the second drive roller!



-
Subscribe
Subscribed
Have a WordPress.com account? Log in now.

