-
MPCNC: Epoxy-Coated Endstop Switches
Using 3D printer style endstop switches has the advantage of putting low-pass filters (i.e. caps) at the switches, plus adding LED blinkiness, but it does leave the +5 V and Gnd conductors hanging out in the breeze. After mulling over various enclosures, it occured to me I could just entomb the things in epoxy and be done with it.
The first step was to get rid of the PCB mounting screws and use 3M permanent foam tape:
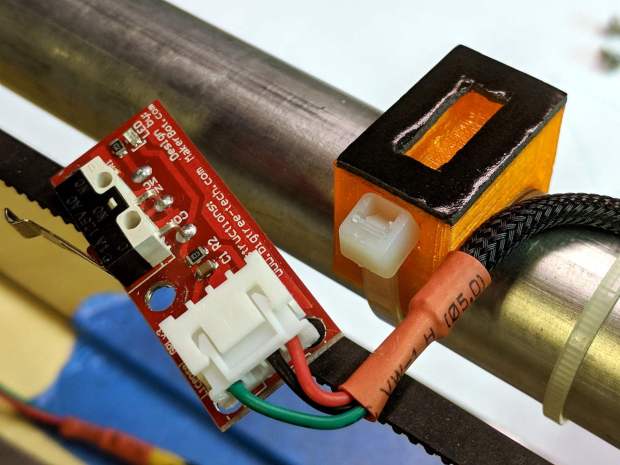
MPCNC – Epoxy-coated Endstop – Adhesive Tape Get all the switches set up and level, mix up 2.8 g of XTC-3D (because I have way too much), and dab it on the switches until all the exposed conductors have at least a thin coat:
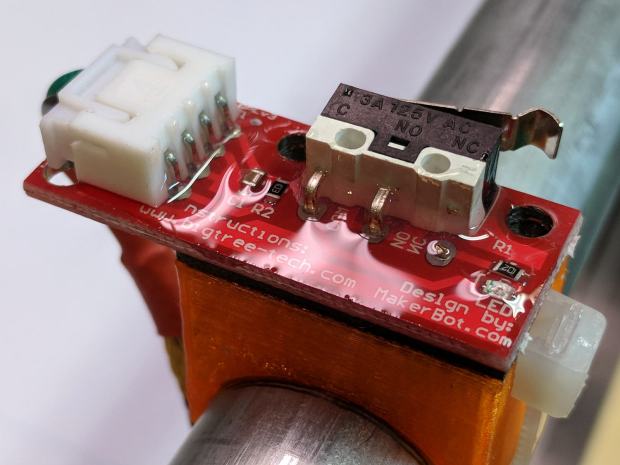
MPCNC – Epoxy-coated Endstop – Installed You should use a bit more care than I: the epoxy can creep around the corner of the switch and immobilize the actuator in its relaxed position. Some deft X-Acto knife work solved the problem, but only after firmly smashing the X axis against the nonfunctional switch.
Epoxy isn’t a particularly good encapsulant, because it cures hard and tends to crack components off the board during temperature extremes. These boards live in the basement, cost under a buck, and I have plenty of spares, so let’s see what happens.
At least it’s now somewhat more difficult to apply a dead short across the Arduino’s power supply, which comes directly from a Raspberry Pi’s USB port.

-
Subscribe
Subscribed
Have a WordPress.com account? Log in now.

