-
Pi-Hole with DNS-over-HTTPS
With none other than Troy Hunt recommending Pi-Hole, I got a Round Tuit:
unzip 2018-06-27-raspbian-stretch-lite.zip -d /tmp
sudo dcfldd status=progress bs=1M of=/dev/sde if=/tmp/2018-06-27-raspbian-stretch-lite.img
Raspbian now arrives with
sshdisabled, so the first boot requires a keyboard and display:
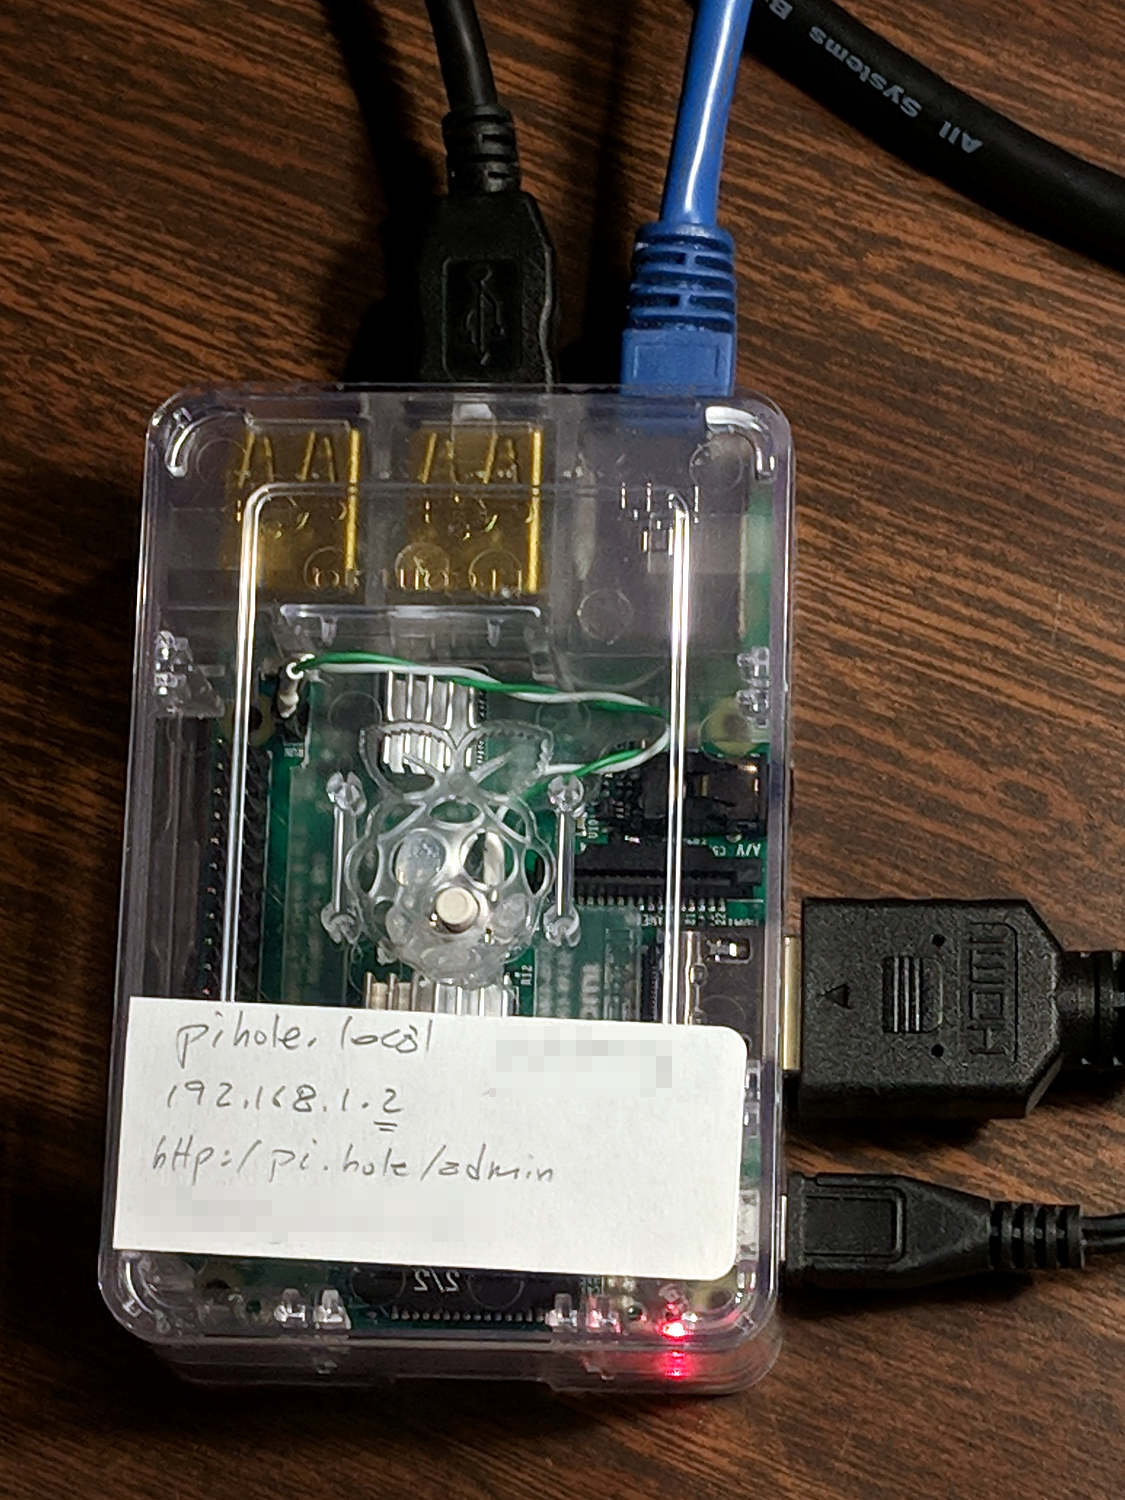
Pi-Hole first boot wiring Then do some configuration required to get a fresh Raspberry Pi ready for remote access:
sudo apt-get update
sudo apt-get upgrade
sudo apt-get install screen iotop
sudo raspi-config   # enable ssh
ssh-keygen -t rsa
cd ~/.ssh
cp -a /my/public/key authorized_keys
chmod go-rwx authorized_keys
cd
sudo nano /etc/ssh/sshd_config  # unusual port, no root login, etc
sudo service ssh restart
As the good folks at Pi-Hole say, “Piping to bash is controversial, as it prevents you from reading code that is about to run on your system.” I took a look, it’s beyond my comprehension, so just get it done:
curl -sSL https://install.pi-hole.net | bash
Configure Pi-Hole:
- Static IP: 192.168.1.2/24
- DNS using, say, Cloudflare’s 1.1.1.1
- DHCP turned off, which is the default
Configure the router’s DHCP to hand out the Pi-Hole’s IP, with, say, 9.9.9.9 as a backup.
Boot a few random PCs and whatnot to verify it works as expected, which it did the second time around, thus this particular post.
Install the Cloudflare Argo Tunnel dæmon, approximately according to suggestions:
mkdir Downloads
cd Downloads/
wget https://bin.equinox.io/c/VdrWdbjqyF/cloudflared-stable-linux-arm.tgz
tar zxvf cloudflared-stable-linux-arm.tgz
sudo mkdir /opt/cloudflare
sudo cp cloudflared /opt/cloudflare/
Start the daemon from within a
screensession, also as suggested:sudo /opt/cloudflare/cloudflared proxy-dns --port 54 --upstream https://1.1.1.1/.well-known/dns-query --upstream https://1.0.0.1/.well-known/dns-query INFO[0000] Adding DNS upstream url="https://1.1.1.1/.well-known/dns-query" INFO[0000] Adding DNS upstream url="https://1.0.0.1/.well-known/dns-query" INFO[0000] Starting metrics server addr="127.0.0.1:37777" INFO[0000] Starting DNS over HTTPS proxy server addr="dns://localhost:54"
Contrary to the suggestions, you can configure Pi-Hole to use the DoH tunnel (or whatever it’s called) by tweaking its upstream DNS configuration:

Pi-Hole – Cloudflare DNS config Then set up
systemdto start the daemon automagically:sudo nano /etc/systemd/system/dnsproxy.service
Because I put the daemon in
/opt/cloudflare, that file differs slightly from the suggestion:[Unit] Description=CloudFlare DNS over HTTPS Proxy Wants=network-online.target After=network.target network-online.target [Service] ExecStart=/opt/cloudflare/cloudflared proxy-dns --port 54 --upstream https://1.1.1.1/.well-known/dns-query --upstream https://1.0.0.1/.well-$ Restart=on-abort [Install] WantedBy=multi-user.target
And then It Just Worked.
Controversies over the ethics of ad and tracker blocking will go nowhere here, as I’ve cleaned out enough Windows machines to have absolutely no sympathy with the unholy spawn of adtech (not just the company, which I didn’t know existed until just now, but, yeah, them too).

-
Subscribe
Subscribed
Have a WordPress.com account? Log in now.

