-
PETG Diamond Drag Engraving Tests
The hairline on the second machined cursor looks pretty good:
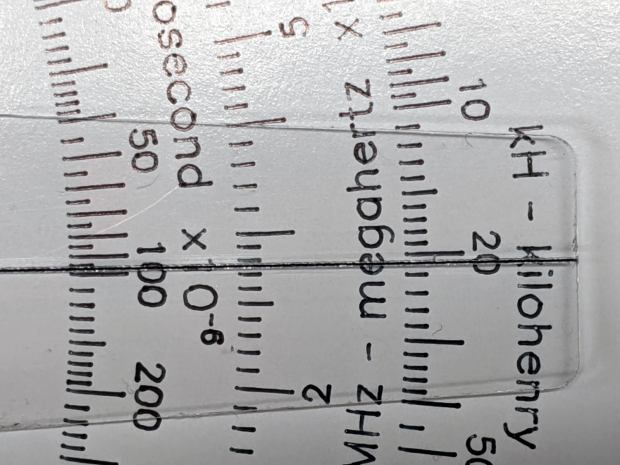
Tek CC – Milled cursor – unlaminated bottom deck Based on manually scratching some acrylic, the GCMC code retraced the hairline four times to help the Sharpie stick to the groove. Maybe fewer passes would be better?
Affix a PETG scrap to the milling fixture for some manual CNC action:

PETG – engrave through film Just to see what happened, I made the first scratch through the protective film and, because it’s hard to tell which side is up, the scratch went through the white film.
Repeat several times with variations in number of passes & downforce:

PETG – engraving test – overview - 2 passes, 300 g, through film
- 2 passes, 300 g, no film
- 1 pass, 300 g
- 3 passes, 300 g
- 4 passes, 300 g
- 1 pass, 260 g
- 1 pass, 330 g
A closer look through the PETG sheet, as you’d see finished hairline, with the scratches in the same order as above:

PETG – engraving test – detail grid They may be easier to see against a blank background:

PETG – engraving test – detail plain Or in a hairline’s natural environment:

PETG – engraving test vs Testors sample The absolute best-looking line is at the top, with the diamond point scribing through the (white) protective plastic film.
Multiple passes average out the waves / glitches / irregularities, at the cost of broadening the hairline.
The bottom hairline suggests a single pass with more downforce produces a broader groove and a finer line of Sharpie ink at the bottom; the top appears more rounded and the bottom more ragged.
Doing one pass with enough pressure to cut through the thinner (?) transparent(-ish) film may produce a better overall result. This will require me to get the orientation right.
The Real Hairline in my K&E Deci-Lon slipstick is a smoothly engraved, neatly half-cylindrical, channel with a smooth thread of red (!) ink / paint / pigment laid along the middle. Obviously, my engraving hand is weak …
The nightmare scenario: engraving a smooth hairline groove, completely backfilling it with paint, sanding (that side of) the cursor smooth to leave the groove’s paint flush with the surface, then polishing the plastic back to full transparency. Even I agree that’s crazy talk, at least for a circular slide rule made with laminated paper decks.
-
Subscribe
Subscribed
Have a WordPress.com account? Log in now.

