-
Prusa MK4: Mesh Bed Leveling Temperature vs. 0.8 mm Ruby Durozzle
After going through the ritual required to install the 0.8 mm nozzle and preload the filament, the hot end looks like this before installing the silicone sock:
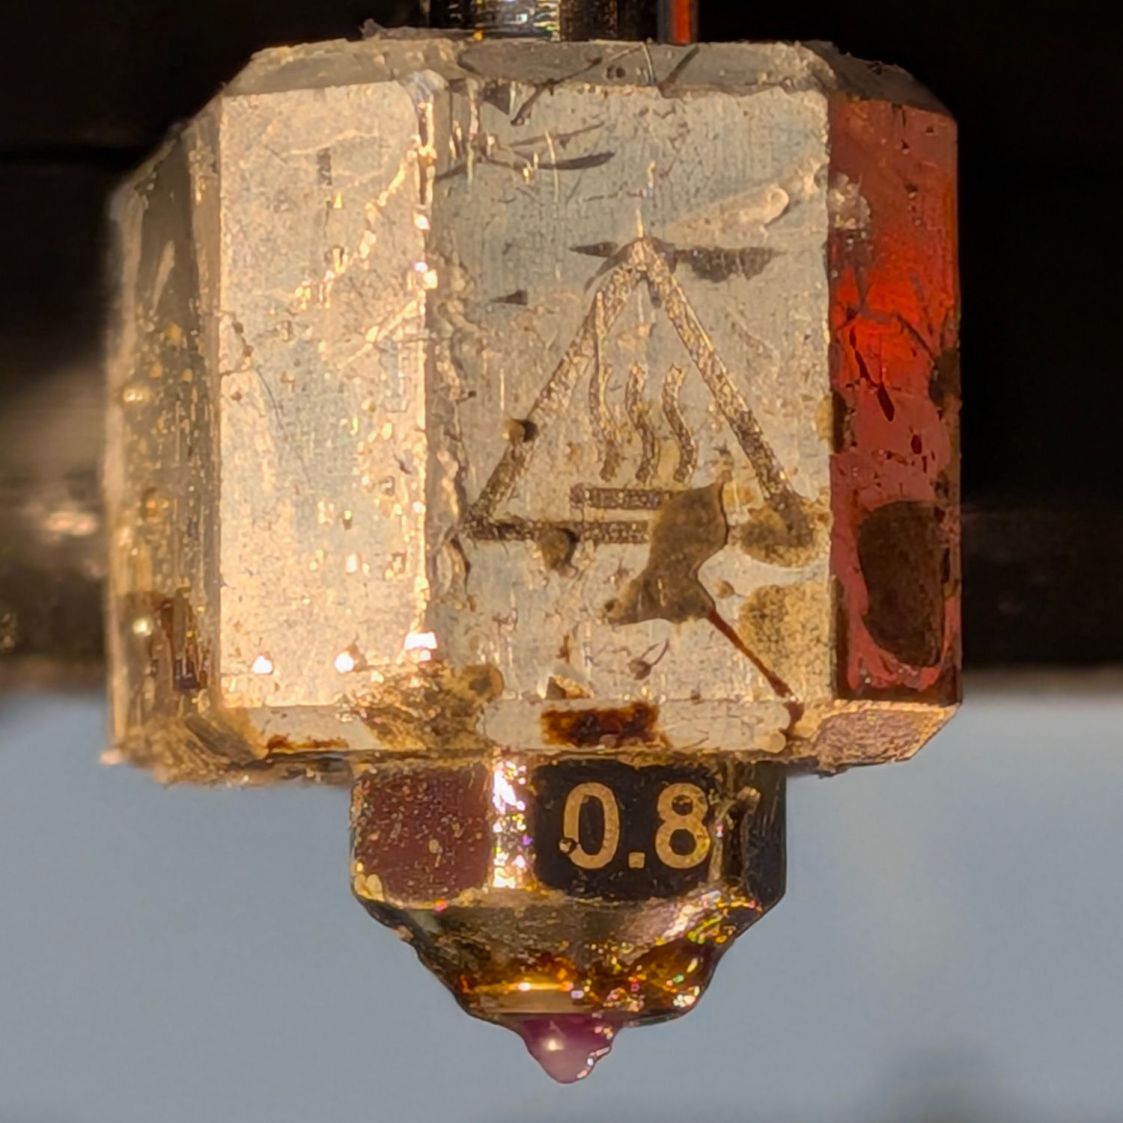
Prusa MK4 hot end – 0.8 mm Durozzle ruby – front The aluminum block doesn’t look nearly as awful as these pictures suggest; those plastic smears serve as reminders of a few previous printing mishaps.
The nozzle is a 0.8 mm Durozzle with a ruby tip suitable for abrasive filaments like PETG-CF, although this is gooey squishy “natural” TPU:
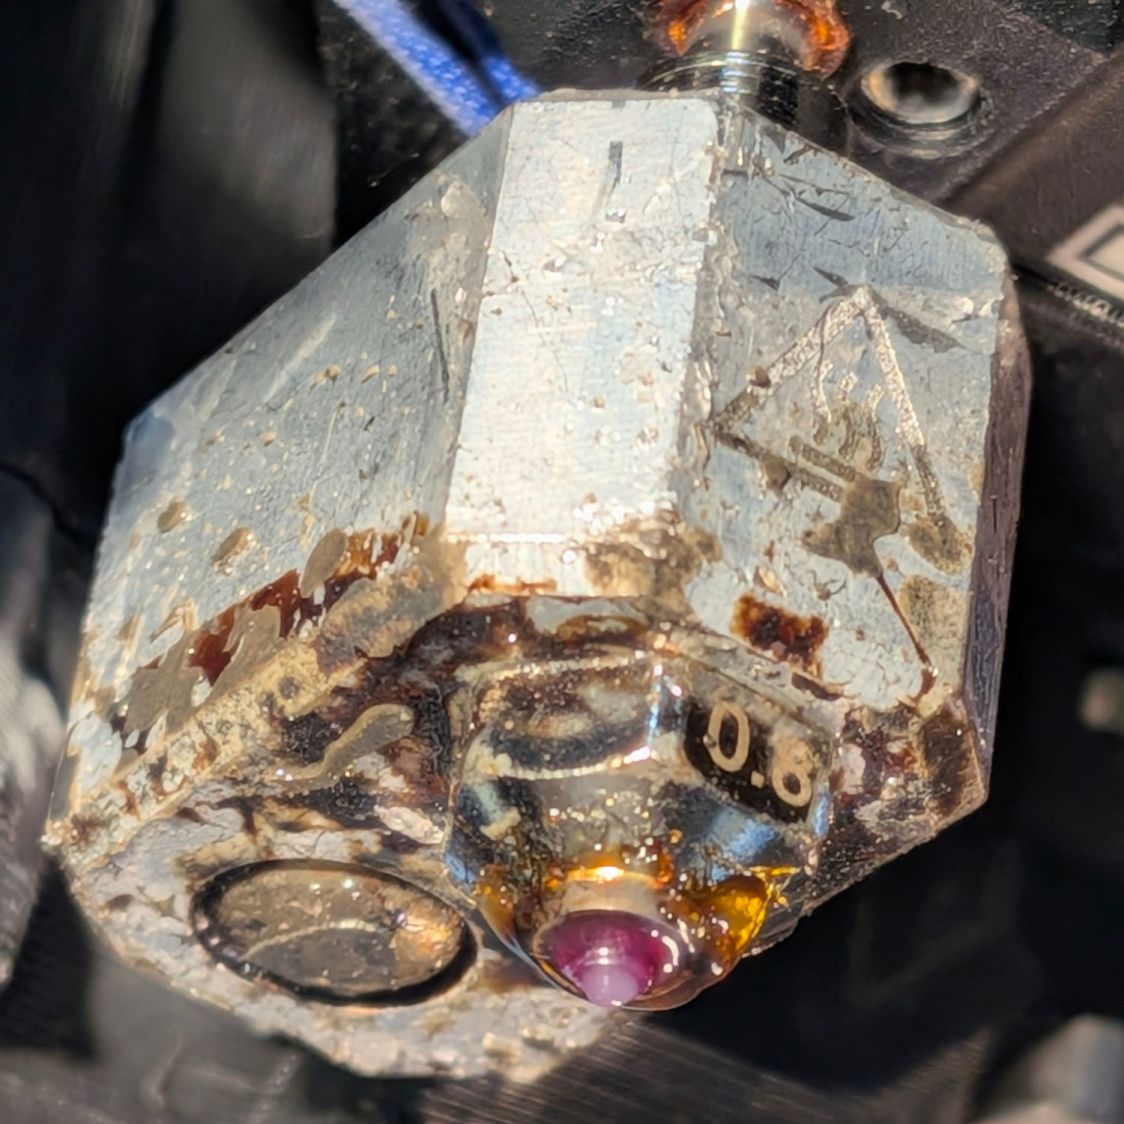
Prusa MK4 hot end – 0.8 mm Durozzle ruby – bottom The first patio table foot test piece in TPU had terrible adhesion to the Textured Sheet, which I eventually tracked down to an excessively thick first layer. Given that the MK4 homes the axes and performs mesh bed leveling probes over the build area, this was difficult to believe, particularly because it had never been a problem with the Prusa 0.4 mm ObXidian hardened steel nozzle.
More poking around showed some of the plastic drool left on the outside of the nozzle from the previous print session (as shown in the two pictures above) could remain hardened or at least “not squishy” despite the nozzle being heated before homing and mesh probing. Because probing depends on having the nozzle touch the platform, anything between the nozzle and the steel sheet will raise the Z=0 position and cause all the layers to be too high.
As far as I can tell, ruby has a thermal coefficient around 40 W/m·K, roughly the same as steel. Both are considerably lower than the 200-ish W/m·K for the aluminum block surrounding the nozzle tube, suggesting most of whatever temperature gradient there may be occurs between the heater and the nozzle, not in the nozzle.
While puzzling that out, I noticed the nozzle heated to only 160 °C prior to homing and probing, which seemed low for a filament calling for 230 to 250 °C during printing. Ordinary PETG heated to 170 °C, so something was different.
More puzzling showed the
Start G-Codesection of the printer’sCustom G-Codesets the home / probe temperature, herein reformatted for readability:M140 S[first_layer_bed_temperature] ; set bed temp M104 T0 S{((filament_notes[0]=~/.*MBL160.*/) ? 160 : (filament_notes[0]=~/.*HT_MBL10.*/) ? (first_layer_temperature[0] - 10) : (filament_type[0] == "PC" or filament_type[0] == "PA") ? (first_layer_temperature[0] - 25) : (filament_type[0] == "FLEX") ? 210 : (filament_type[0]=~/.*PET.*/) ? 175 : 170)} ; set extruder temp for bed leveling M109 T0 R{((filament_notes[0]=~/.*MBL160.*/) ? 160 : (filament_notes[0]=~/.*HT_MBL10.*/) ? (first_layer_temperature[0] - 10) : (filament_type[0] == "PC" or filament_type[0] == "PA") ? (first_layer_temperature[0] - 25) : (filament_type[0] == "FLEX") ? 210 : (filament_type[0]=~/.*PET.*/) ? 175 : 170)} ; wait for tempThe bursts of line noise after the
M104 Set Extruder TemperatureandM109 Set Extruder Temperature and Waitcommands consist of nested ternary operators sifting placeholder variables defined in other parts of the slicer configuration.I had set up the eSun TPU 95A filament parameters based on Prusa’s TPU definition. I eventually discovered that definition includes the text
MBL160in itsNotessection, which satisfies the regex in the first ternary operator:(filament_notes[0]=~/.*MBL160.*/) ? 160 : … snippage …
Which then emitted the
M104 T0 S160andM109 R160commands into the G-Code to set the temperature.After considerably more flailing around while figuring this out, I changed the filament
Notesto read:HT_MBL10 -- force higher probe temperature for Durozzle ruby nozzle mbl160 -- disabled by lowercase
Which then falls through to the regex in the second ternary operator:
(filament_notes[0]=~/.*HT_MBL10.*/) ? (first_layer_temperature[0] - 10) :
Which sets the temperature to 10 °C below the first layer temperature, which I had set to 230 °C, so the probing now occurs at 220 °C.
I am not making this up.
Although that may be a bit too hot, the drool on the nozzle softens nicely and smashes flat during probing, thus solving the immediate problem and, without further ado, produced good round and square TPU feet.
-
Subscribe
Subscribed
Already have a WordPress.com account? Log in now.
