Ed Nisley's Blog: Shop notes, electronics, firmware, machinery, 3D printing, laser cuttery, and curiosities. Contents: 100% human thinking, 0% AI slop.
Recumbent Riders – North Grand Avenue Crossing – 2014-04-05
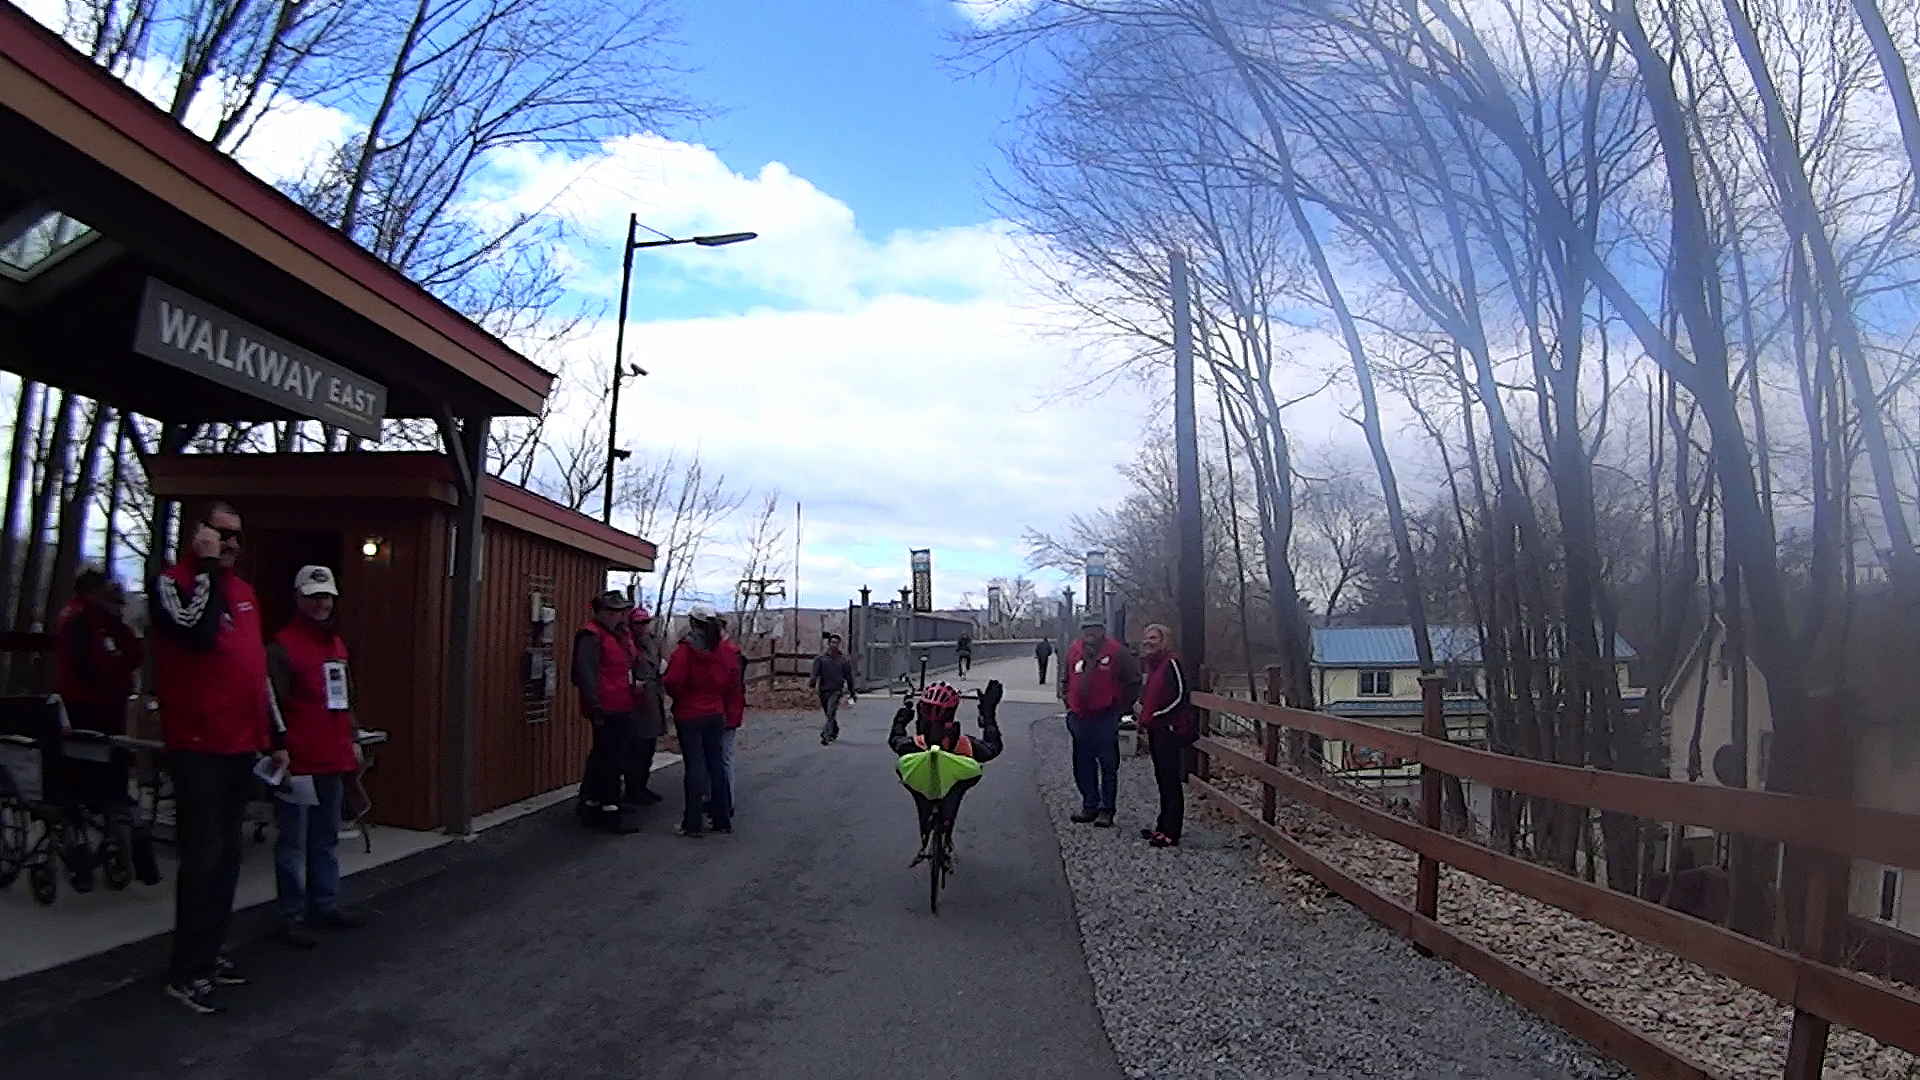
A highracer gingerly navigates the low-speed gauntlet to the Walkway Over the Hudson:
Recumbent Riders – Walkway Over the Hudson Entrance – 2014-04-05
The pix come from the Sony HDR-AS30V helmet camera video, set to 1920×1080 / 120° @ 60 frame/s. They’ve had a bit of refocusing and color adjustment, but nothing can dramatically improve them. The video looks better only because eyes aren’t as fussy with moving images. I’m not red-hot pleased with the resolution & compression, but the camera is what it is.
The lens carried a smear on the upper-right quadrant that shows the sensitivity of the optical path.
Memo to Self: Clean the lens and keep fingers off!
That’s harder than it may seem. The Start button is on the back of the body, recessed far enough into the skeleton frame to require an index finger rather than a thumb, and it’s remarkably easy to touch the bulging fisheye lens with your (well, my) thumb; a touch is all it takes to create a nice smear.
I started and ended at home, rather than at the Hopewell Junction end, but you get the general idea:
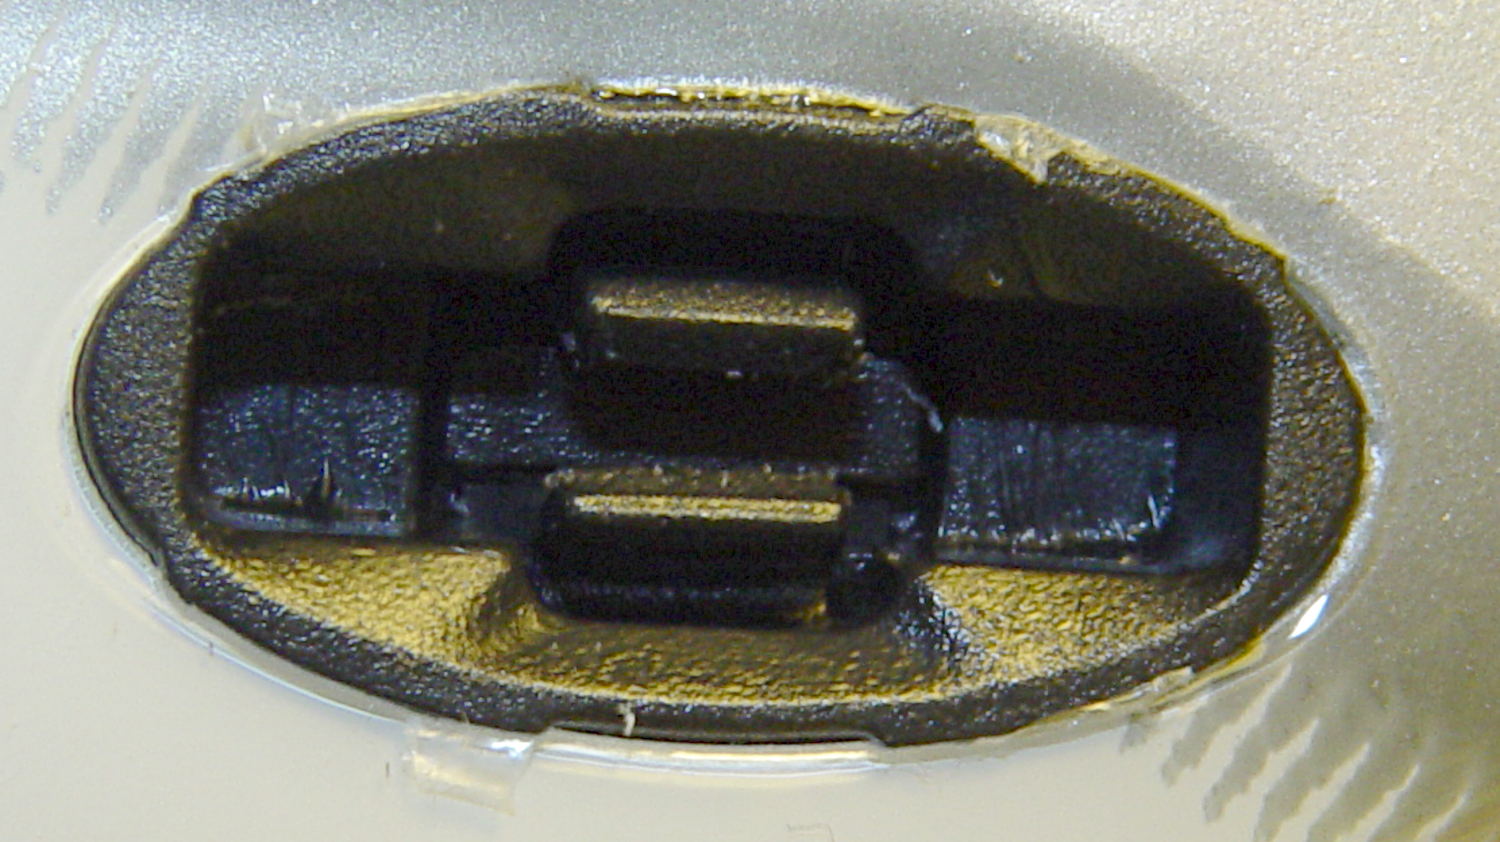
Santa delivered a pair of helmets that will require mirror mounts and a mic boom before the spring riding season kicks in. The visor has tabs that snap into sockets on each side of the helmet:
Bell Helmet Visor Mount – socket
It occurred to me that I could make an interposer between the helmet and the visor that could anchor the mic boom, with a tab for the helmet and a socket of some sort for the visor. While that’s still on the to-do list, the tab looks like this:
Bell Helmet Visor Mount
Those are 1 mm cubes on 10 mm centers, so this is a teeny little thing.
I don’t have a good idea for the corresponding socket, because those little grippers seem much too small for 3D printing, but now I have some tabs to play with:
Bell Helmet Visor Mount – OEM vs 3D Printed
The OpenSCAD source code puts the tab atop an oval base plate, but it’ll eventually stick out of the boom mount:
One of the battery packs powering the GPS+audio interface on our bikes has completely failed, with zero volts at the output and no charge indication. The other five chug along as well as can be expected:
Initial-brand DVD External Packs – 2013-11
The push-to-test button on Pack 4 has become increasingly erratic over the last few months, rendering the charge status LEDs mostly useless, so it has two curves: the lower capacity came directly from the bike, the higher hot off the charger.
For reference, here’s what they looked like in May 2012:
External Li-Ion packs – 2012-05
And right after they arrived:
Initial External Li-Ion packs
Given their nearly constant use and charge cycling, I’m impressed.
Having just tightened the teeny screws that hold the joints in place for the first time since I glued it to the helmet, I’d say it’s working fine. The 2-56 elevation setscrew has worn a slight dent in the arc and the 3-48 azimuth screw worked slightly loose; the mirror didn’t fall apart, but the position wasn’t as stable as it should be.
If I ever re-do the design, I’ll try adding a recessed metal (brass?) strip along the top of that arc, as that’s the most finicky adjustment. Perhaps a shoe under the setscrew would be better?
Two years of road grit show up clearly against the yellow plastic, though:
Bike helmet mirror mount – two years
For the record, those 2-56 setscrews require 35 mil hex keys; as Eks reminds me, any design requiring those screws is just crazy talk.
The DCRT folks held a “soft opening” last week at the bridge over Rt 55 completing the rail trail from Hopewell Junction to the Walkway Over the Hudson; the Hudson Valley Rail Trail continues westward to Lloyd. I hadn’t actually planned to ride the whole thing, but Monday was a lovely day and, hey, why not?
So here’s what a pleasant, mostly off-road 36 mile ride looks like:
KE4ZNU Rail Trail Ride – 2013-10-14
Hadn’t realized it was Columbus Day until well into the ride, which accounted for a Hudson River crossing at 3 mph embedded in a solid 1.5 mile scrum. Being no fool, I returned over the Poughkeepsie (a.k.a. Mid Hudson) Bridge.
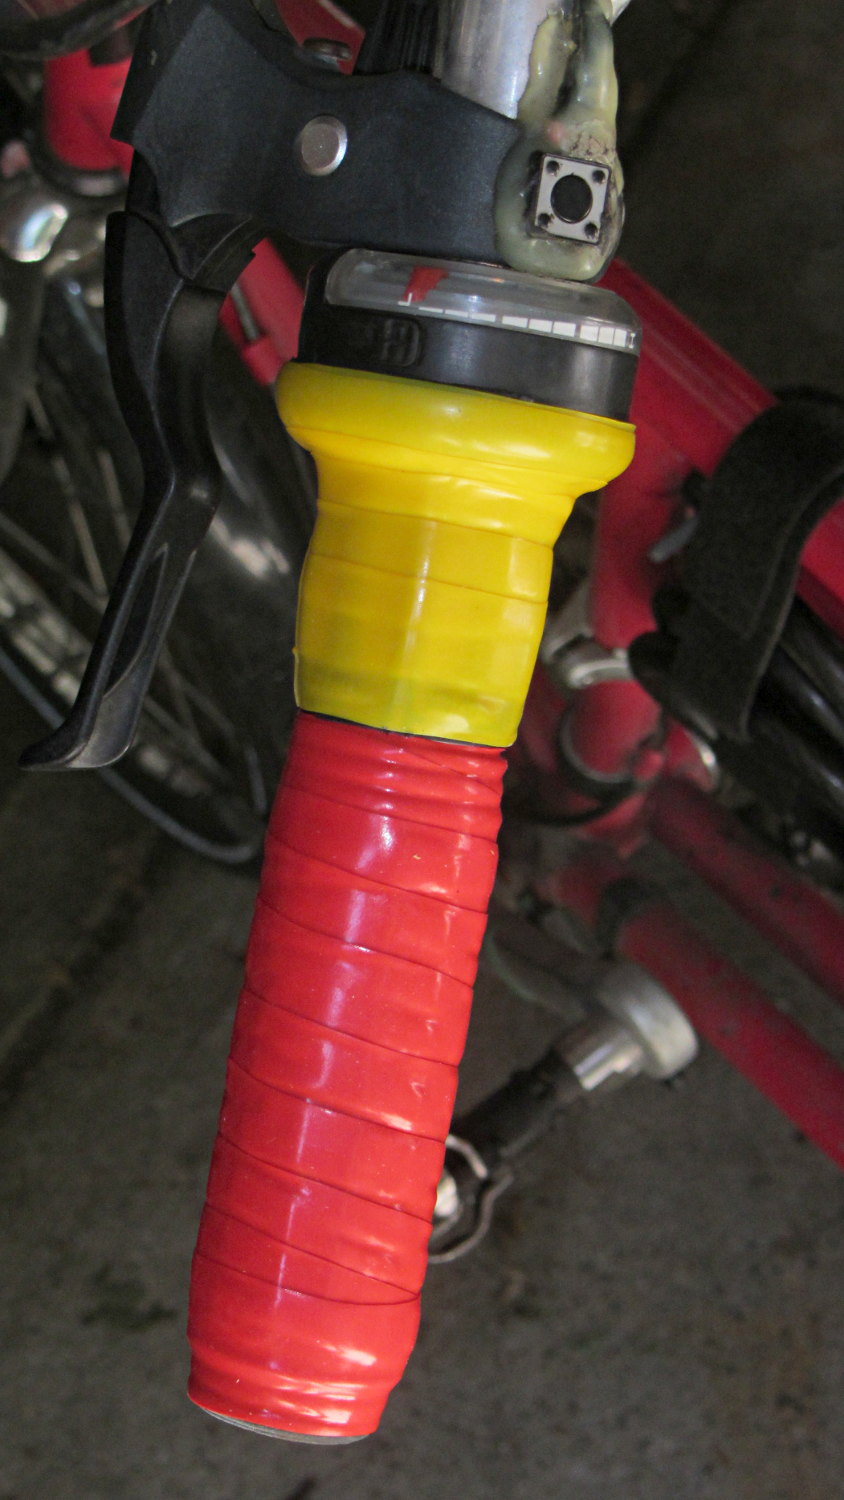
After more than a few years, the handlebar grips on my Tour Easy are rather worn, so I recently wrapped them with cheerful red and yellow silicone tape.
Back in the day, you wrapped with cork tape and had to worry about the direction on each side. Silicone tape fuses into a solid mass and the orientation shouldn’t matter; that’s a Good Thing, because I’m not sure what direction would be correct in this situation.
The yellow section covers the SRAM twist grip, which means it has a moving joint at each end. I suspect the tape will pull back from the larger part of the grip and form an unsightly lump just behind it.
It’s certainly much grippier than I expected…
(The small pushbutton switch is the PTT for the amateur radio HT that does voice and APRS/GPS.)
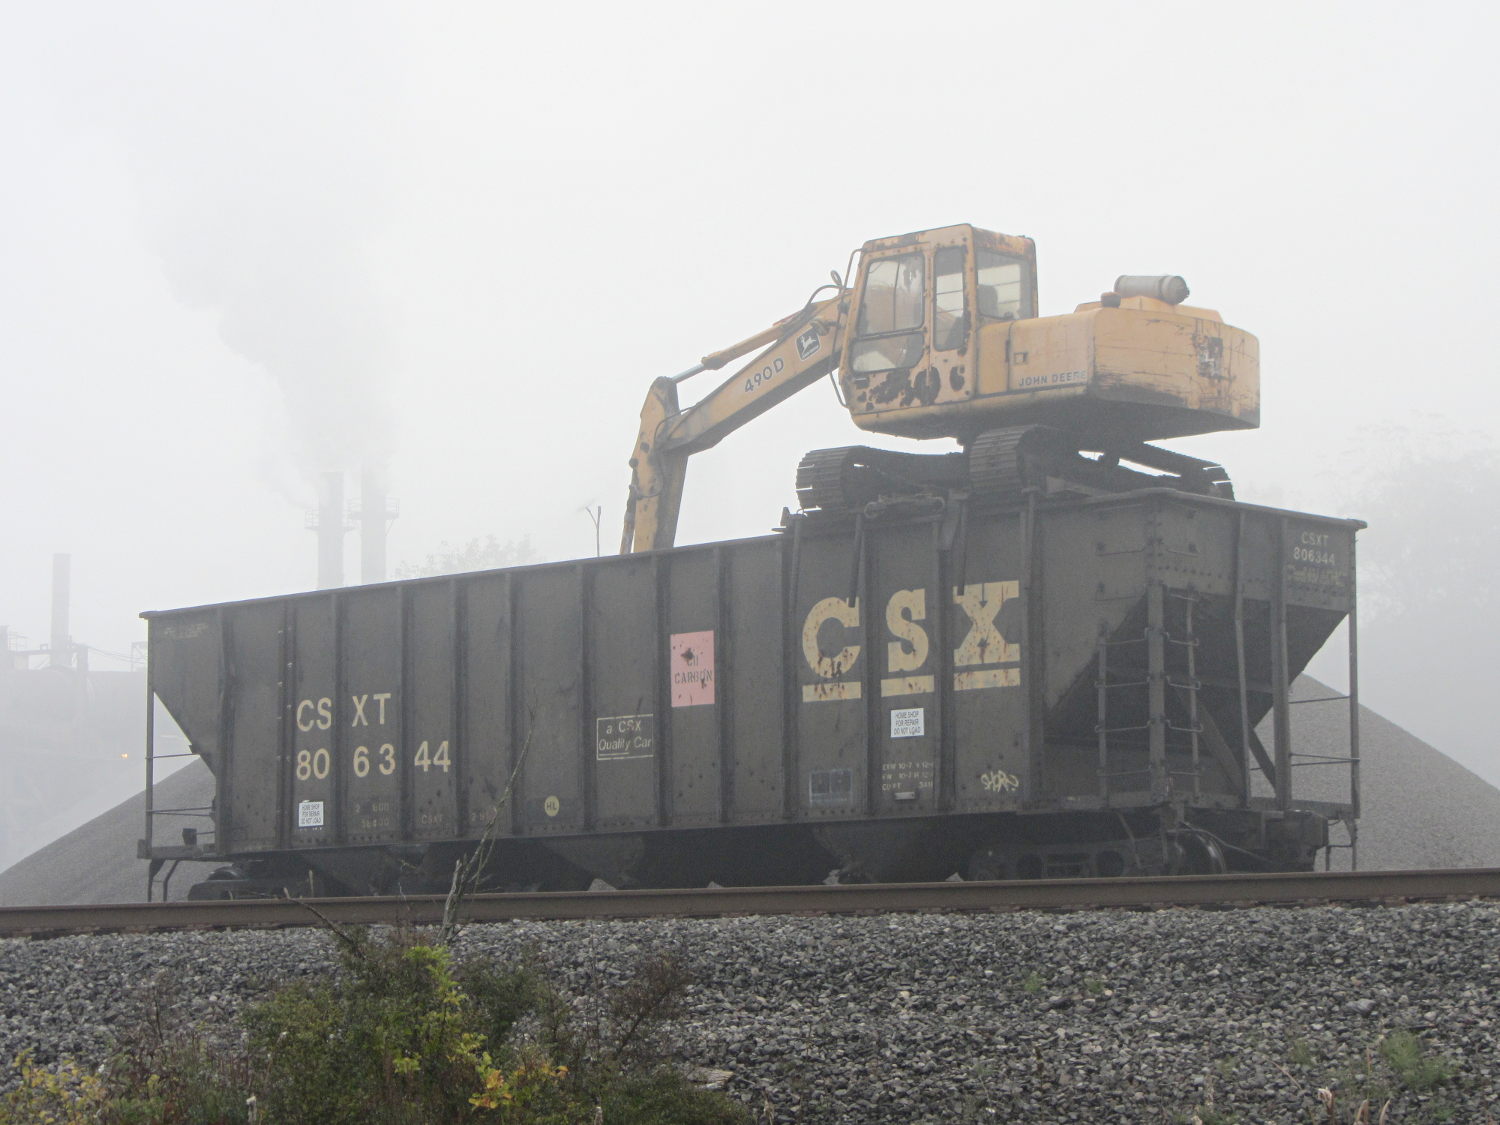
We biked to Saugerties for the Hudson Valley Garlic Festival and spotted this monster looming in the morning mist during the ride home:
Excavator on CSX gondola car – side
The end view shows it’s not an optical illusion:
Excavator on CSX gondola car – end
Some Google Maps fiddling reveals the plant, with the excavator atop the first car on the siding, down in the lower-left corner of the image:
Google Maps – Kings Highway at Tissal Rd
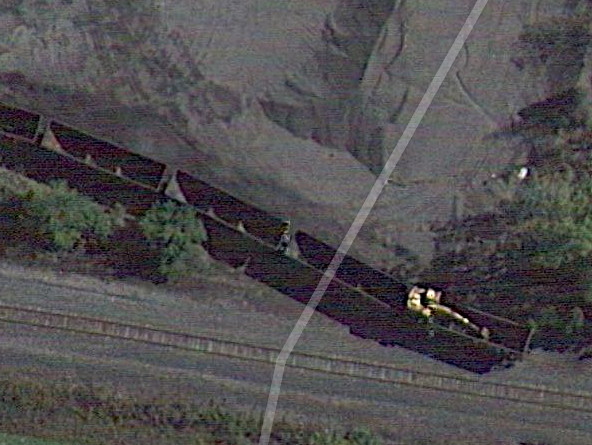
A zoomed view, rotated a quarter-turn CCW so it’s not quite so vertiginous:
Google Maps – Kings Highway at Tissal Rd – detail
My search-fu isn’t strong enough to uncover the plant’s name. They’ve obviously been doing something involving gravel and either asphalt or concrete for many years, so it’s not a prank…