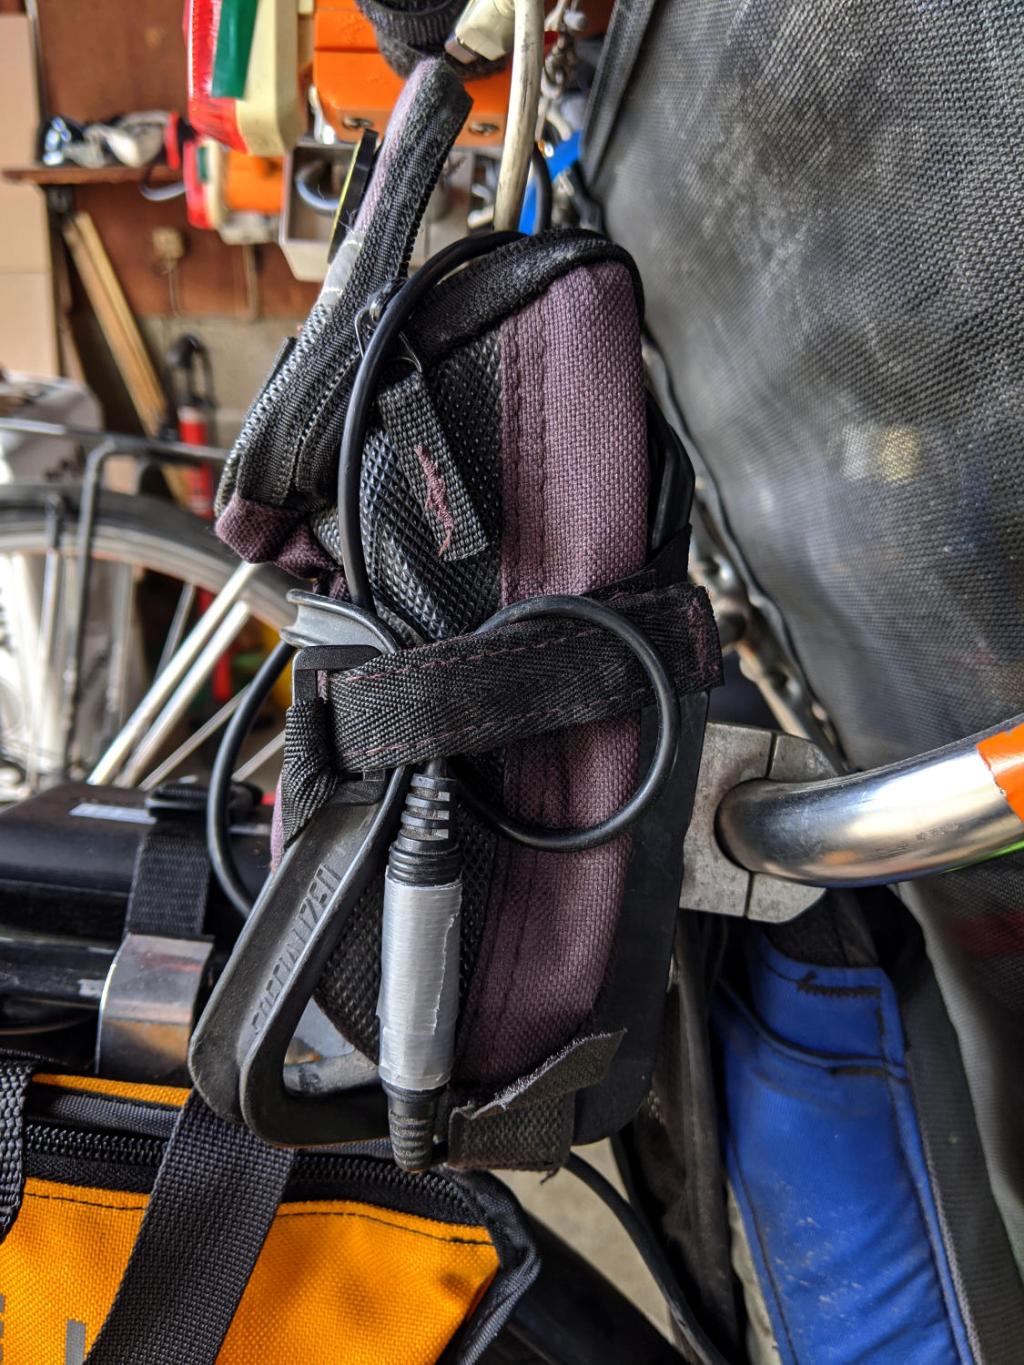
Installing the Bafang BBS02 motor on Mary’s Tour Easy replaced the triple chainring, so I removed the front derailleur and SRAM grip shifter. This produced enough room for the thumb throttle and a full-length handgrip on the left side:
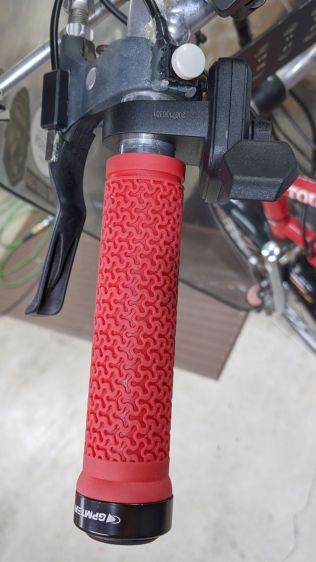
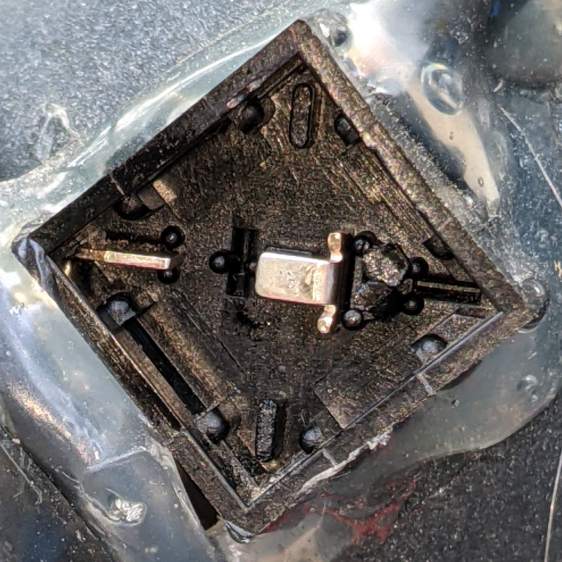
The round button is the PTT switch for the HT.
The right handlebar still has the rear shifter, so it requires a shorter grip:
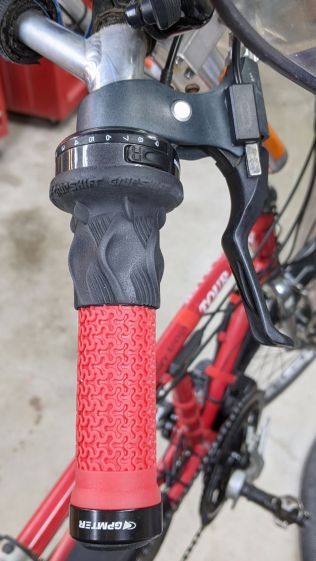
Although it may be possible to buy such a grip and, thereby, get a backup pair of mismatched grips, it seemed easier straightforward to just shorten the grip to the correct length and be done with it.
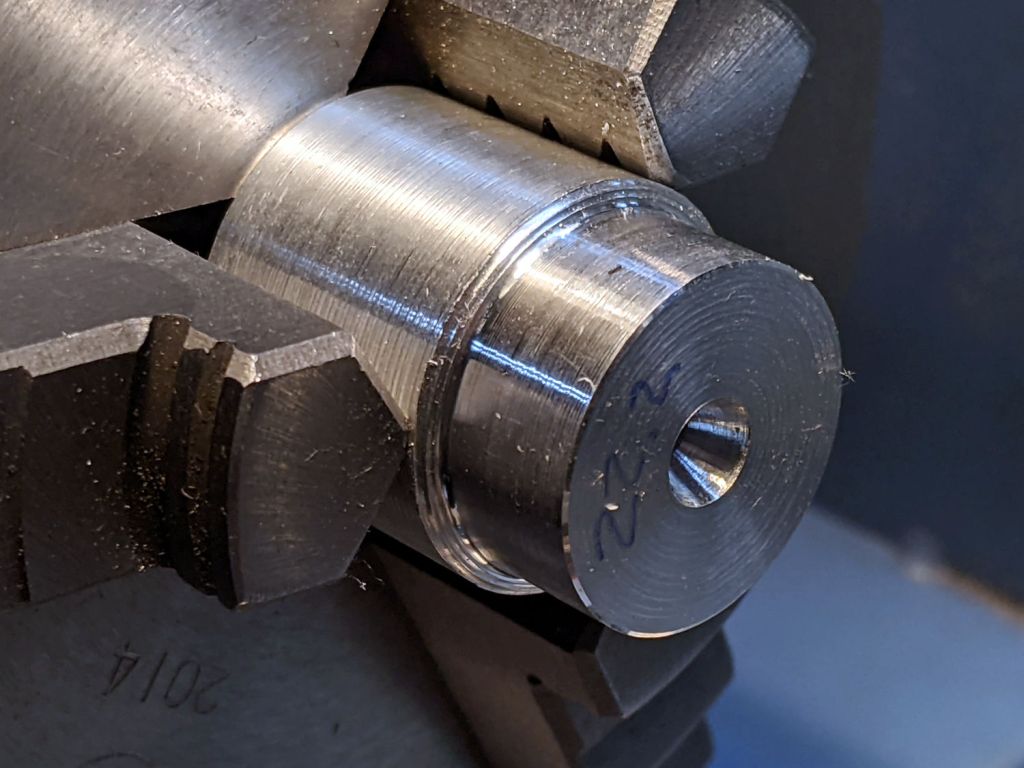
Saw off a convenient length of aluminum rod:
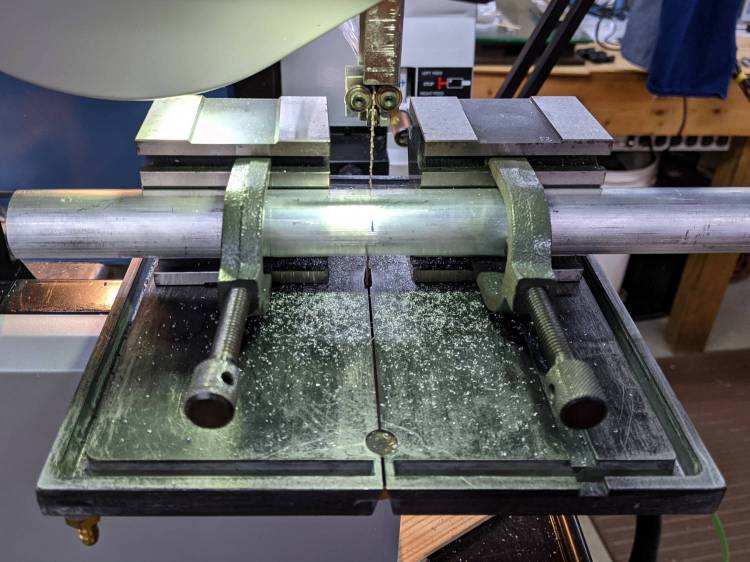
Although I actually used a steady rest to produce this, it happened during a remote Squidwrench meeting and I have no proof:

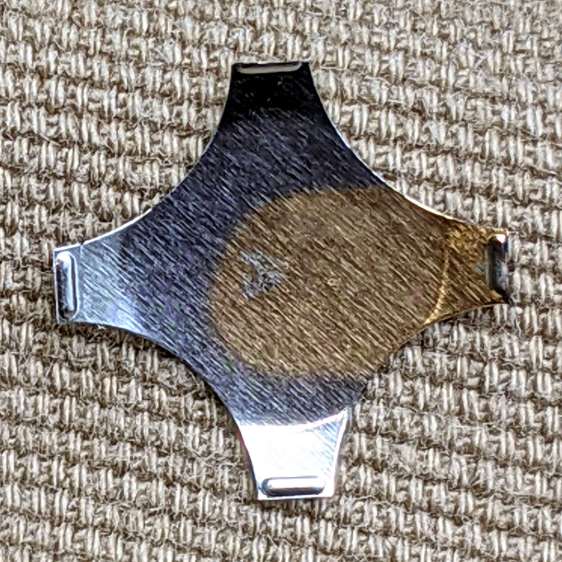
The 22.2 mm = 7/8 inch end matches the more-or-less standard handlebar diameter, so the grip clamp can get a good hold:

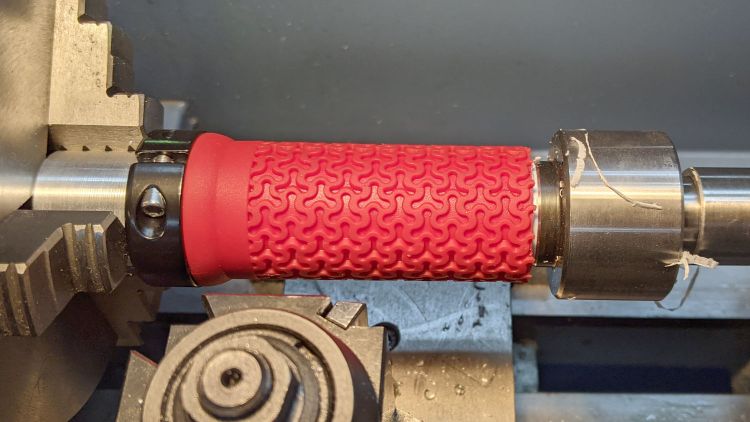
A live center supports the right end of the grip.
The red coating seems to be gooey silicone rubber molded atop a PVC tube. Rather than (try to) use a lathe bit to cut through the silicone, I cut two slits with a utility knife and the spindle turning slowly in reverse, then peeled off the rubber between the slits.
With the silicone out of the way, an ordinary cutoff tool made short work of the PVC:
That was a cleanup pass with the utility knife, as the cutoff tool left a slight flange around part of the circumference. If I had the courage of my convictions, I could probably have cut the PVC with the knife.
Chamfer the end of the cut, slide it on the handlebar, tighten the clamp, and it’s all good.
The alert reader will note the clamp should go on first, but that would produce an inconvenient lump against the right shifter. Sliding them on backwards puts the clamp at the end of the handlebar and works out better in this admittedly unusual situation.