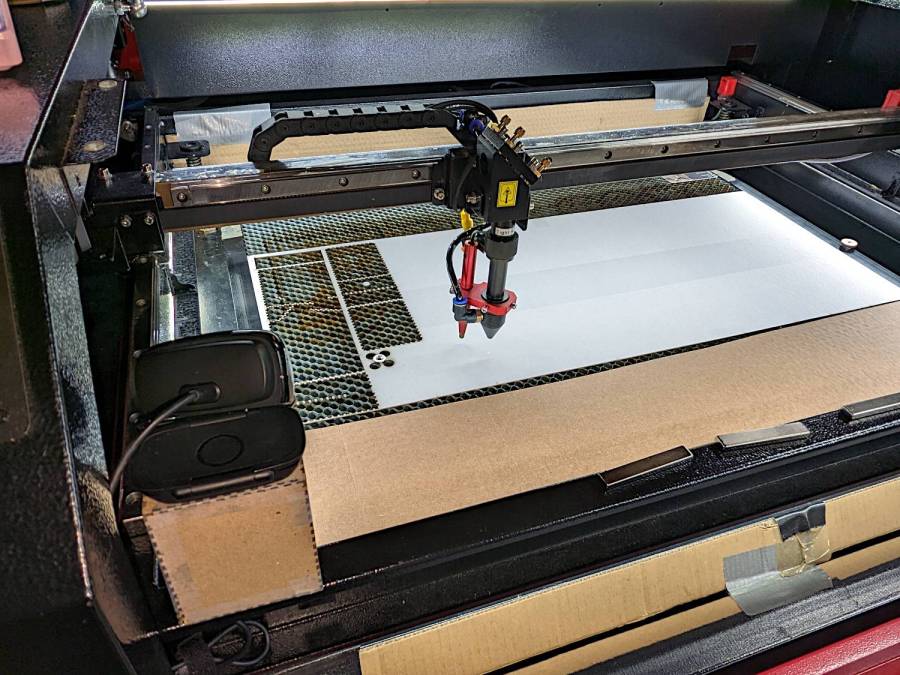
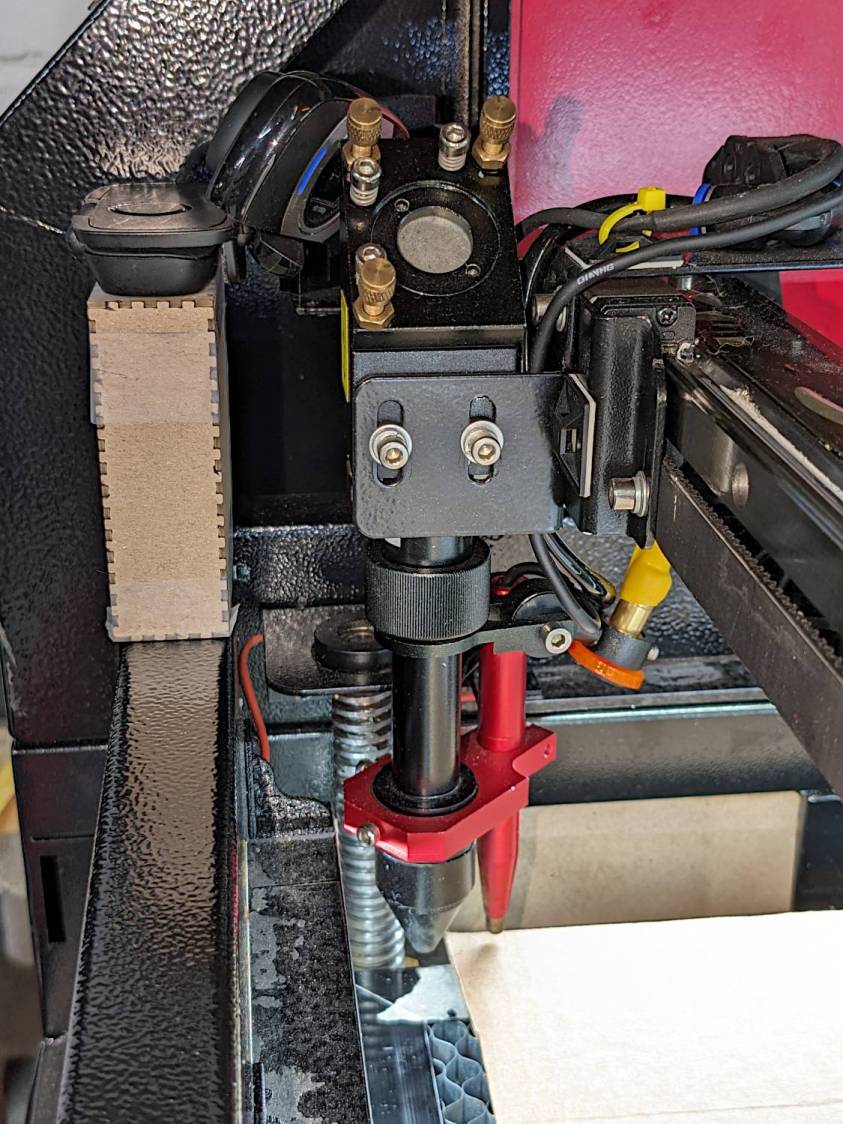
Being in need of a dedicated clamp, I made one from Thingiverse:

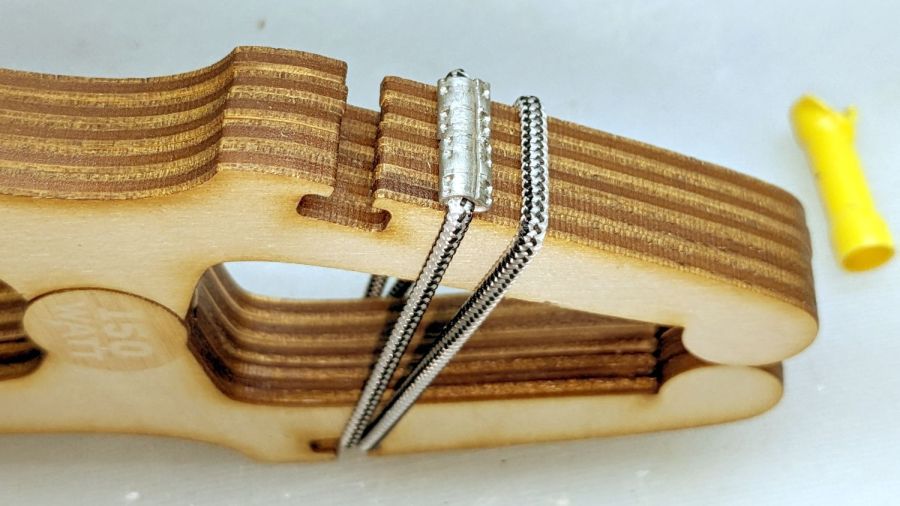
The original gets its clamping force from a gazillion rubber bands, but two wraps of shock cord joined by the guts of an electrical crimp connector worked for my simple needs:
The rounded tips work at any thickness, but introducing them to Ms Belt Sander set them for the specific purpose I have in mind:
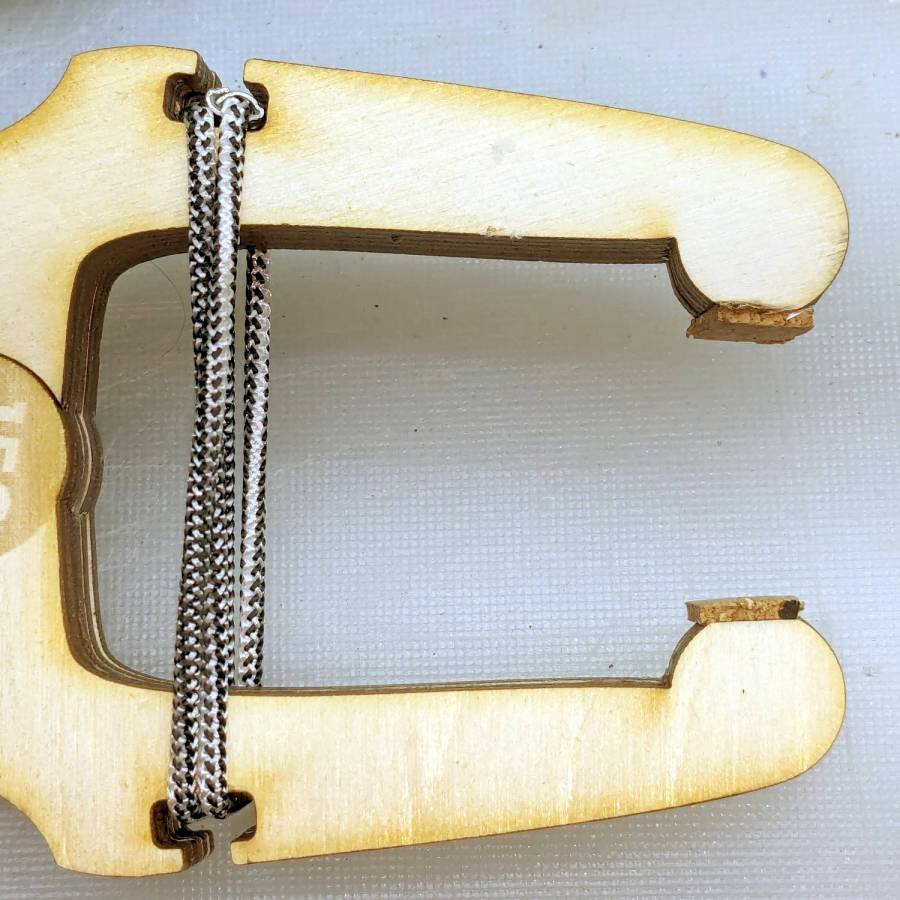
The little cork pads are hand-cut from scraps, because why not.
Rubbing paraffin (wax, not kerosene) on the circular joint’s bearing surfaces makes the hinge move soooo smoothly.
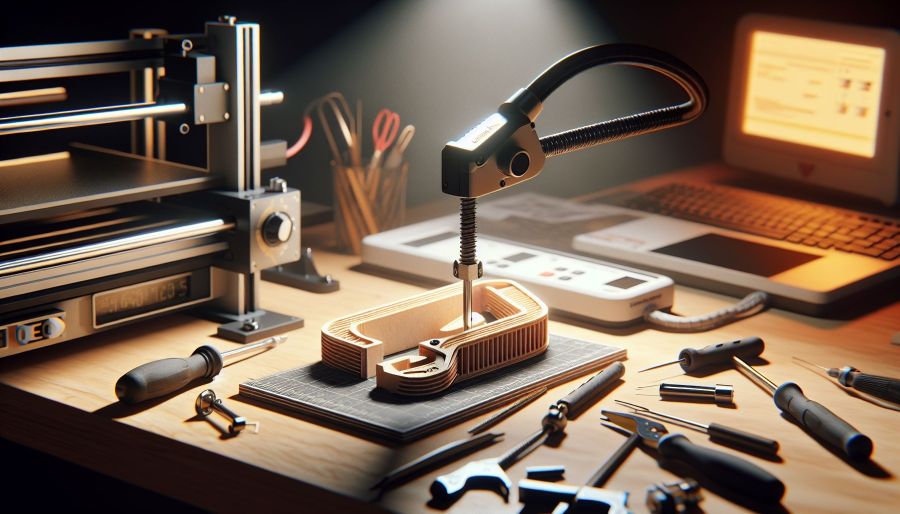
The WordPress AI image generator is trying much harder:
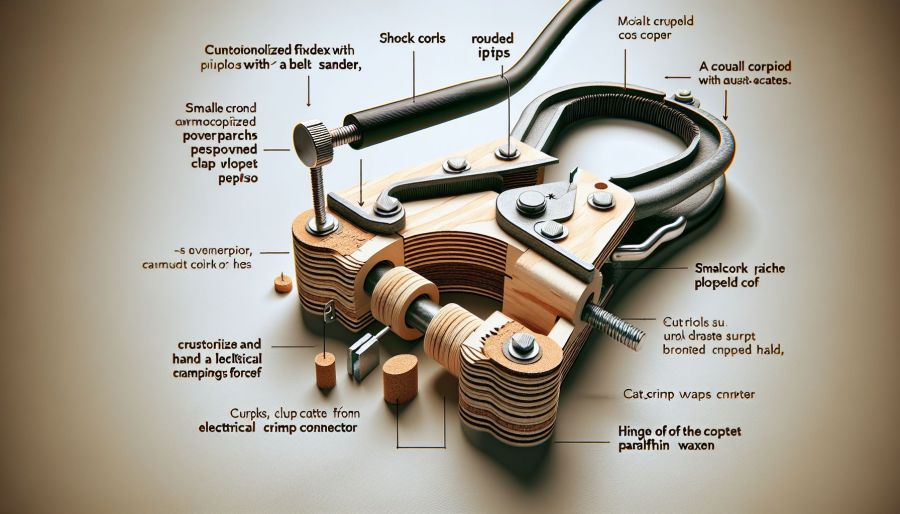
The callouts almost make sense, because they’re now ripped from the post text. For sure, I will “crustorilize” my next shop project.
Gotta love the AI evaluation:
The content shows a practical and creative approach to making a plywood clamp, supported by clear images. Consider adding a brief introduction to provide context for the project. Additionally, explaining the specific purpose for which the clamp is intended would further engage readers. The use of humor and informal language adds a personal touch, enhancing the connection with the audience. Overall, the engaging content and visual aids make it a compelling read.