Ed Nisley's Blog: Shop notes, electronics, firmware, machinery, 3D printing, laser cuttery, and curiosities. Contents: 100% human thinking, 0% AI slop.
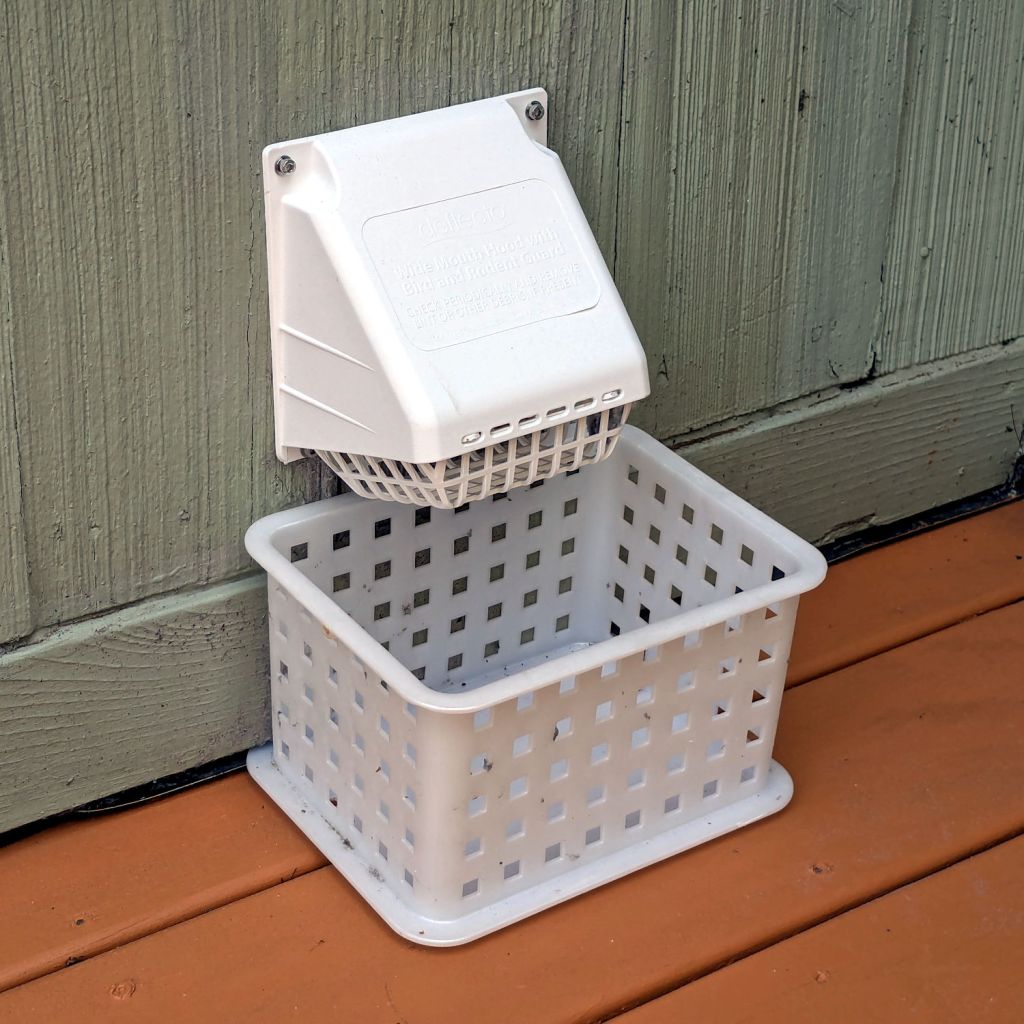
After the deck stain cured for a few days, I replaced the dryer vent:
Dryer vent
The alert reader will note it’s held to the siding with four stainless steel 4 mm socket-head cap screws, for which I’m not going to apologize one little bit.
They fit into a quartet of threaded wood inserts driven into the siding, because the previous vent had small steel screws that pulled out many years ago.
I used a 4-¼ inch oscillating hole saw to embiggen the original 4.000 inch hole through the wall that doesn’t fit contemporary “4 inch” dryer vent pipe. The 4.000 inch hole in the interior seal plate also needed embiggening.
We must add a filter bag of some sort, as the dryer really wants to coat the deck in fuzz, but that’s in the nature of fine tuning.
There are no other pictures, as this was a ten minute job that burned an entire afternoon …
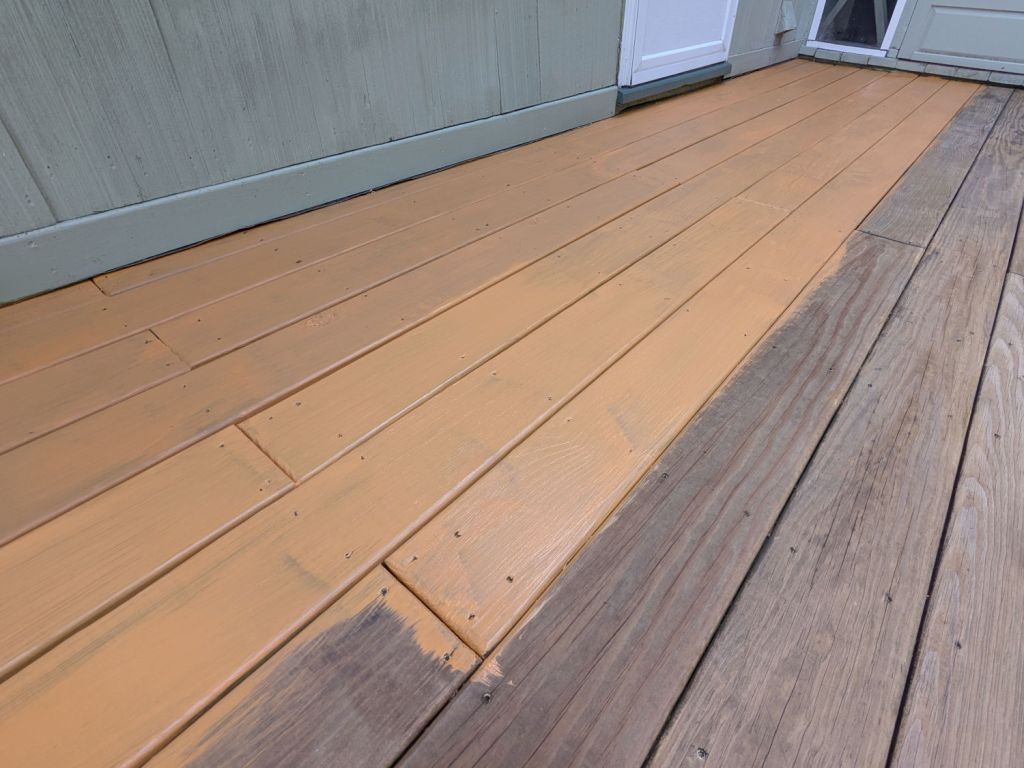
A year after using up the rest of the stain that Came With The House™, I pressure-washed the worst deck staining job into submission:
Deck restaining – pressure washed
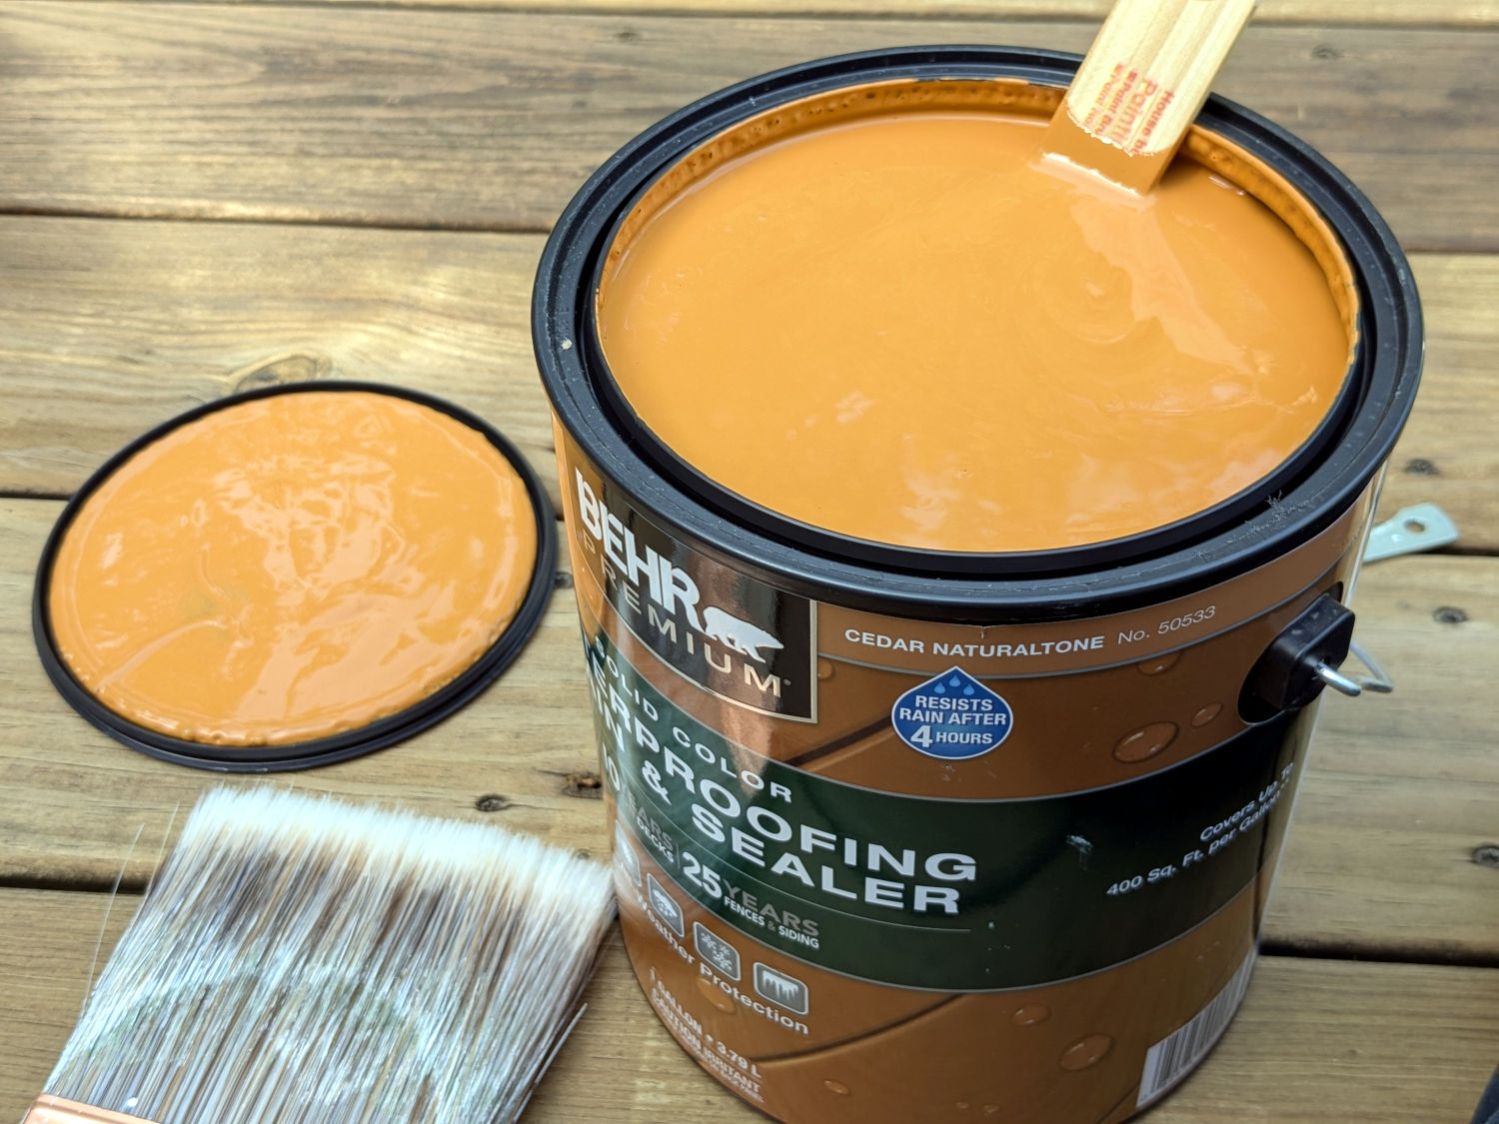
Given the variegated ugly remaining, a “solid” color seemed appropriate. Based on web color samples, we independently decided “Cedar Naturaltone” was the least awful choice:
Deck restaining – Behr Cedar Naturaltone
I am not an expert on woods, but IMO that ain’t close to any real substance named “cedar”.
The instructions insist two thin coats will produce a better outcome than one thick coat, so I did my best:
Deck restaining – starting
The first coat dried slightly less orange than I feared:
Deck restaining – first coat
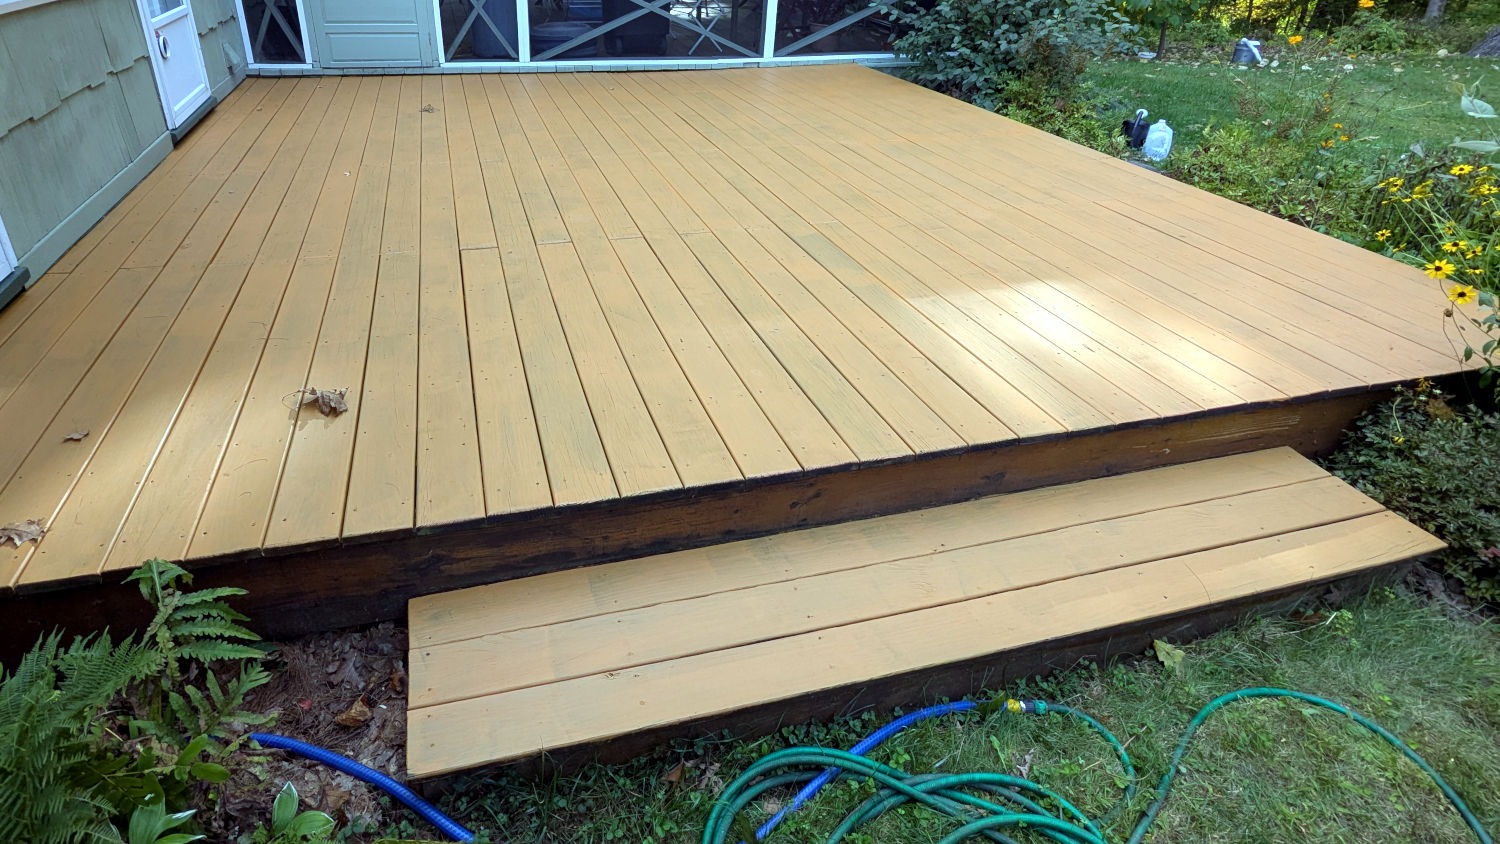
After the second coat, it’s not really pumpkin out there, but it’s pretty close. The phone camera + GIMP seem unable to cope with the situation, so trust me when I say that’s a sheet of pure white EVA foam:
Deck restaining – not pumpkin
I suspect the stain / paint will outlive the deck structure, but now it’s uniformly ugly.
The laser-engraved guide lines confused GIMP’s edge detection to no end.
It came from a large sheet of 1 mm acrylic, formerly a poster cover, bearing scars of its long history in the “might be useful someday” stash. I wondered if I could remove enough scratches and scuffs to ease GIMP’s workload.
Stipulated: I am a cheapskate.
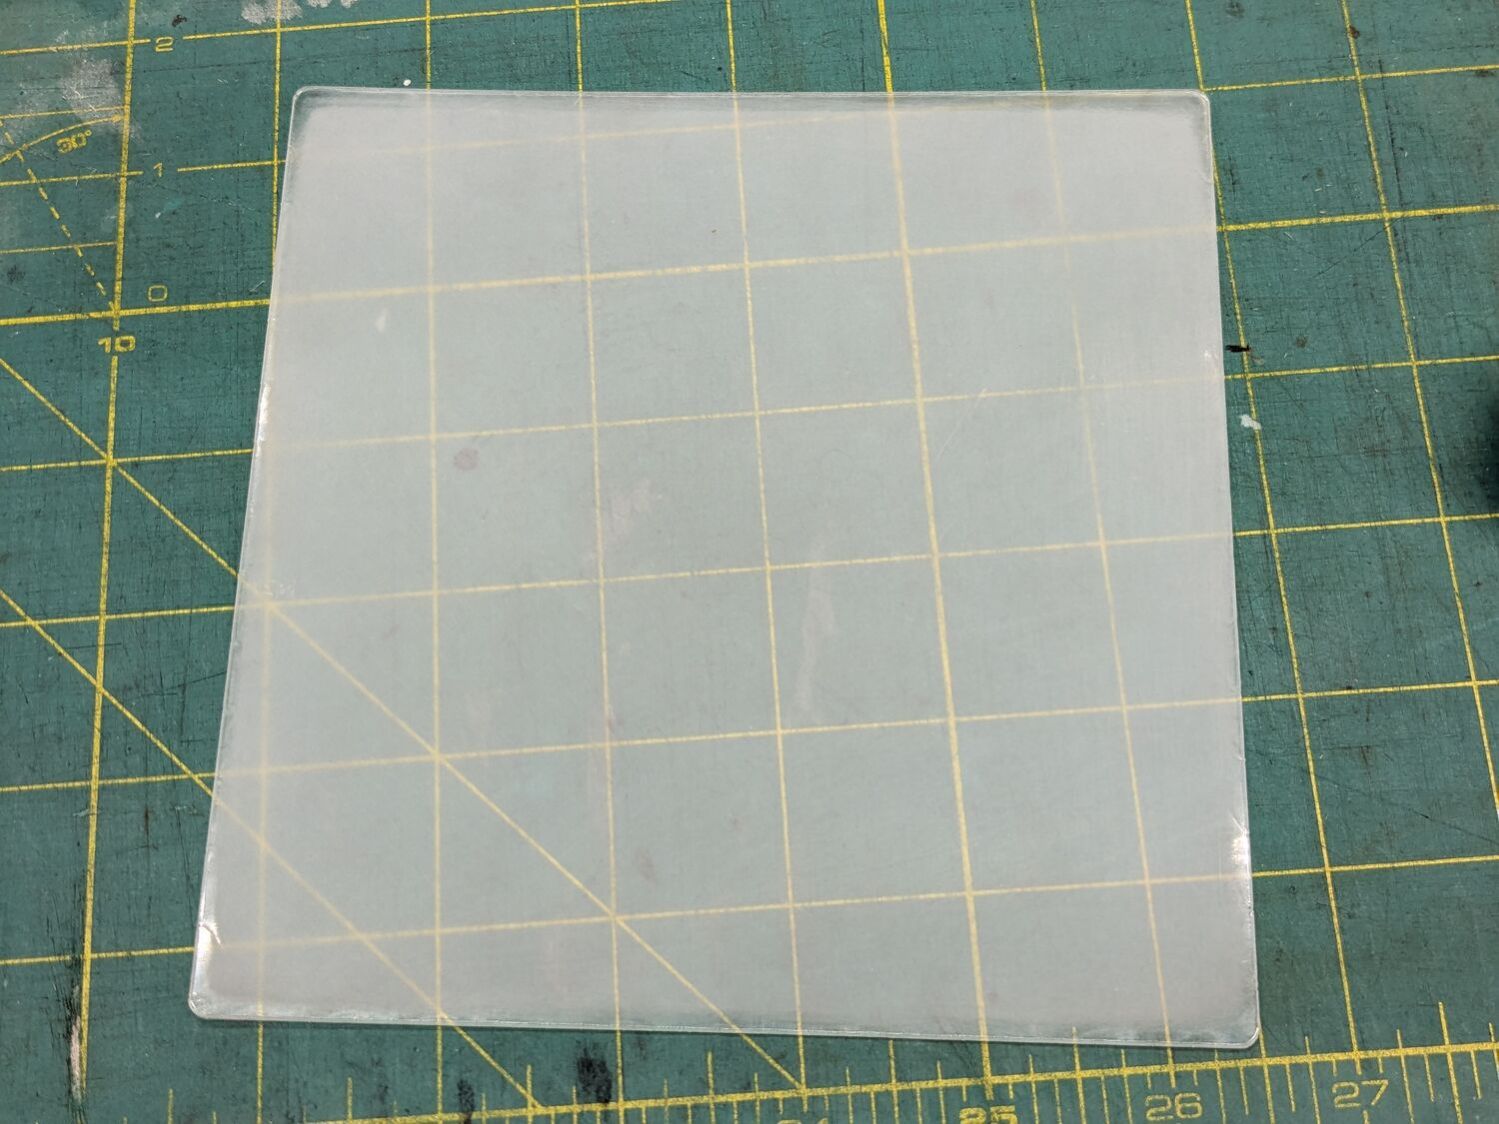
Laser-cut a suitable sheet and sand both sides with 220 grit paper to what looked like a uniform surface:
Acrylic polishing – 220
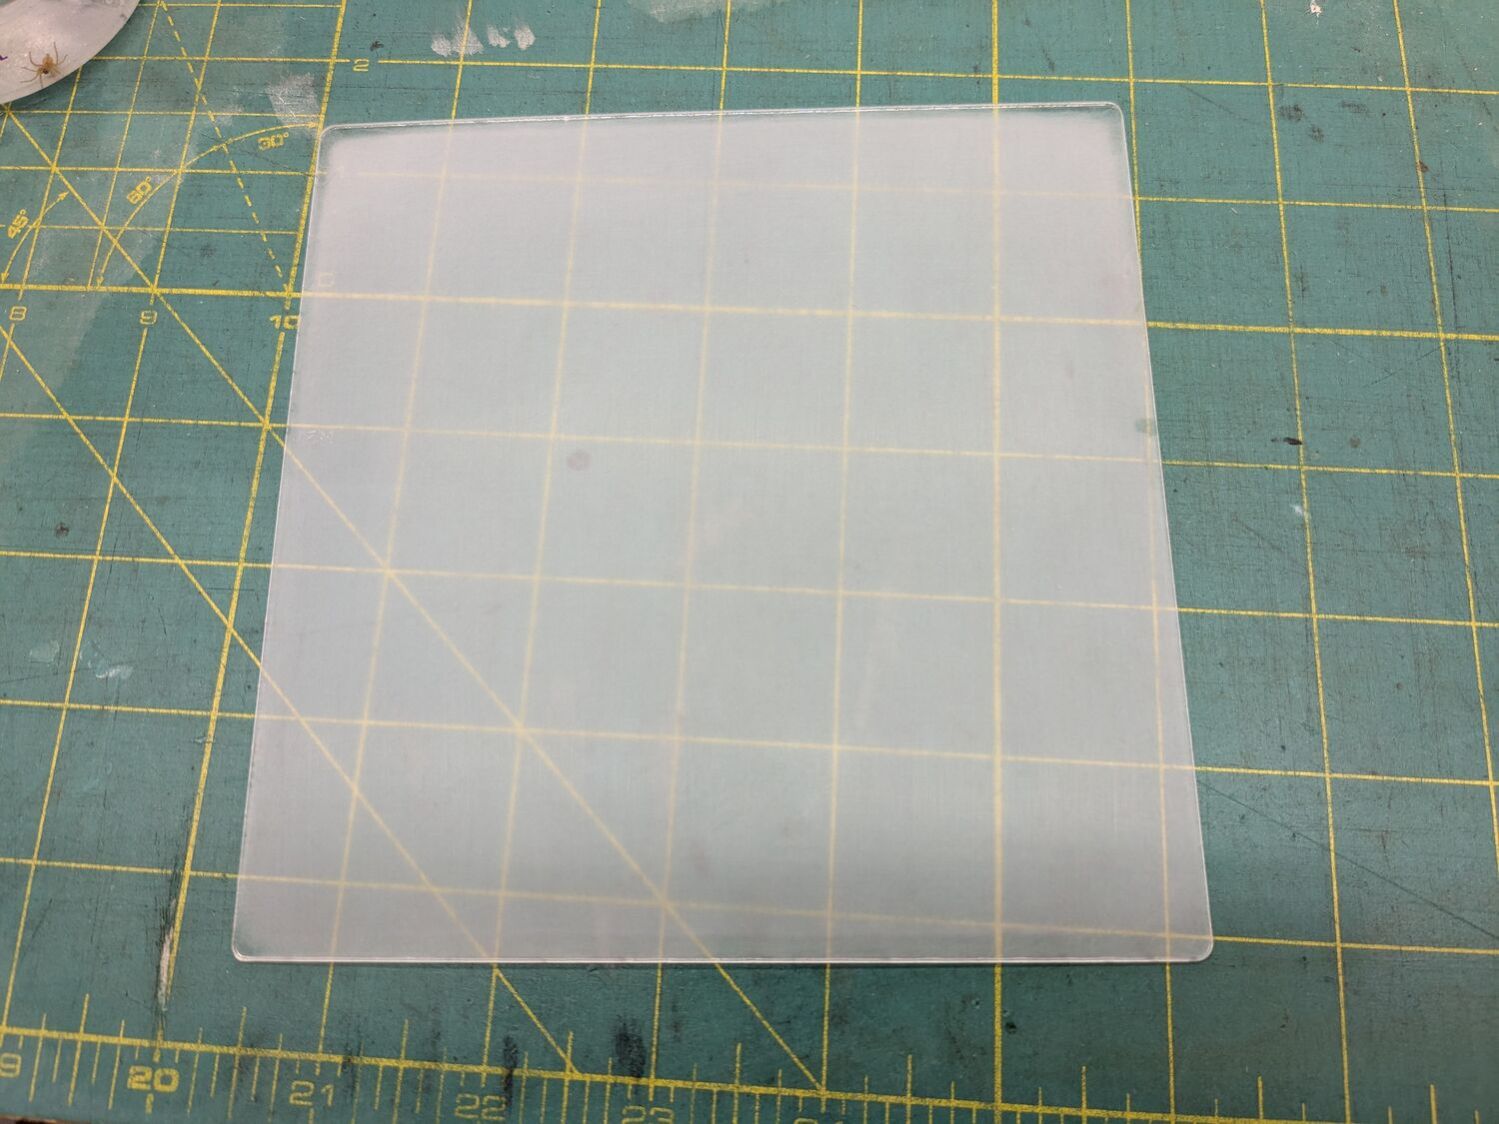
Continue scrubbing with 400, 800, 1000, 1500, and 3000 grit papers:
Acrylic polishing – 3000
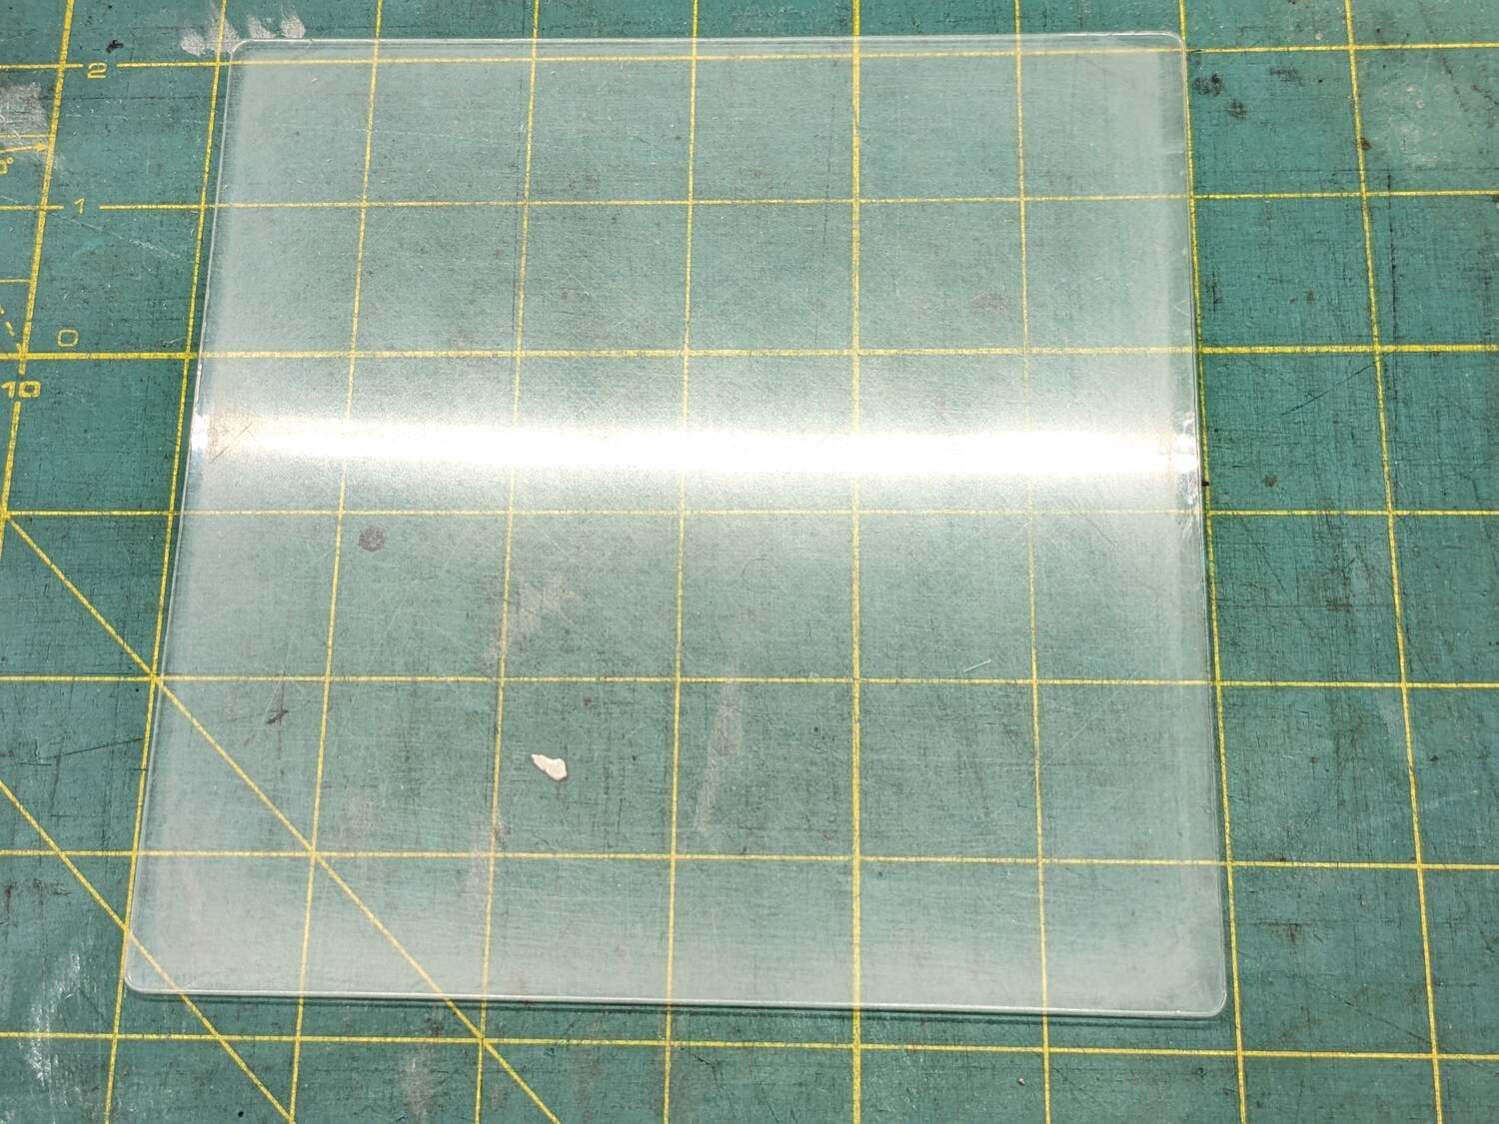
Massage it with Novus Polish 3, 2, and 1:
Acrylic polishing – Novus 1
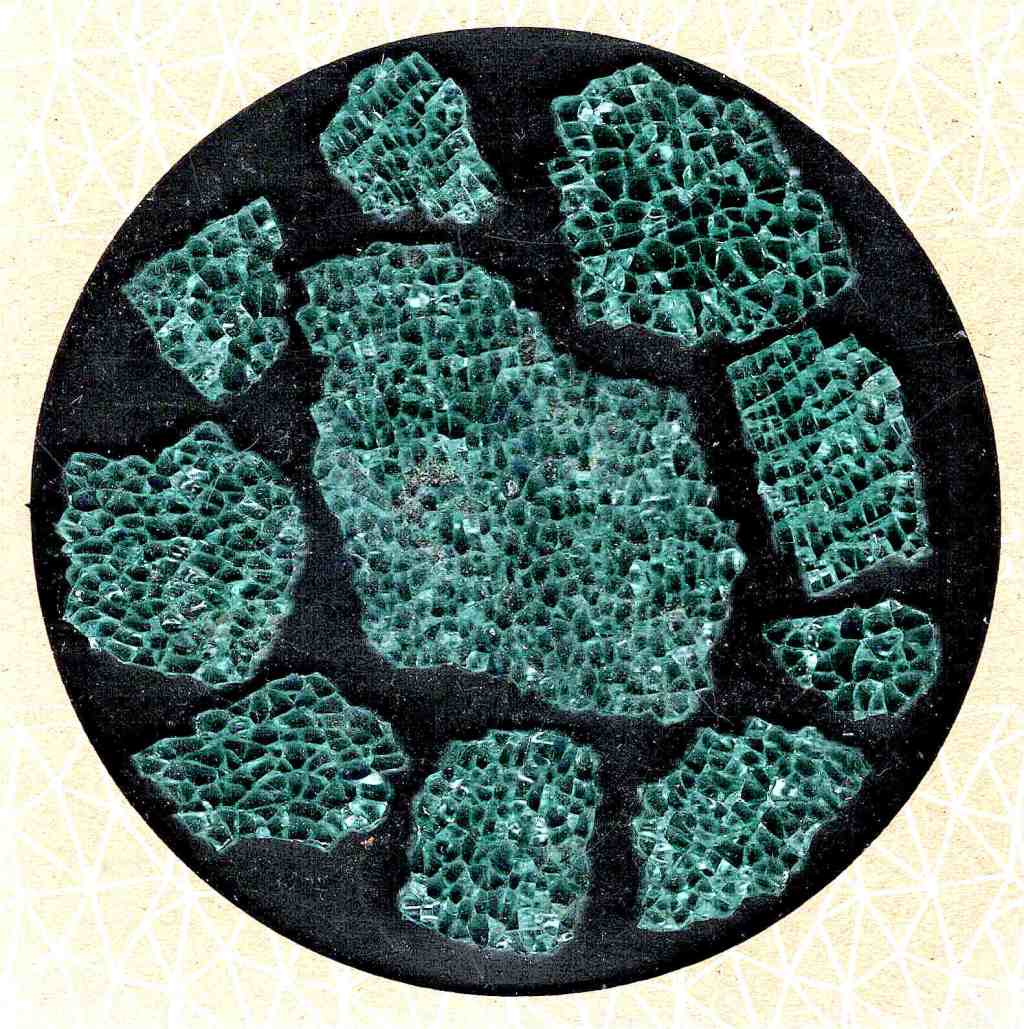
At best, it’s more translucent than transparent and definitely not an optical-quality polishing job:
Acrylic polishing – translucency
Fortunately, I need not care about the edges, because it goes in a square frame with a circular cutout.
Tape it into that cardboard frame, scan it against a black background, and blow out the contrast to show I should have started with 100 grit paper and paid more attention to that “uniform surface” thing:
Acrylic polishing – scratches
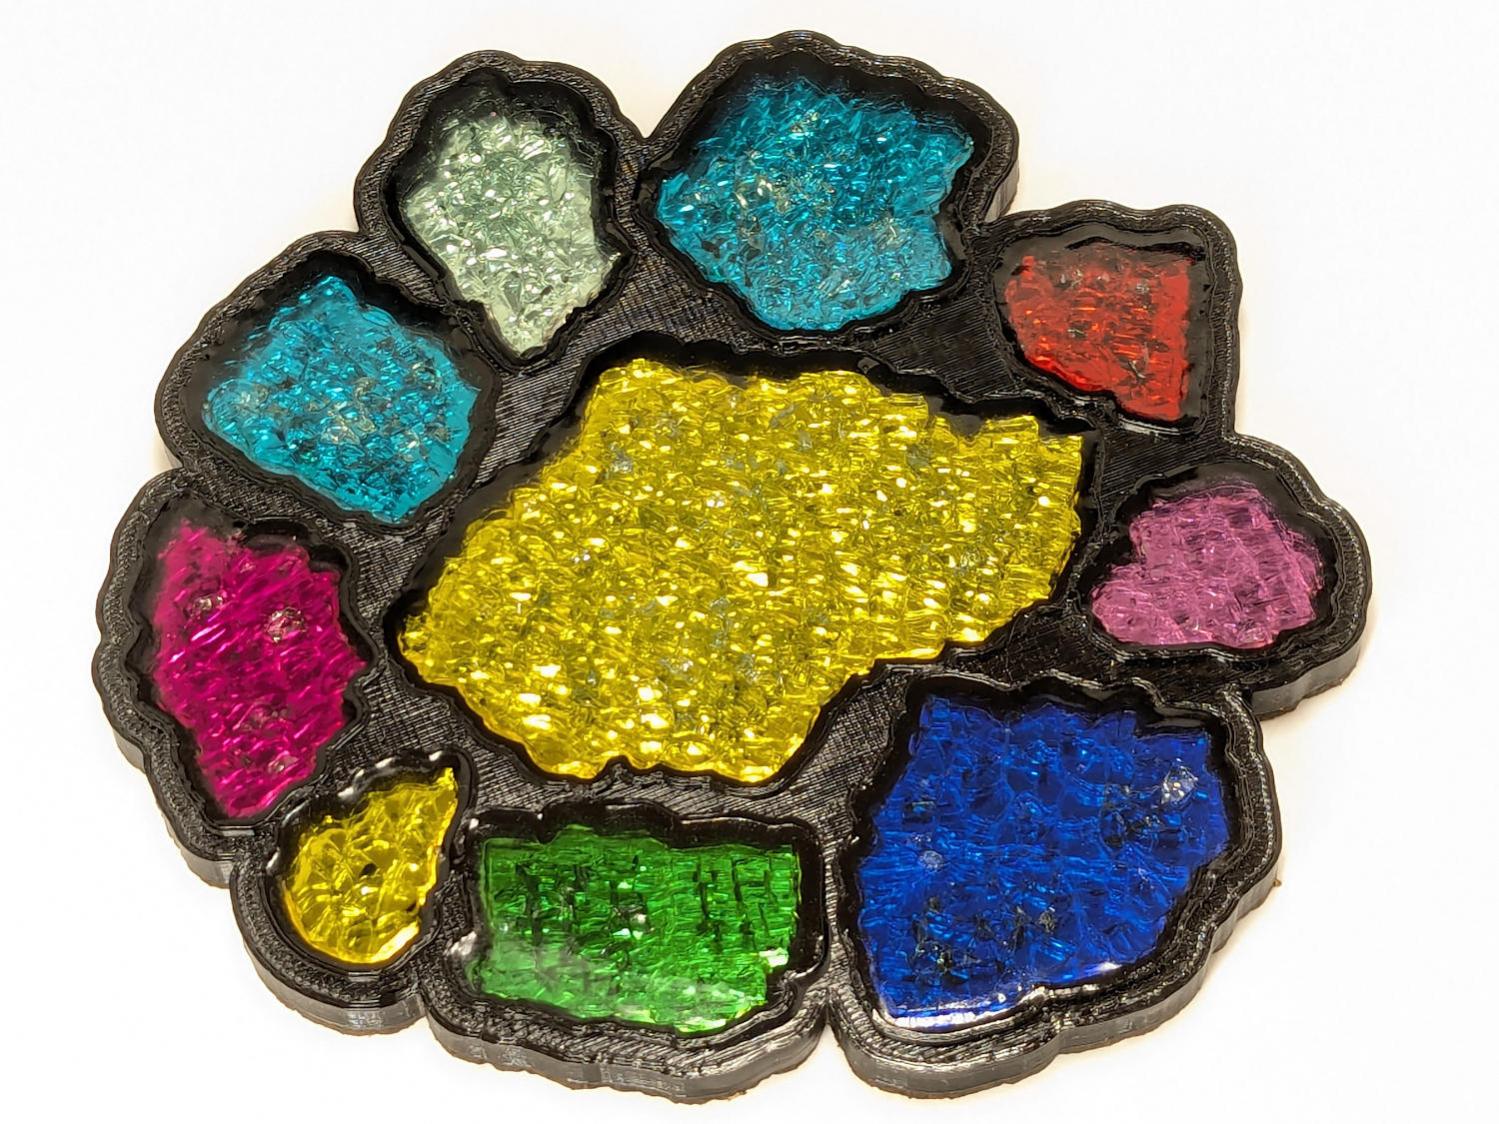
In use, though, it doesn’t look all that bad:
Fragment layout – 5in Set B – scan tweaked
Come to find out those glittery cracks between all the cuboids still confuse GIMP’s edge detection, but at least hand-tracing the outline is easier without all the lines.
The entire “polishing” series as a slideshow for your amusement:
For reasons not relevant here, after Having Been Advised to not walk barefoot on our wood floors, I picked up a pair of beach / pool sandals with comfy soles. Although they have a white logo, they’re black and essentially invisible in the dark when I need them most.
Start by taking a photo of the logo on the clamped-flat upper strap:
UnderArmour logo – flattened
Use GIMP to select the white area, clean it up a little, convert the selection into a path, export it as an SVG file, import into LightBurn, scale to match reality, and Fire The Laser:
UnderArmour logo – GITD tape cutting
That’s a roll of glow-in-the-dark tape which is almost certainly a lethal combination of PVC and phosphorescent stuff, so hold your breath while it cuts.
It’s “actually a “kiss cut” through the tape, but not through the backing paper, letting the whole thing hang together after the operation.
Peel-n-stick on the (still flattened) sandals, expose them to light, and It Just Works:
UnderArmour logo – glowing
The fit isn’t perfect, perhaps due to insufficient flattening, but it’s close enough for my simple needs.
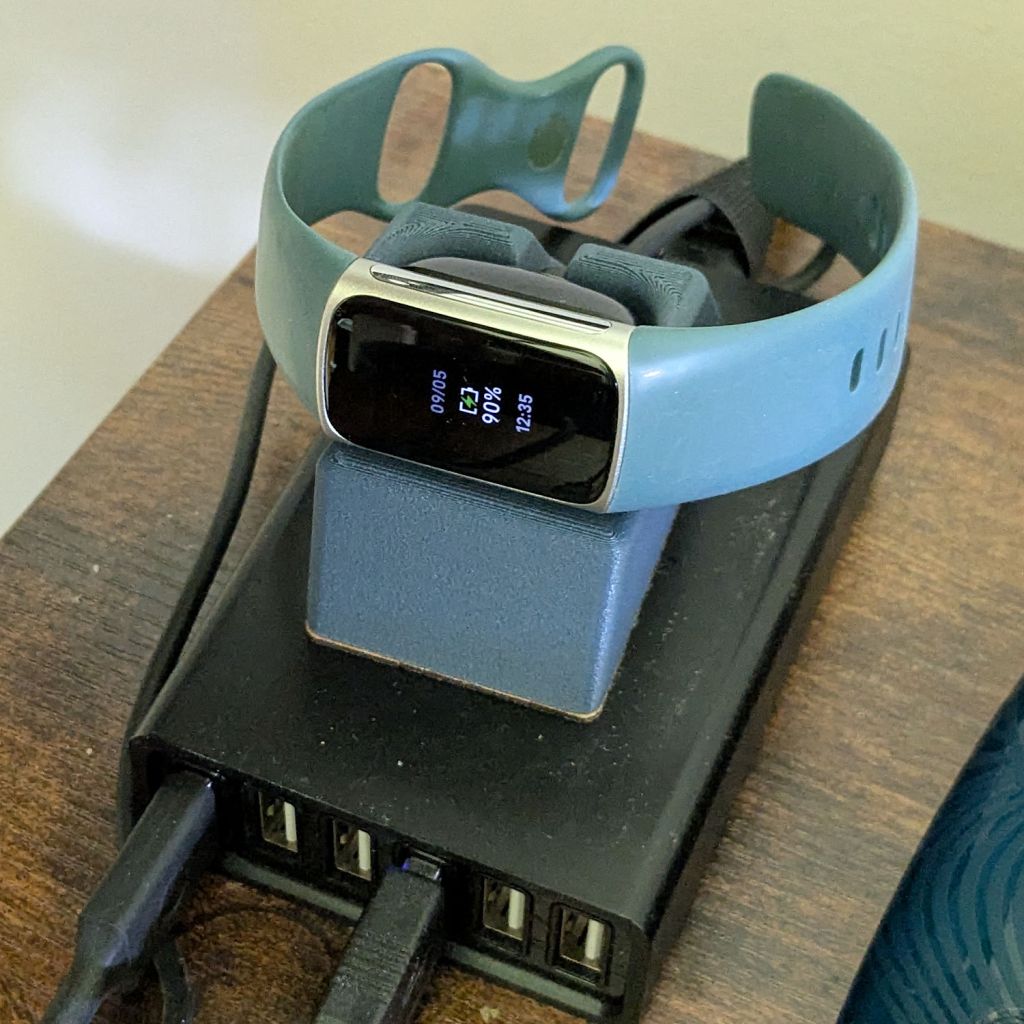
My Fitbit Charge 5 exercise tracker estimates my VO2Max as somewhere between 51 and 55. That seems absurd for a guy of my age, where “Excellent” is a bit under 40. I am most certainly not a highly trained athlete at the top of my form, so I wondered what the real value might be.
It also computes my maximum heart rate from my age as 220 – 72 = 148, much lower than the values I routinely see while biking around the area. Reviewing a few months of data suggests an actual value around 170, although I did see 185 on one occasion.
Forcing a maximum heart rate of 170 changed the VO2Max estimate to 50-54, which still seemed absurdly high. At least that change made the Fitbit’s “heart rate zones” a little more reasonable, as ordinary bike rides no longer have me in the Peak zone nearly as often.
The Rockport walking test calculates VO2Max from a timed walk over a one mile “track” course, so I laid out a half-mile out-and-back route on Zack’s Way, which is a quarter mile from home.
Maintaining a brisk pace covered the mile in 15:49 and left me with a 110 pulse; it’s obvious I’m not a trained athete. Feeding those numbers and a few other vital details into the Rockport formula gives me a much more realistic VO2Max of 28.5, putting me somewhere between the 50th and 75th percentile.
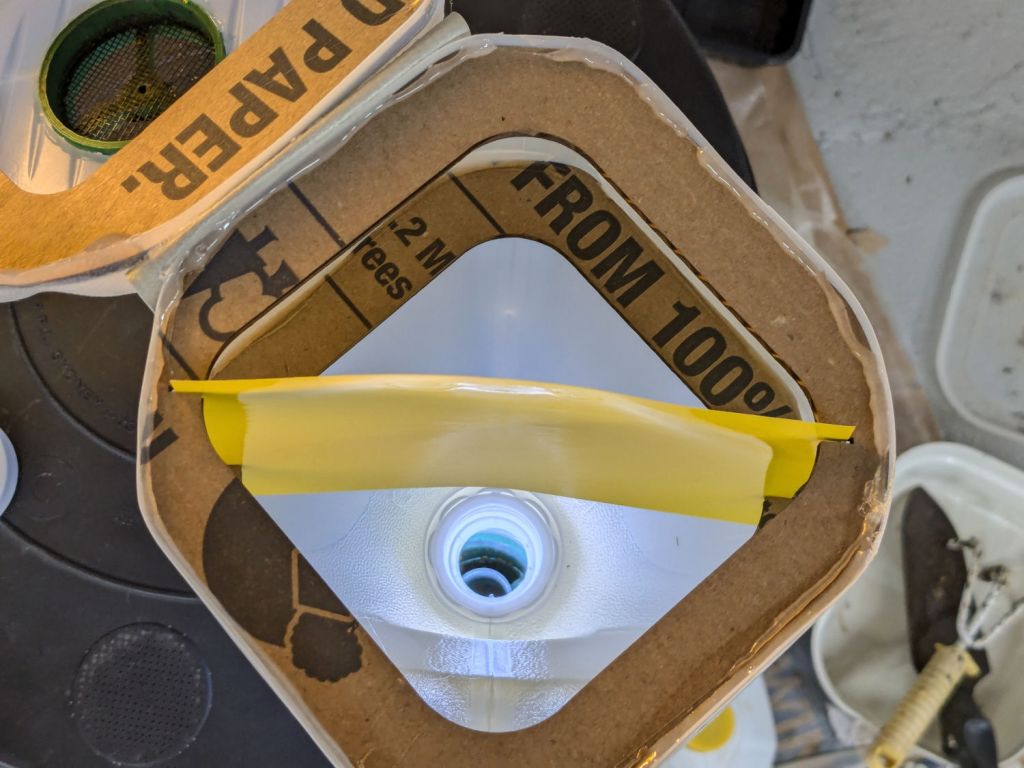
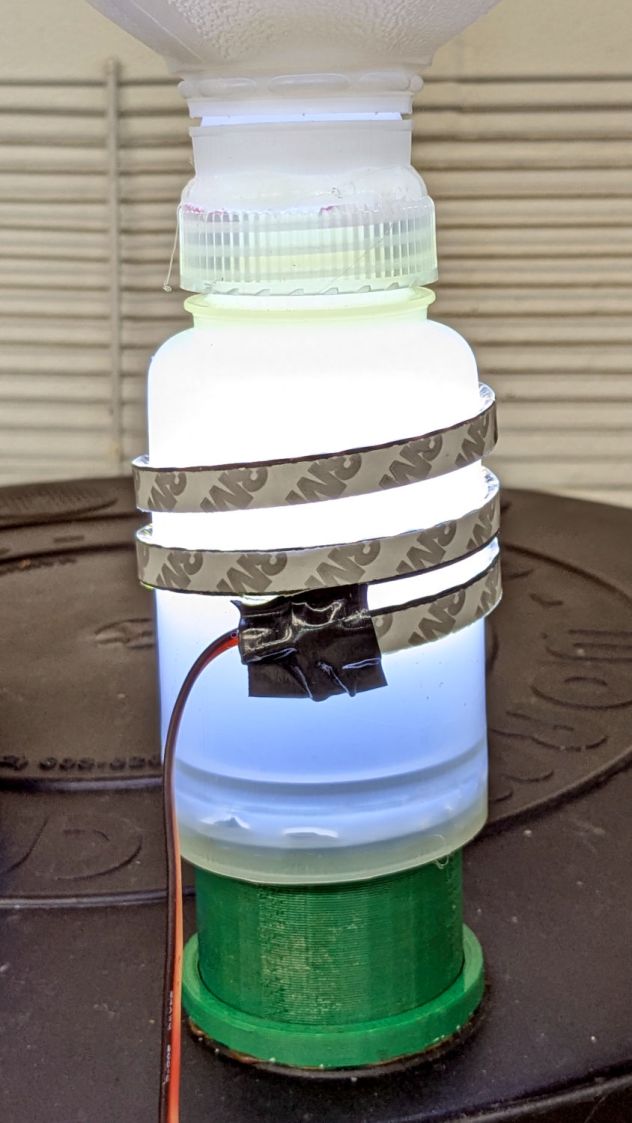
Despite freezing the kitchen scraps going into the worm bin since the previous fruit fly infestation, a zillion flies are now in residence. Lacking the peppermint-stick tube of yesteryear, I conjured another fly trap from common household items:
Worm Bin Fly Trap – overview
The gap around the top got a strip of tape after I took the picture.
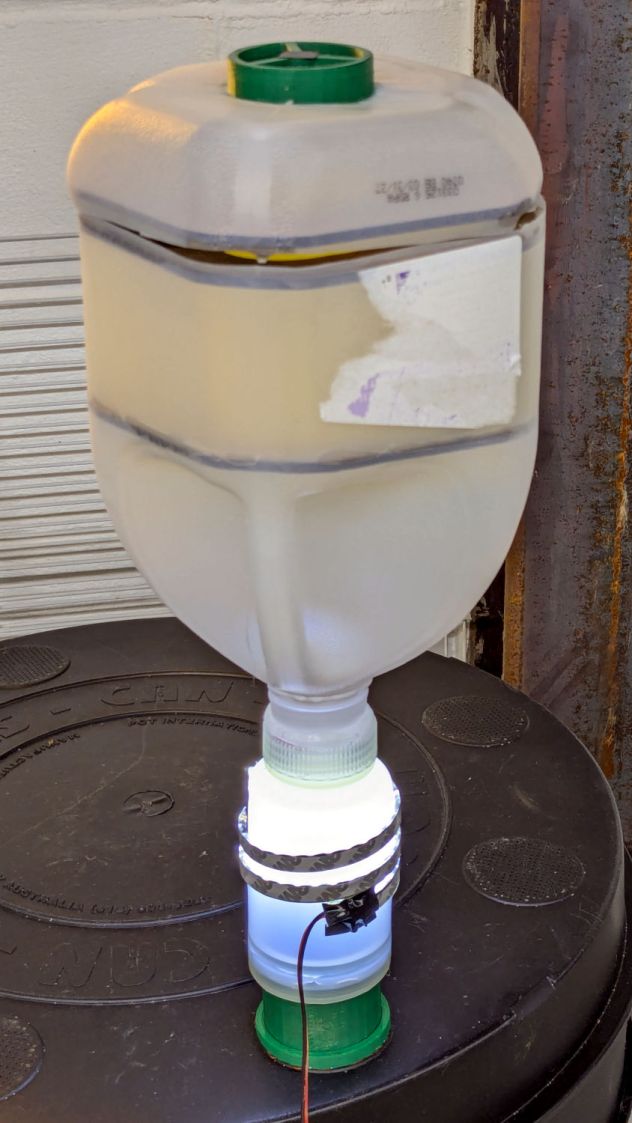
I was all set to 3D print a threaded adapter to join the two bottles when I realized they already had lids. A few minutes of lathe work added a passageway:
Worm Bin Fly Trap – Bottle caps
They’re held together by a generous ring of hot melt glue:
Worm Bin Fly Trap – lighting detail
The LED strip provides enough light to simultaneously attract the flies and repel the worms.
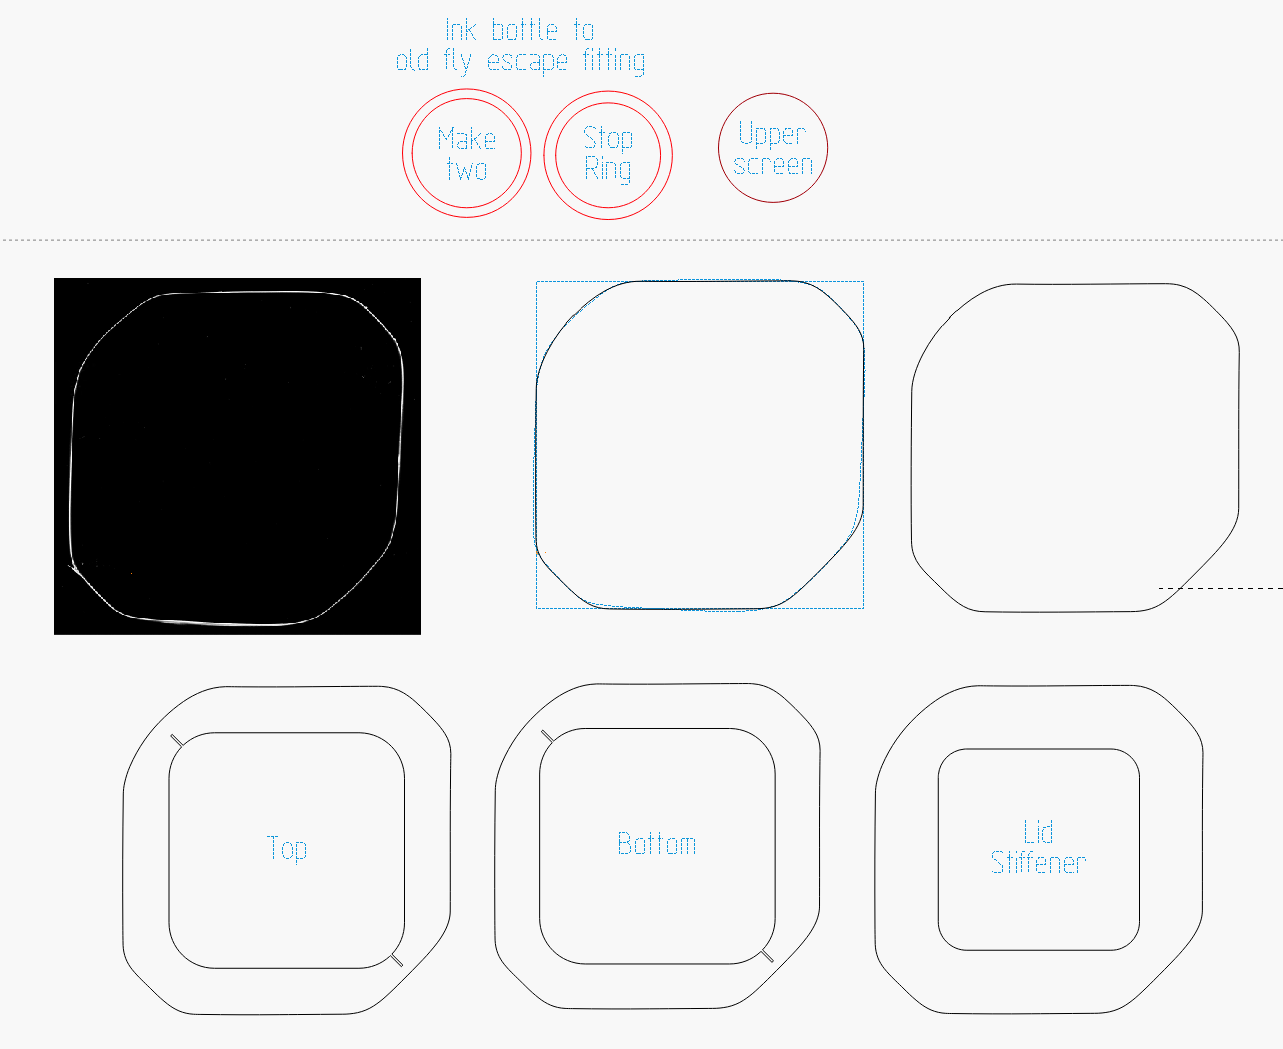
The laser cuttery looks like this:
Worm Bin Fly Trap – LightBurn parts
The white shape in the black block is a scan of the cut-open jug, with the other shapes in that row being rectangularized versions. The two tiny notches in the Top and Bottom shapes hold the sticky paper.
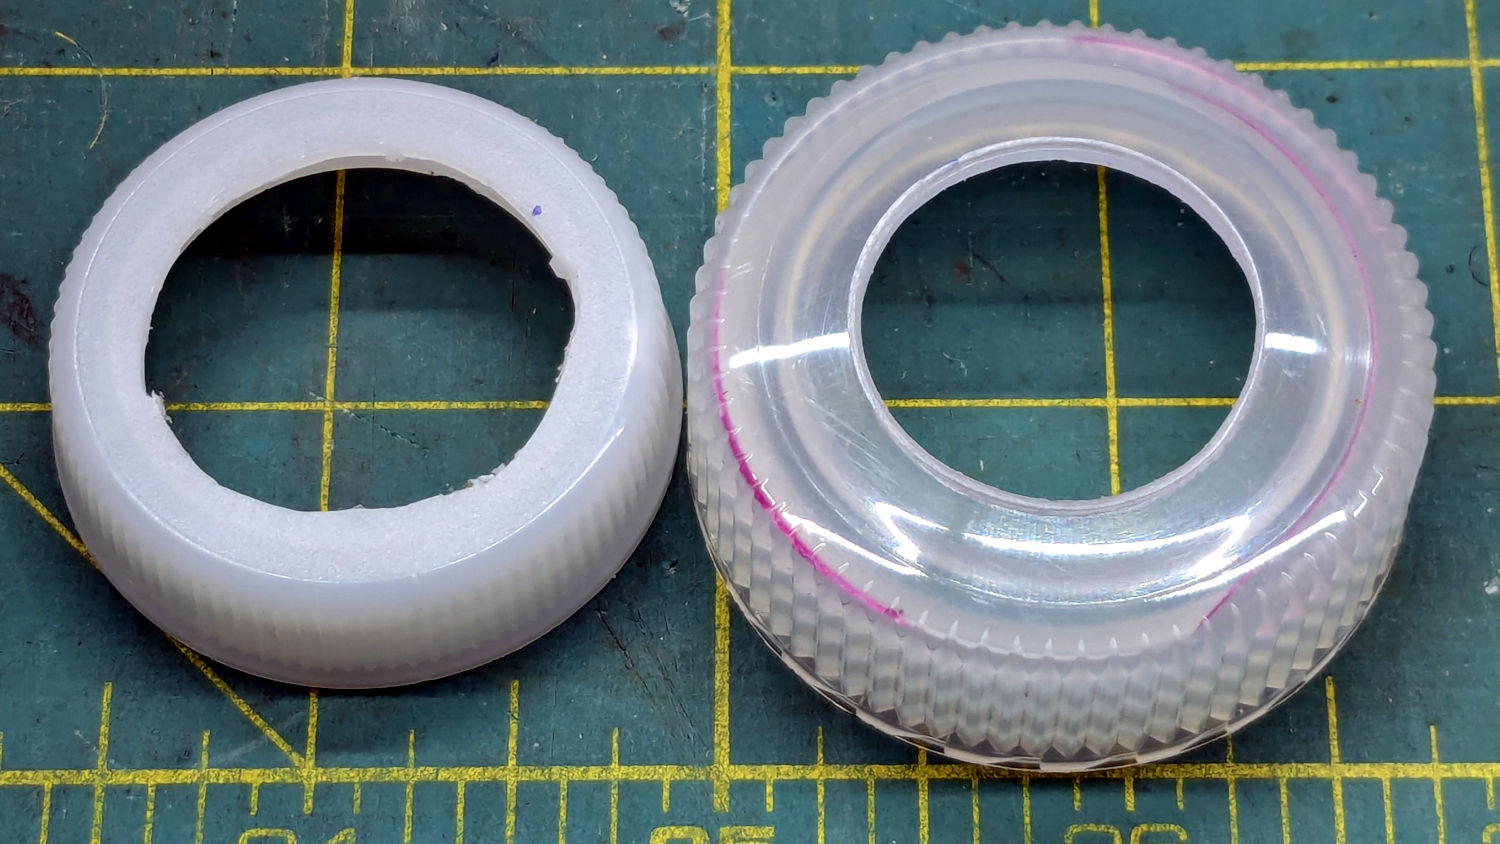
The two rings at the top adapt the LED-wrapped bottle to the existing fitting on the worm bin from the previous episode. They’re visible as shadows near the bottom of the bottle.
The circle is a laser-cut hole in the gallon jug bottom for the screened plug made for the pepermint-stick tube; the less said about that operation the better.
So far, so good, although previous experience suggests the flies will be breeding ahead of their (considerable) losses for the next few weeks.
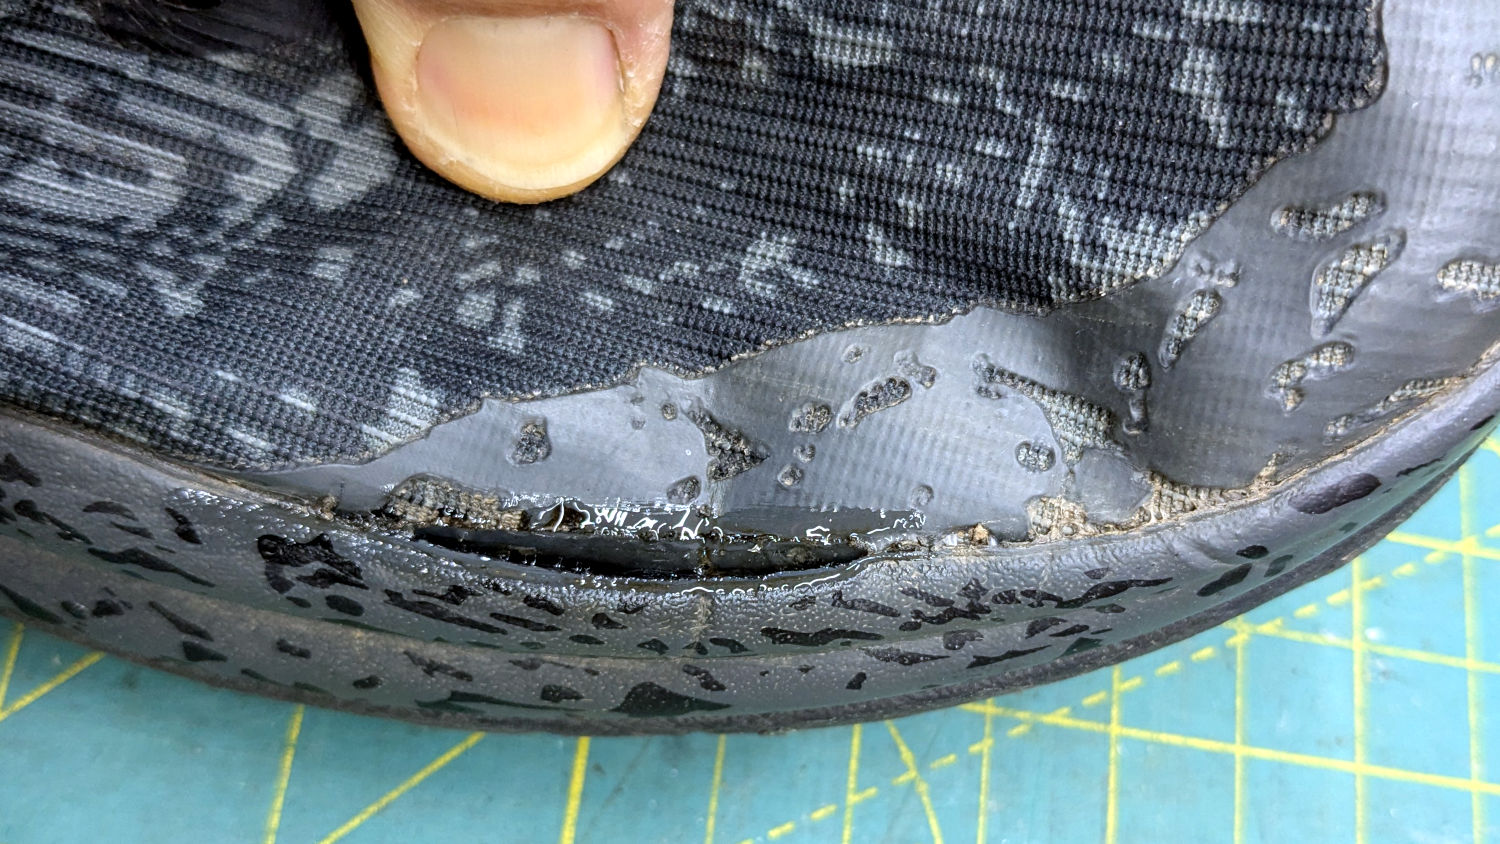
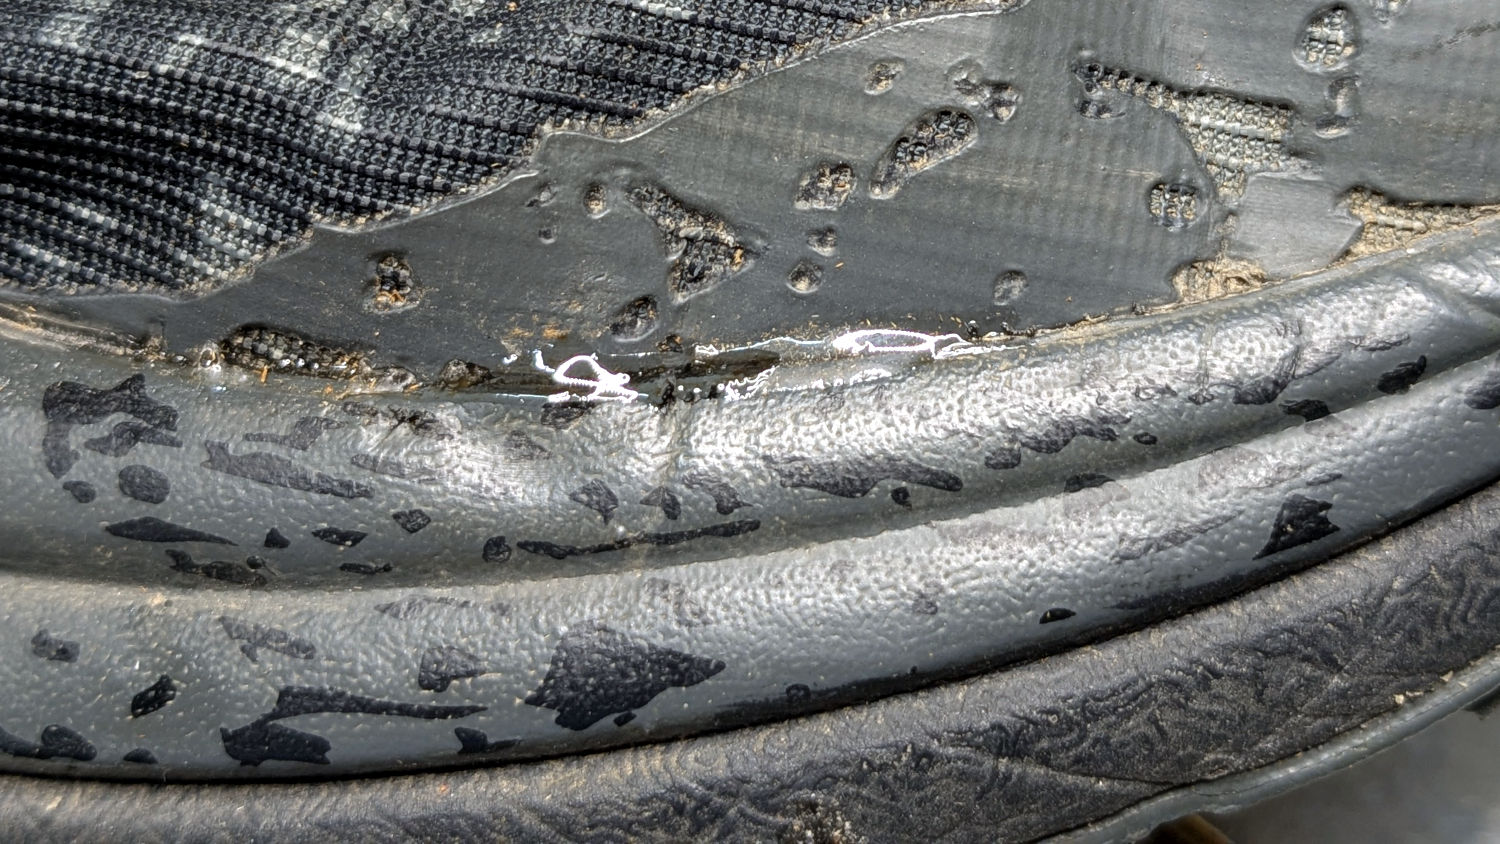
Mary got a pair of HOKA shoes in the spring and, after a few months of what we consider light usage, had the upper detach from the sole:
HOKA shoe – failed joint
The oddly shaped holes in the rubberized area are a stylin’ thing, not defects.
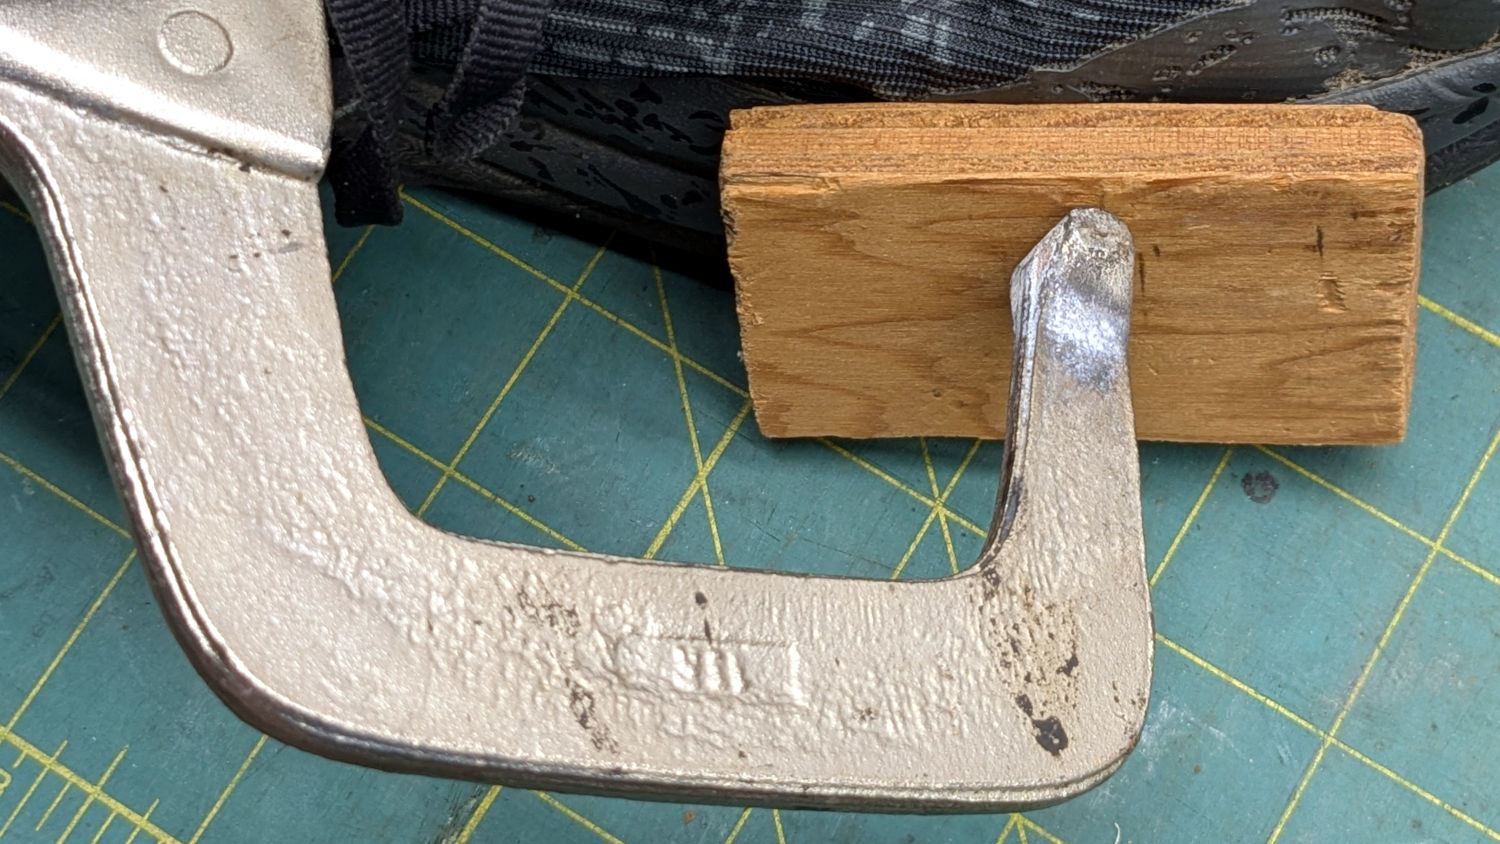
The wet-looking stuff is E6000+ adhesive, which then got clamped overnight:
HOKA shoe – clamping
It cured and seems to be holding the pieces together:
HOKA shoe – glued
HOKA shoes came highly recommended by a friend and carry a corresponding price tag. Mary felt expensive shoes should hold together better than that, so (before I undertook the repair) she returned them under warranty. Some weeks later, the shoes reappeared with a note describing the failure as “normal wear and tear” which is not covered by the warranty.
Whereupon I was given permission to have my way with them.
For whatever it’s worth, this also happened:
HOKA site blocking
Mary’s conclusion was they’re nice shoes and fit well, but they’re definitely not worth three times the price of the shoes she’d been wearing.