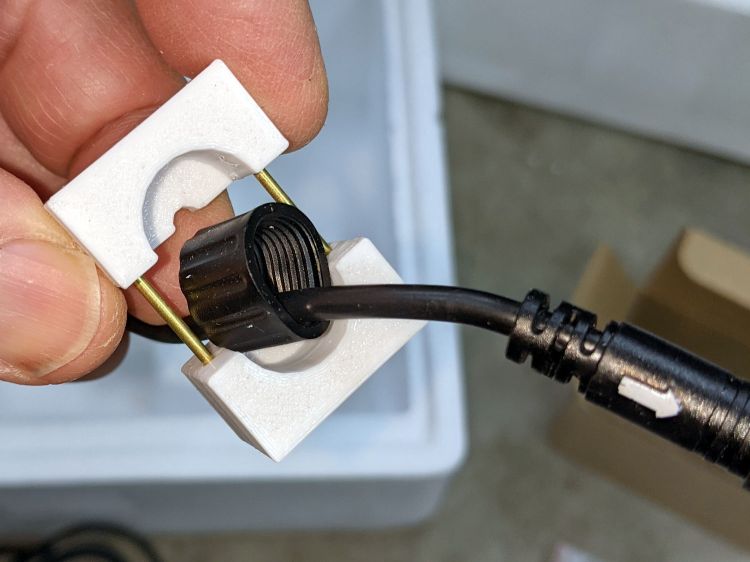
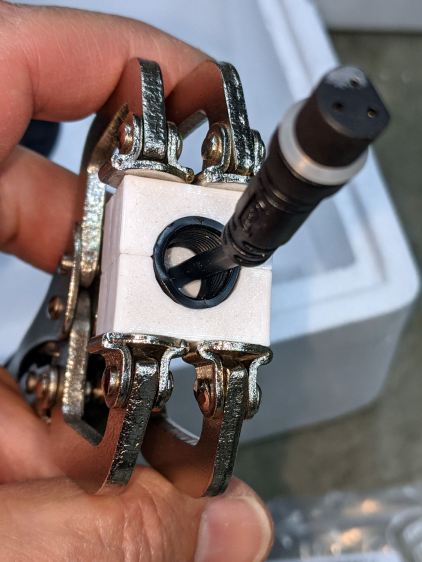
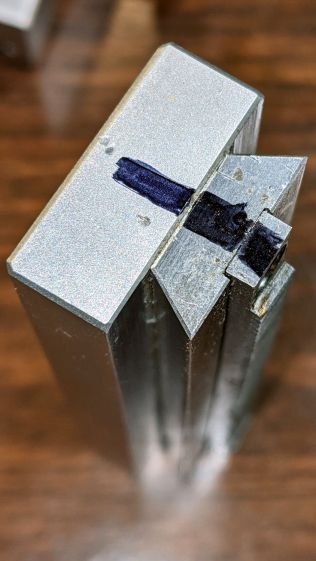
The last view before sticking the lid in place with hot melt glue:
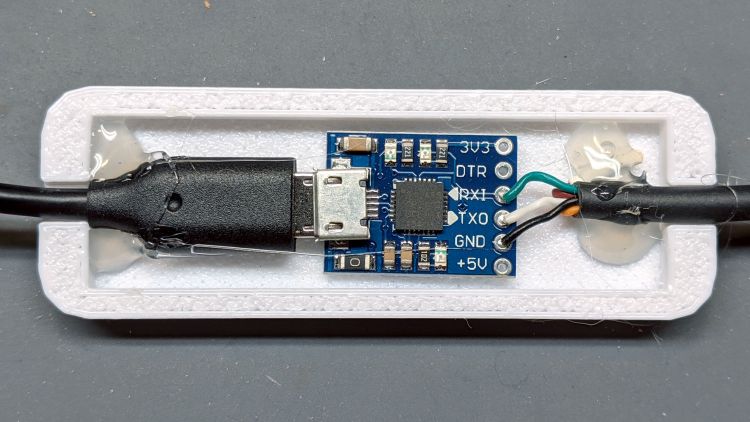
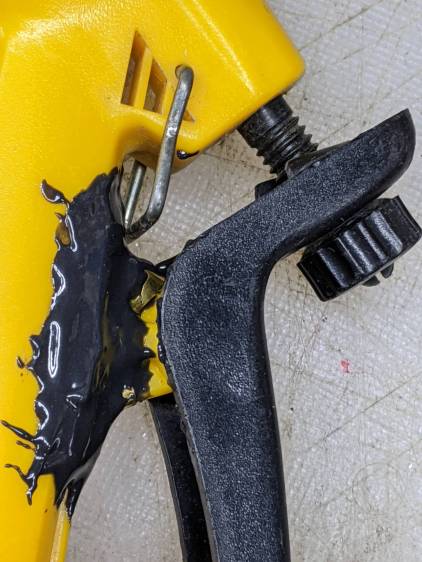
The cable on the right goes to the motor controller through the display pigtail cable, sporting colors from a parallel universe.
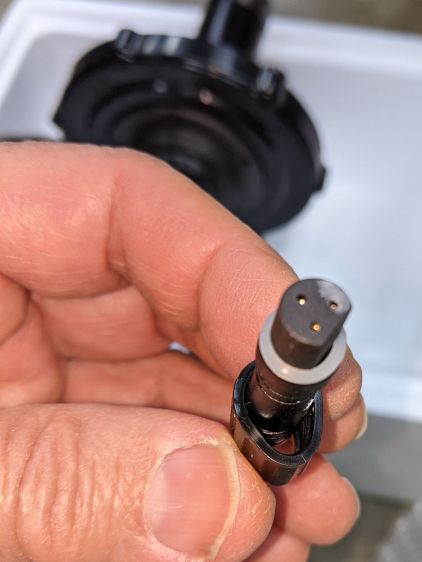
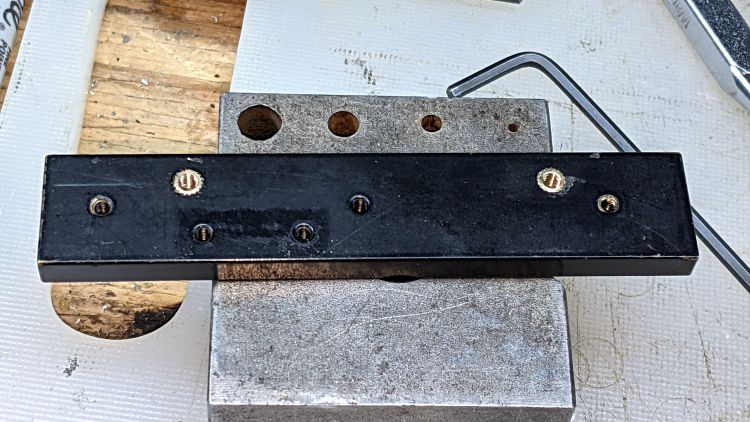
A (possibly not counterfeit) CP2102 USB-to-serial adapter allows a slightly smaller case than one with the known-fake FTDI adapter and added some identification:
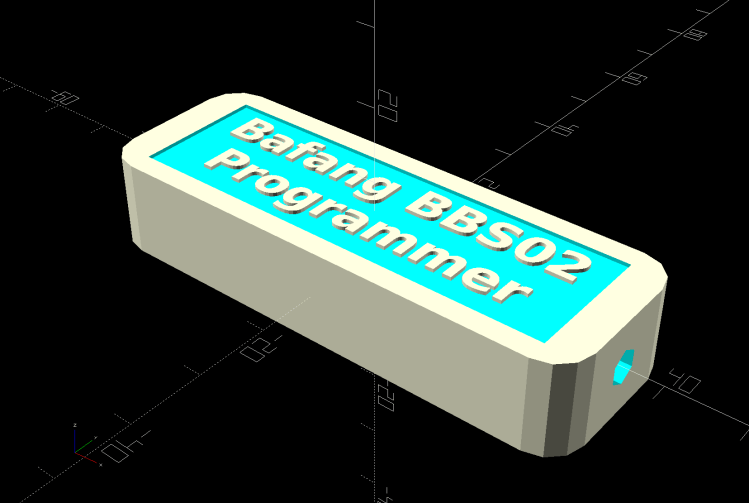
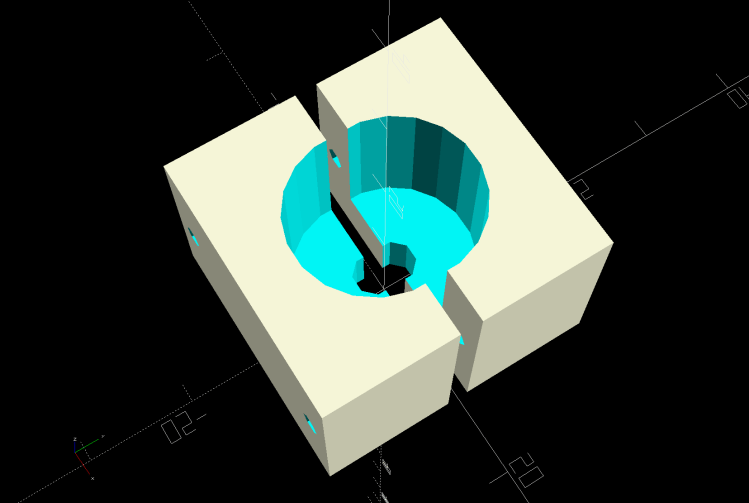
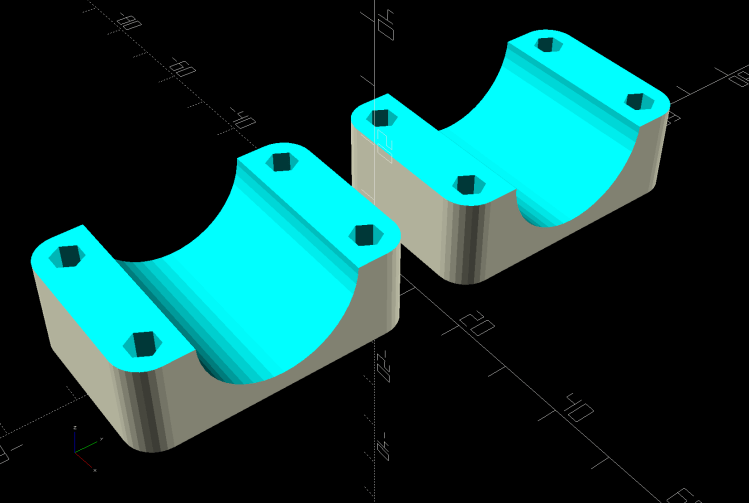
It splits along the midline for printing, of course.
The OpenSCAD source code replaces the previous version:
// Programming cable case

ProgCavity = [60.0,18.0,7.0];
ProgBlock = [70.0,24.0,13.0];
ProgCableOD = 4.0;

module ProgrammerCase() {

    difference() {
        hull() {
            for (i=[-1,1], j=[-1,1])
                translate([i*(ProgBlock.x/2 - CornerRadius),j*i*(ProgBlock.y/2 - CornerRadius),-ProgBlock.z/2])
                    cylinder(r=CornerRadius,h=ProgBlock.z,$fn=12);
            }
        translate([-ProgBlock.x,0,0])
            rotate([0,90,0])
                PolyCyl(ProgCableOD,3*ProgBlock.x,6);
        cube(ProgCavity,center=true);

        translate([0,0,ProgBlock.z/2 + ProgCavity.z/2 - EmbossDepth])
            cube(ProgCavity,center=true);
        translate([0,0,-(ProgBlock.z/2 + ProgCavity.z/2 - EmbossDepth)])
            cube(ProgCavity,center=true);

    }

    translate([0,4,ProgBlock.z/2 - EmbossDepth])
        linear_extrude(height=EmbossDepth)
            text(text="Bafang BBS02",
                 size=5,spacing=1.00,font="Bitstream Vera Sans:style=Bold",
                 halign="center",valign="center");

    translate([0,-4,ProgBlock.z/2 - EmbossDepth])
        linear_extrude(height=EmbossDepth)
            text(text="Programmer",
                 size=5,spacing=1.00,font="Bitstream Vera Sans:style=Bold",
                 halign="center",valign="center");

    translate([0,4,-ProgBlock.z/2])
        linear_extrude(height=EmbossDepth)
            mirror([1,0])
                text(text="Ed Nisley",
                    size=5,spacing=1.00,font="Bitstream Vera Sans:style=Bold",
                    halign="center",valign="center");
    translate([0,-4,-ProgBlock.z/2])
        linear_extrude(height=EmbossDepth)
            mirror([1,0])
                text(text="softsolder.com",
                    size=5,spacing=1.00,font="Bitstream Vera Sans:style=Bold",
                    halign="center",valign="center");

}

// Half case sections for printing

module HalfCase(Section = "Upper") {

    intersection() {
       translate([0,0,ProgBlock.z/4])
            cube([2*ProgBlock.x,2*ProgBlock.y,ProgBlock.z/2],center=true);
        if (Section == "Upper")
            ProgrammerCase();
        else
            translate([0,0,ProgBlock.z/2])
                ProgrammerCase();
    }
}

// .. snippage ..

        translate([0,2*Block.x/2 * gap,0]) {

            translate([gap*ProgBlock.x/2,0,ProgBlock.z/2])
                rotate([180,0,0])
                    HalfCase("Upper");
            translate([-gap*ProgBlock.x/2,0,0])
                HalfCase("Lower");
        }
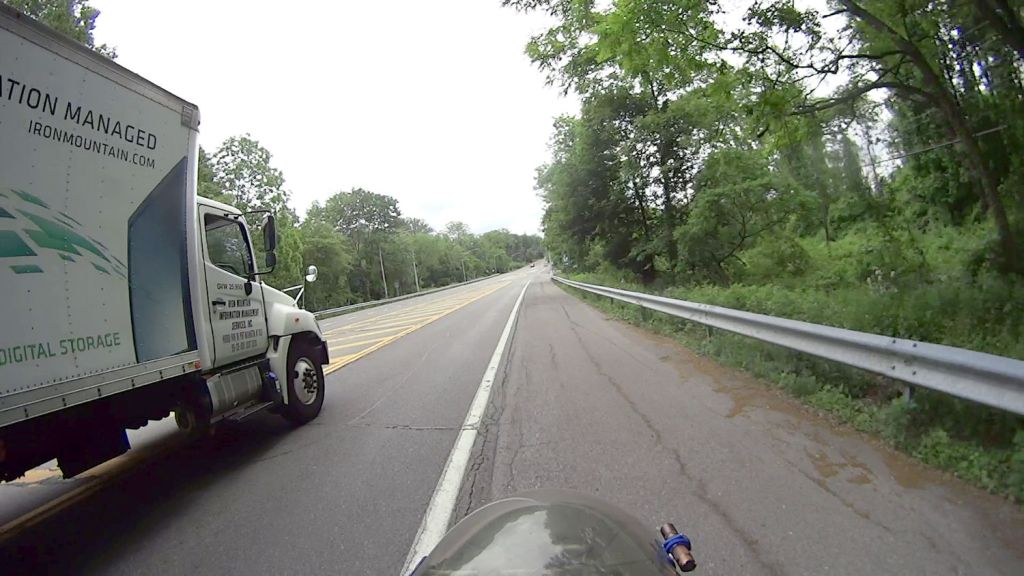
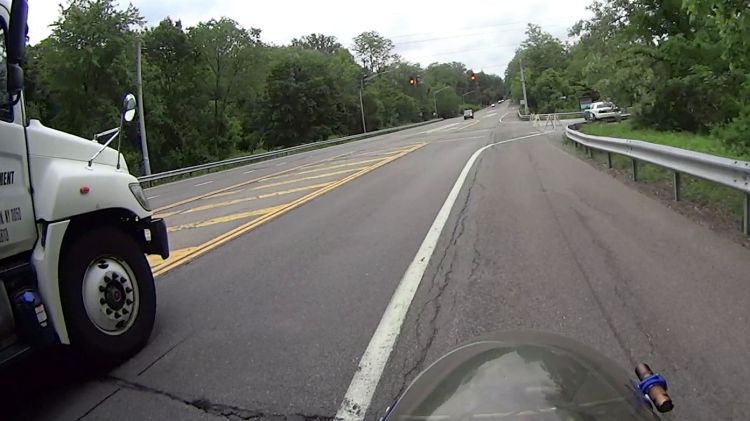
My friend rides about the same way we do, except from a much higher perch, so I’ll start her off with a configuration similar to the one we settled on for Mary’s Tour Easy.