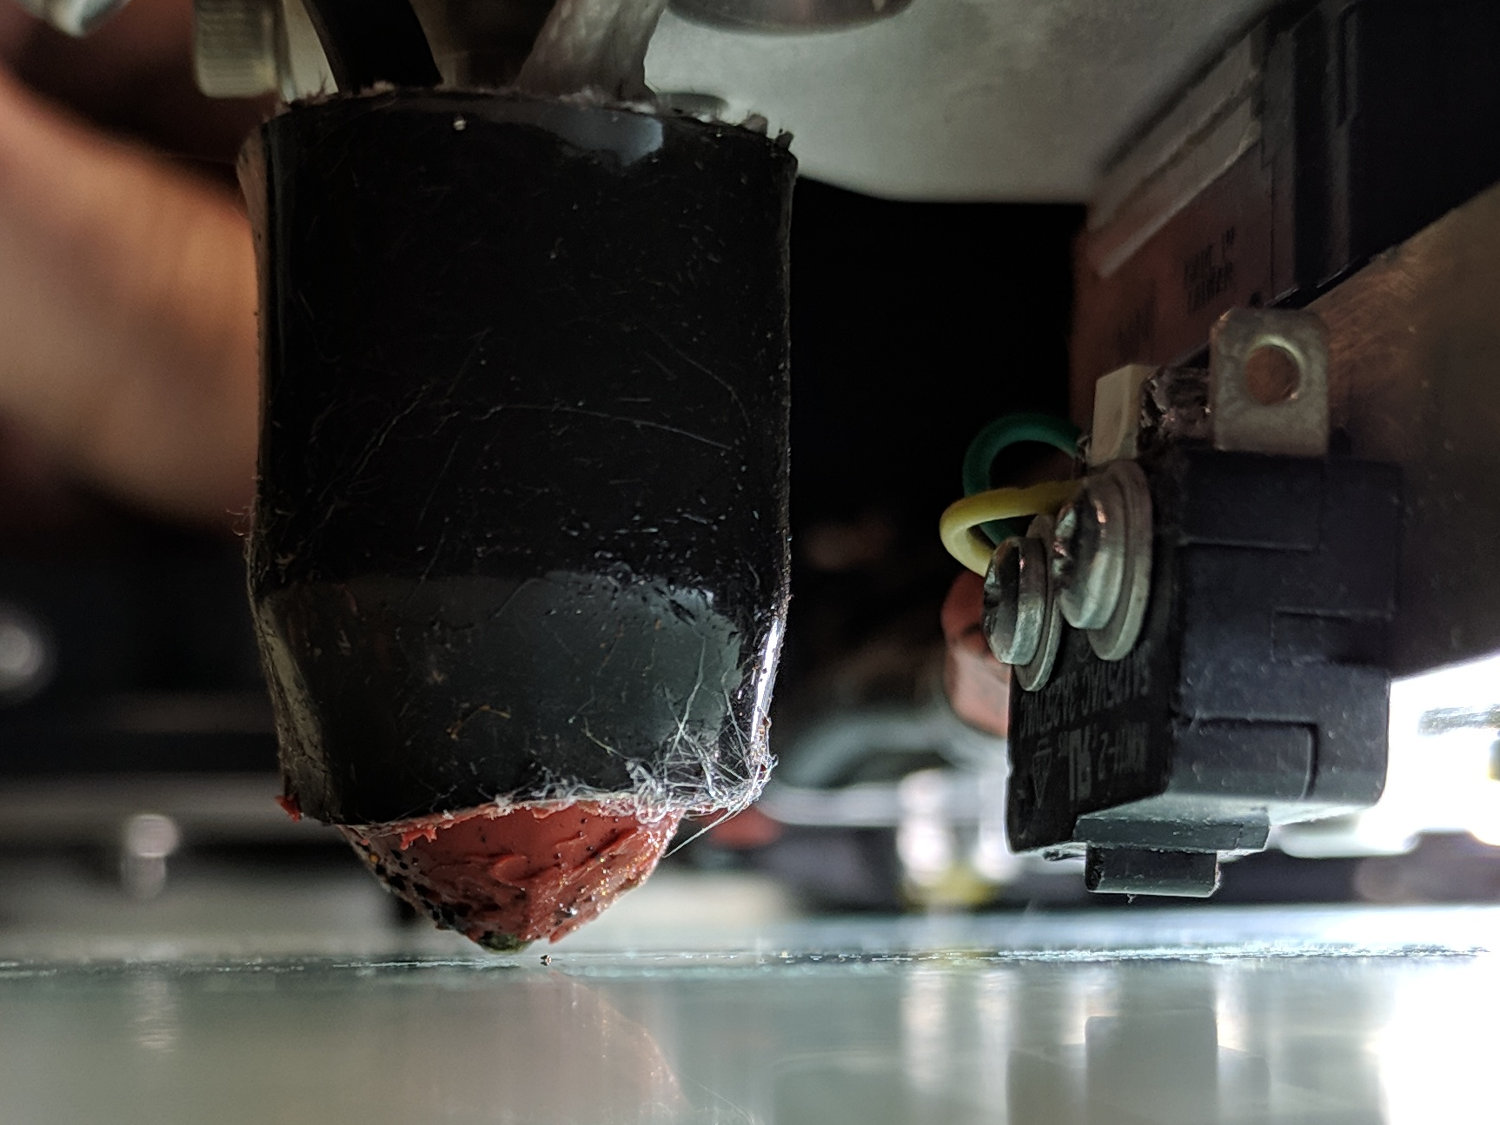
After nearly four years of dangling a bare millimeter above the nozzle, the lever on the relocated Z-Axis switch finally snagged a stray thread and got bent out of shape. I un-bent it, but finally decided it was time to get more air between the nozzle and the switch actuator.
The small shim reduces the actuation distance:

Prying the ends outward with a thumbnail releases a pair of snaps and the cover pops off to reveal the innards:

The spring-loaded innards will launch themselves into the far corners of your shop, so be gentle as you slide the lever out and reinstall the side plate with a pair of clicks.
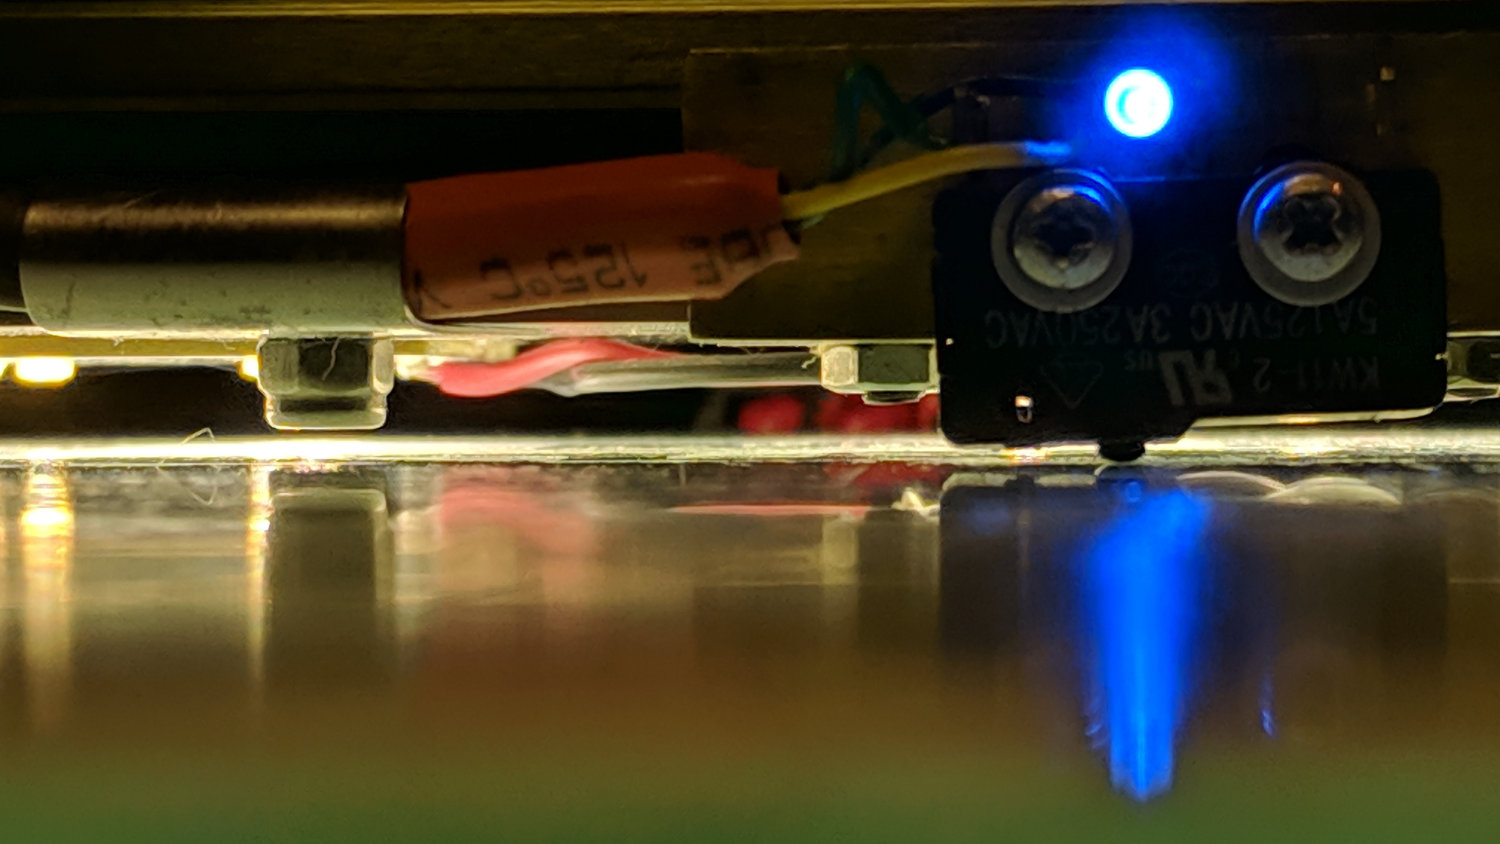
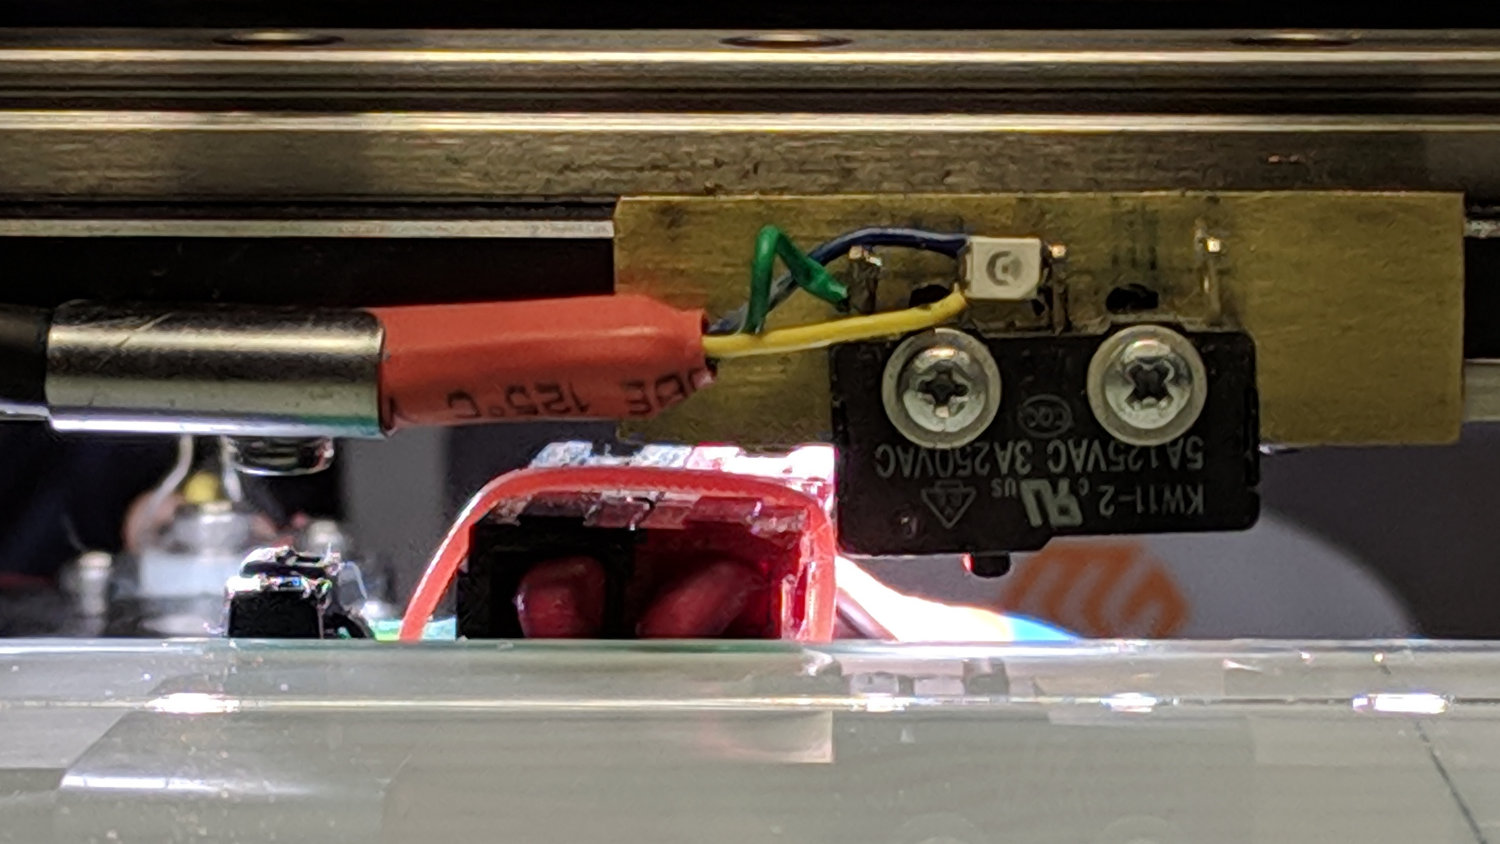
I filed the screw holes in my homebrew brass angle plate into slots, so as to get some adjustability, remounted the switch on the X-axis gantry, and tuned for best clearance:
It looks a bit more canted than it really is.
There’s about 1.6 mm of Z-axis distance between the nozzle and the switch, which should suffice for another few years.
The view from the front shows a slight angle, too:
There’s a millimeter or so below the nuts holding the X-axis linear slide in place, because the original 18 mm M3 SHCS are now 16 mm long (having shotgunned the metric SHCS and BHCS situation some time ago) and the washers are gone.
They’re all nylon lock nuts except for the one just to the left of the switch, providing barely enough clearance for the Powerpole connectors on the hotrod platform:
With the nozzle off the platform to the far right side, Z-axis homing proceeded normally. Manually jogging to Z=+5.0 mm left 2.6 mm of air under the nozzle, so I reset the offset in EEPROM to -2.4 = (2.6 – 5.0) mm:
M206 Z-2.4
M500
The first calibration square came out at 2.91 mm, so I changed the offset to -2.3 mm, got a 2.80 mm square with a firmly squished first layer, changed it to -2.5 mm, and got a 3.00 mm square for my efforts.
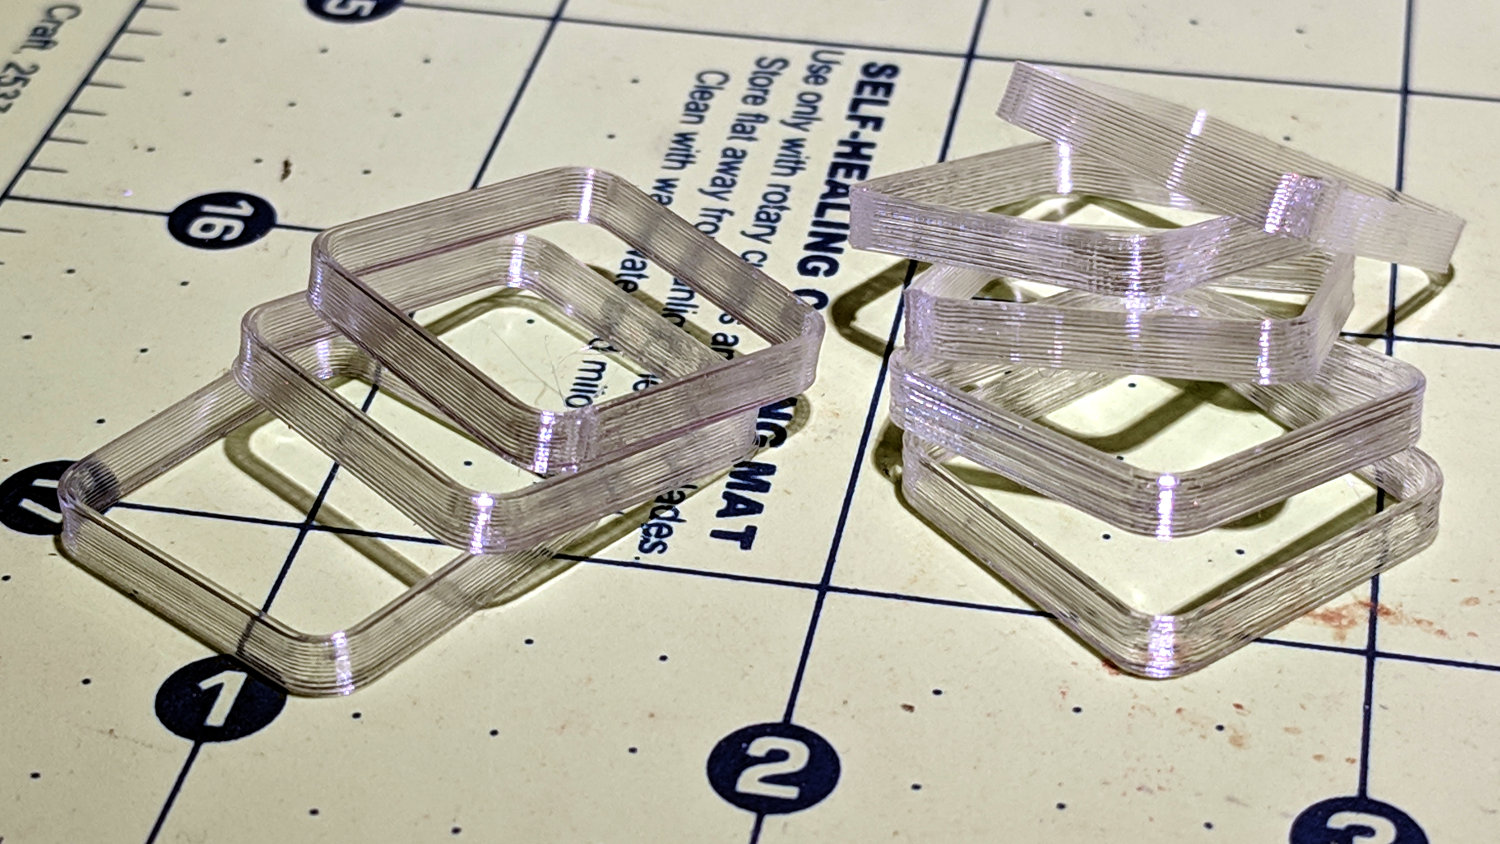
An array of five squares showed the platform remains level to within +0.05 / -0.07 mm:

I defined it to be Good Enough™ and quit while I was ahead.
The bottom two squares in the left pile have squished first layers. The rest look just fine:
The whole set-and-test process required about 45 minutes, most of which was spent waiting for the platform to reach 90 °C in the 14 °C Basement Laboratory.
Done!
