-
Bafang Motor Connector Gasket Replacement
Reasonable people disagree as to the cause of the failure, but a replacement controller for the (new) Bafang motor I’m installing on my bike just arrived in the mail.
Disassembling the motor is straightforward, except for the part where you must excavate an internal plug from the silicone snot gluing it into place, eventually revealing its socket:
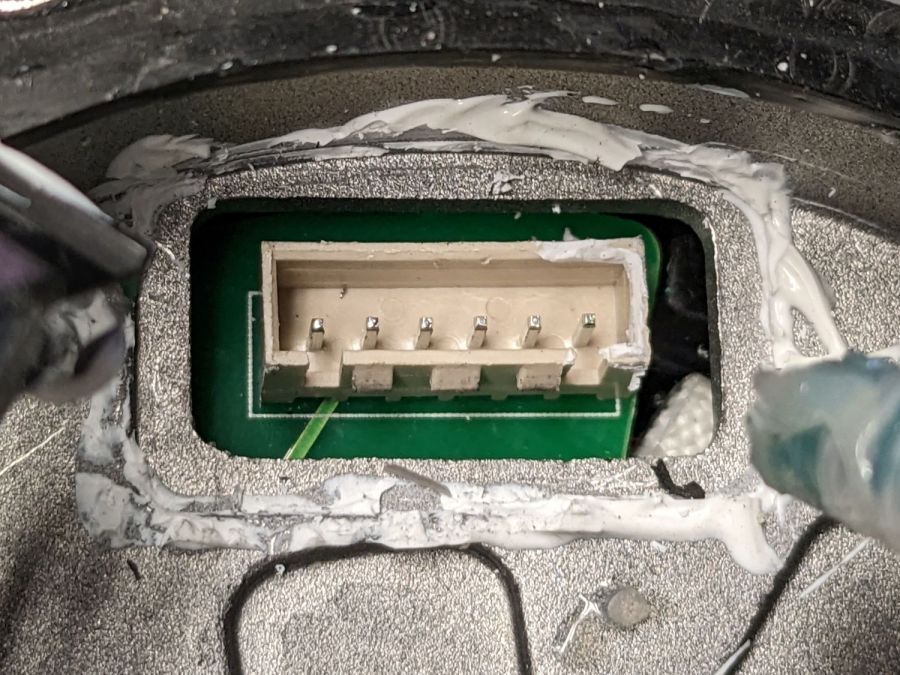
Bafang motor – interior gasket – connector Regrettably, there seems no way to do that without destroying the dense closed-cell gasket around the connector:
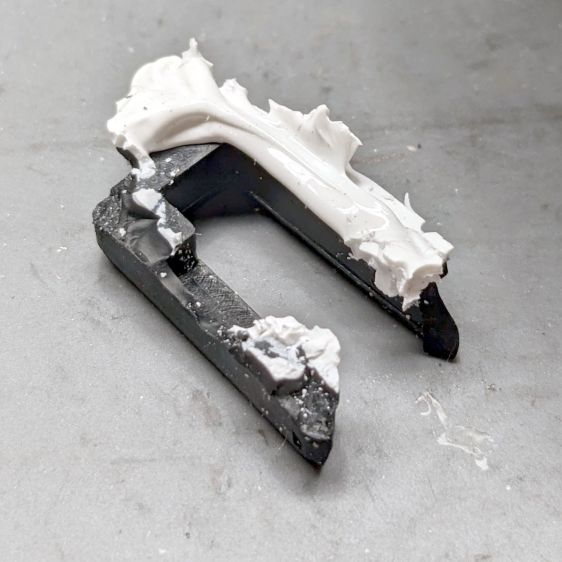
Bafang motor – interior gasket – damaged original Equally regrettable: a replacement gasket wasn’t included with the replacement controller. Although I don’t have any of the specific foam, some marginally less dense foam from the Big Box o’ Padding seemed suitable for laser cuttery:
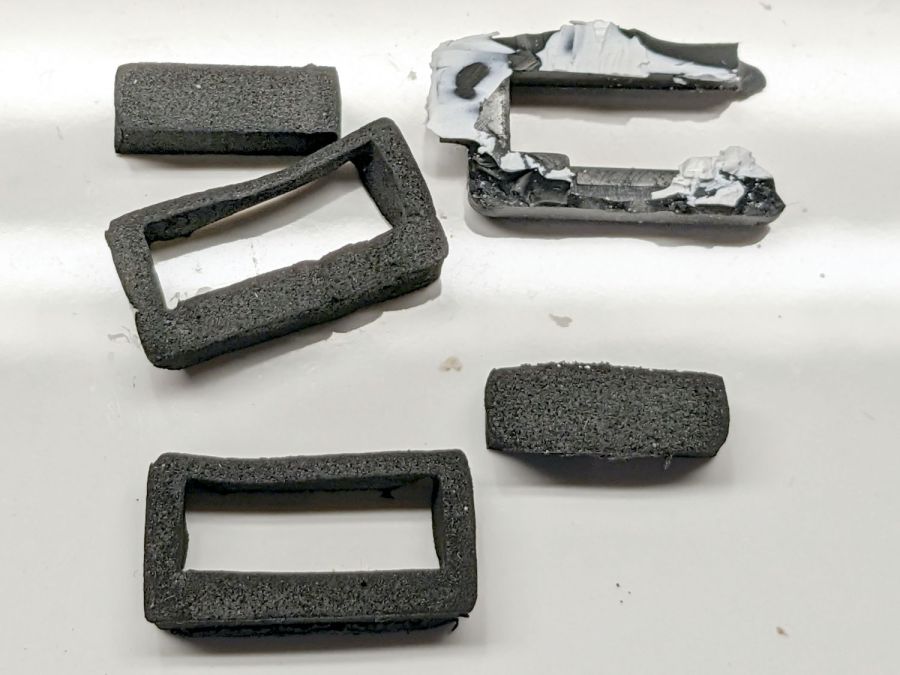
Bafang motor – interior gasket – iterations The upper left prototype suggested a slightly larger rear bar that produced the gasket in front, which fit snugly:

Bafang motor – interior gasket – test fit It lacks the latch cutout, but the foam is squishy and I expect to never touch it again.
A generous glob of hot melt glue holds everything in place:

Bafang motor – interior gasket – replacement glued Although the usual Youtube videos show folks slathering RTV silicone caulk on these connectors, that’s a Very Bad Idea™, because RTV caulk releases acetic acid as it cures. That’s not a problem in the open-air siding-and-lumber environment the caulk was intended for, but sealing a glob of the stuff inside an enclosure will eventually corrode all of the electronics therein.
Cutting intricate doodads has become trivially easy: if you can draw it, you can pretty much cut it, just like that:

Bafang motor connector gasket – LB layout That was the easy part, anyway.
-
Subscribe
Subscribed
Already have a WordPress.com account? Log in now.
