-
Electric Drill Hung From Nail: Getting It Right
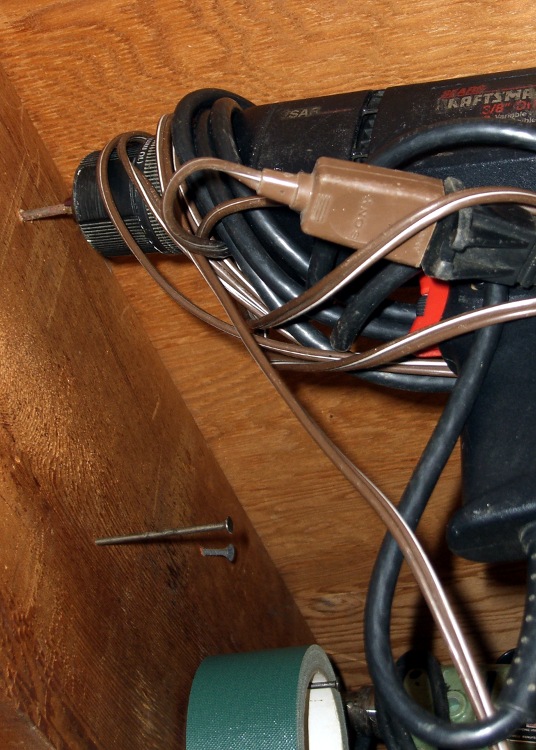
When you hang an electric hand drill on a nail pounded into a floor joist, you want the chuck jaws to just clear the nail. Too large and the drill tends to fall off. Too small and it won’t go.
I took way too long to figure this out, but…
Adjust the chuck properly just once, then run a fat marker around the jaws.
It’s trivially easy to get it right forever after: spin the chuck adjustment until the marks line up with the chuck nose and hang the drill up.

Electric hand drill on nail 
Nail size guide on chuck jaws Maybe everybody else knows that.

-
Subscribe
Subscribed
Already have a WordPress.com account? Log in now.
