-
3D Printed Chain Mail Armor: Cosplay Edition
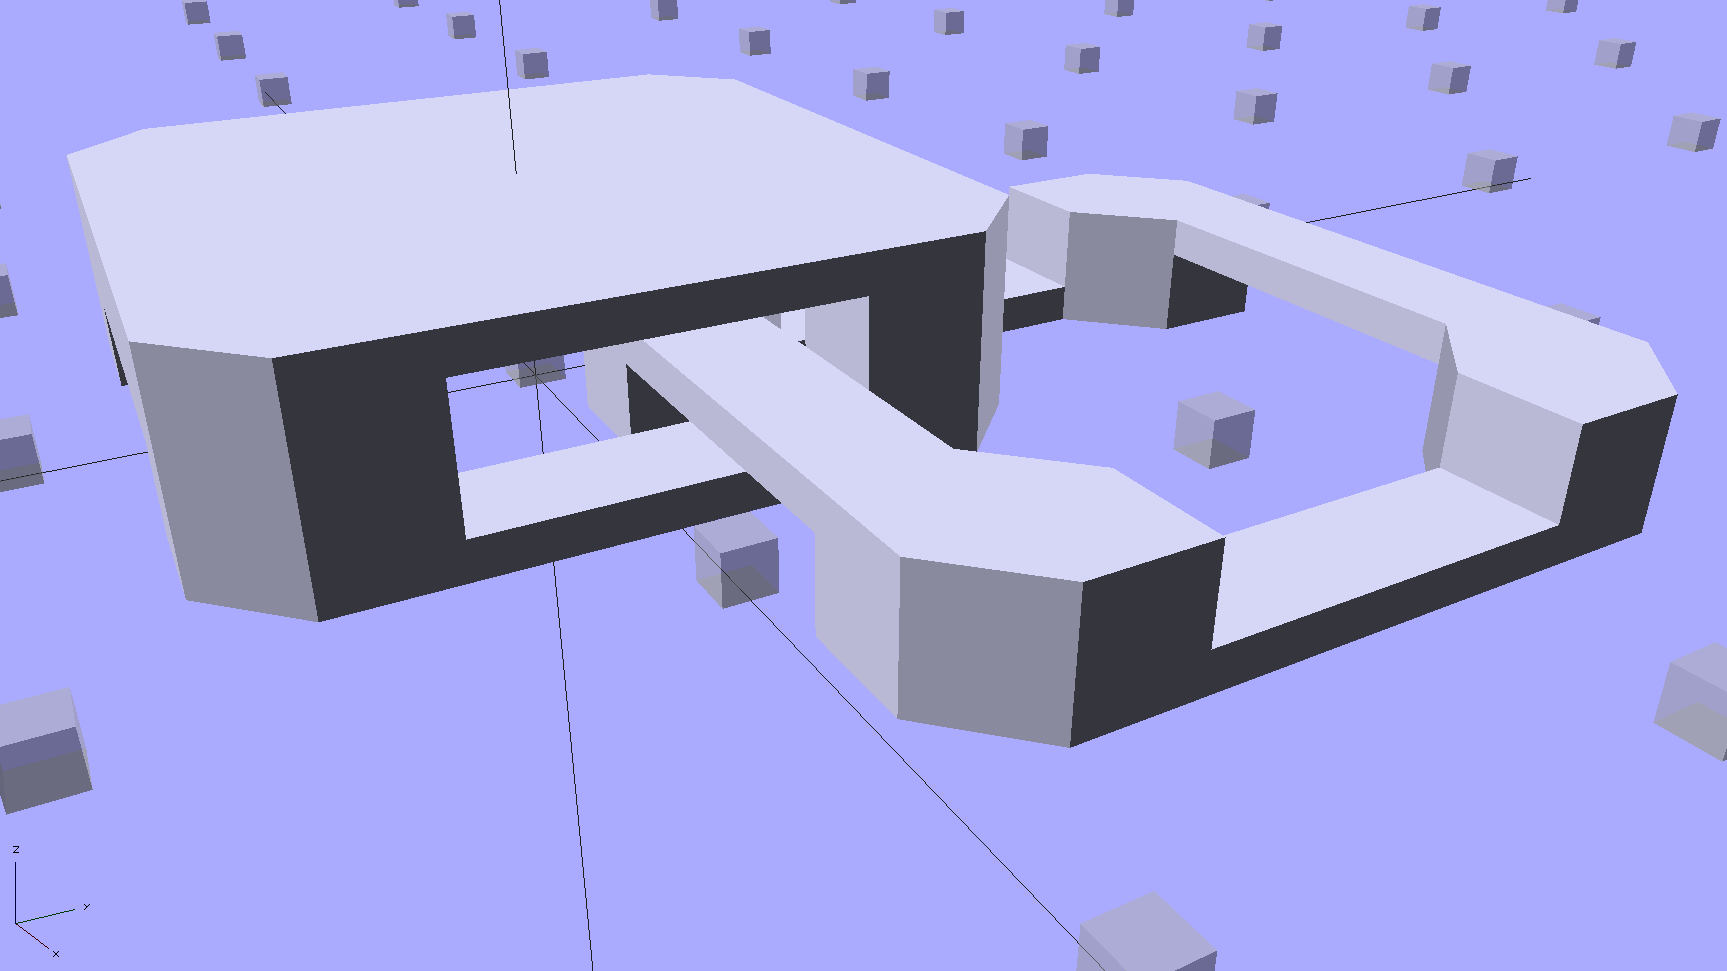
Starting from the improved chain mail link design, extend the top bars enough to clear the cross links, then bridge across them to form a flat cap:
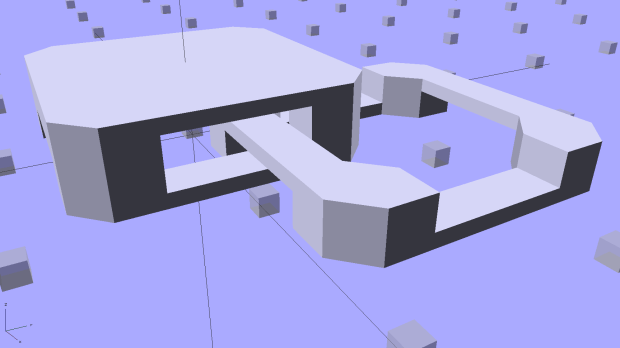
Chain Mail – Armor and Link The OpenSCAD code makes the links as small as they can possibly be, based on the bar size and clearances, then rounds up to a multiple of the thread width so the flat cap will fill properly. Given the extrusion thread dimensions and the bar sizes, the OpenSCAD code computes everything else: the link model matches the slicer settings that define the printer’s output.
Given:
- Thread: 0.4 mm wide x 0.2 mm thick
- Bar: 6 thread wide x 4 thread thick = 2.4 x 0.8 mm
- Clearances: 2 thread horizontal x 5 thread vertical = 0.8 x 1.0 mm
All the links measure 15.6 mm from side to side, the short connecting links are 2.6 mm tall, and the flat caps are 4.4 mm tall. Interlinked links sit 8.2 mm on center = half the link side plus one thread width clearance, which is 16.4 mm on center for adjacent links.
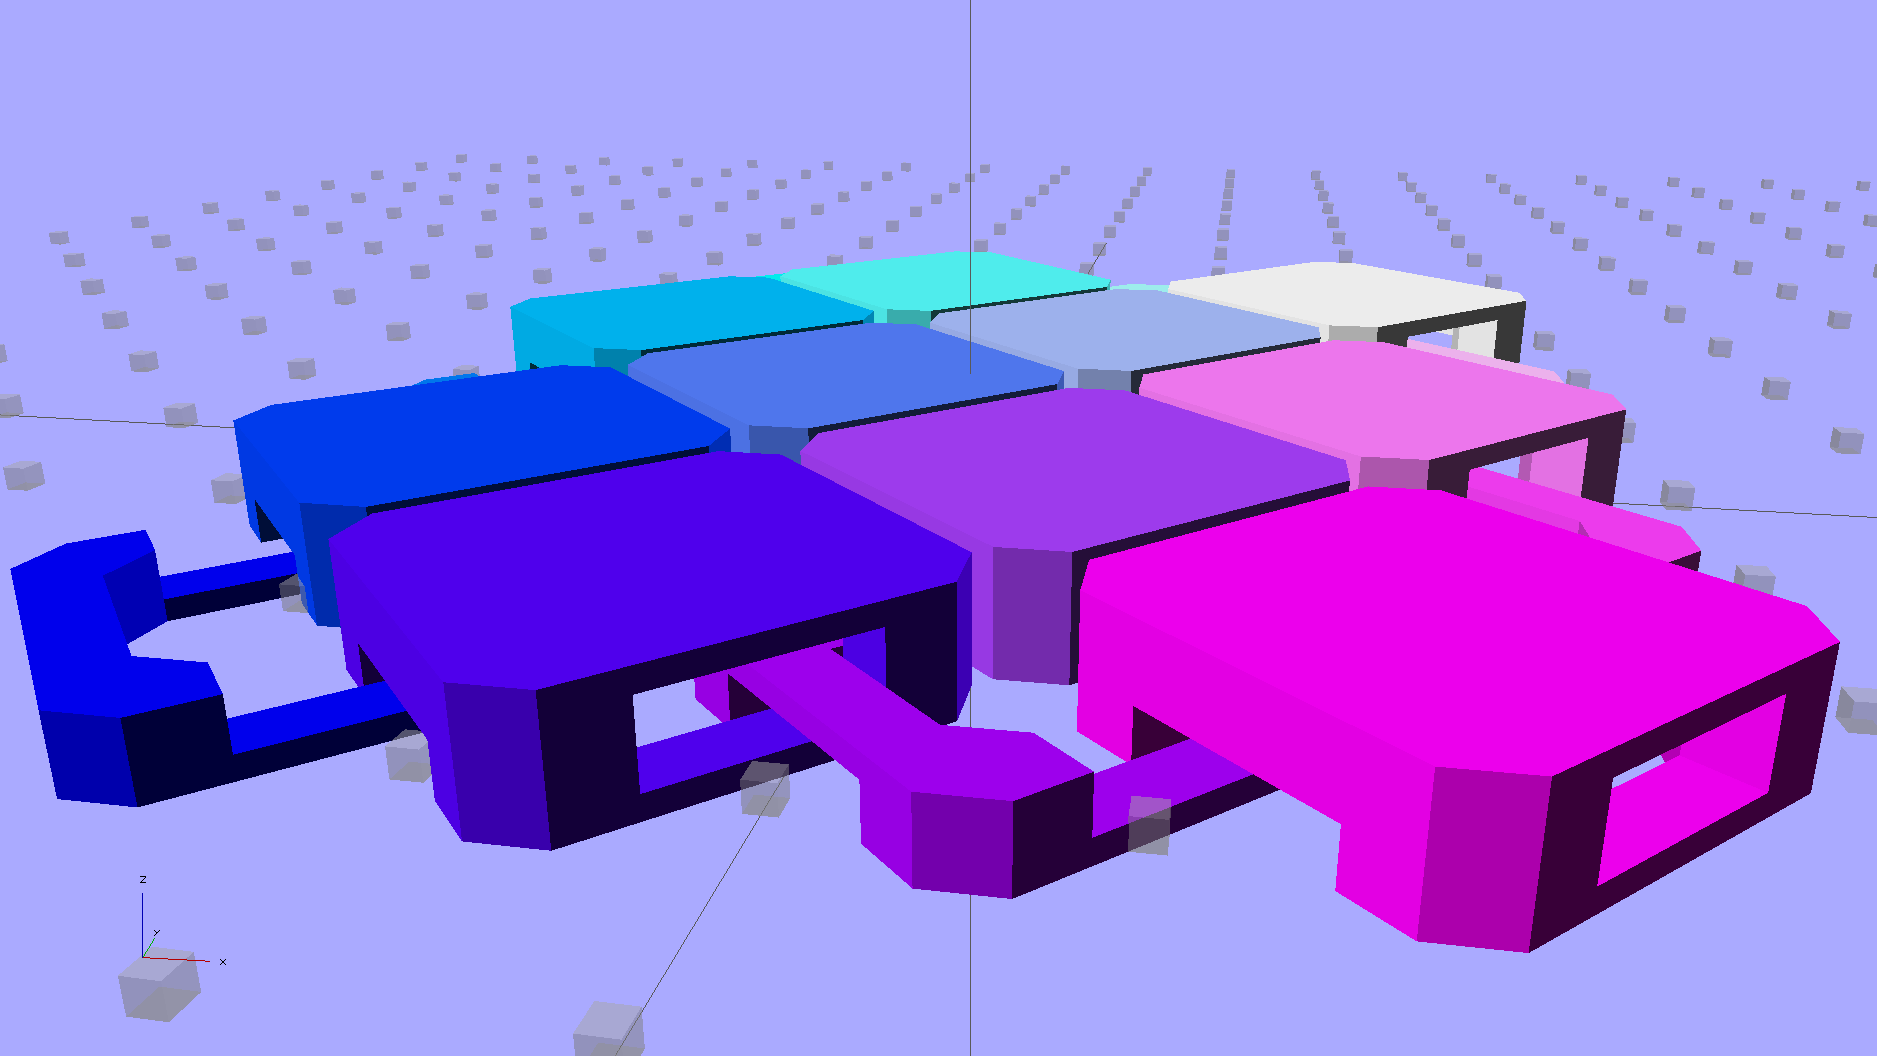
Duplicated appropriately, the caps resemble turtle armor:
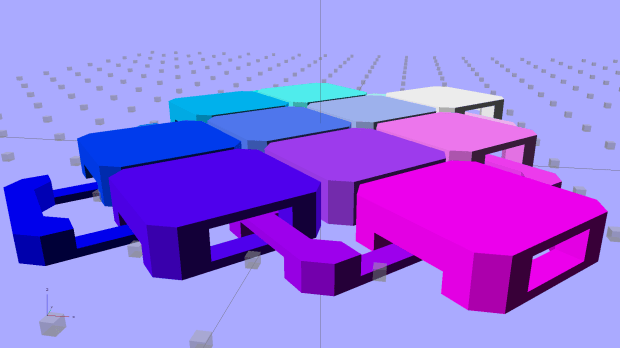
Chain Mail – Flat Armor Which look about the same in real life, minus the cheerful colors:
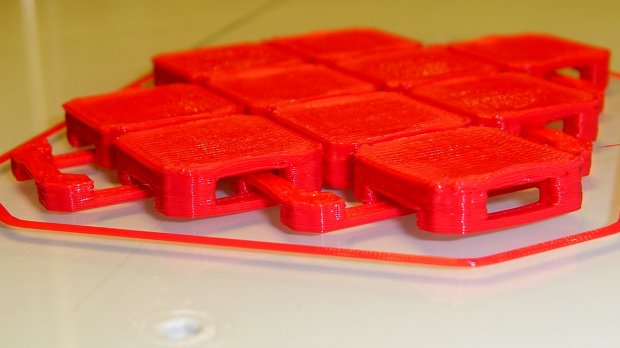
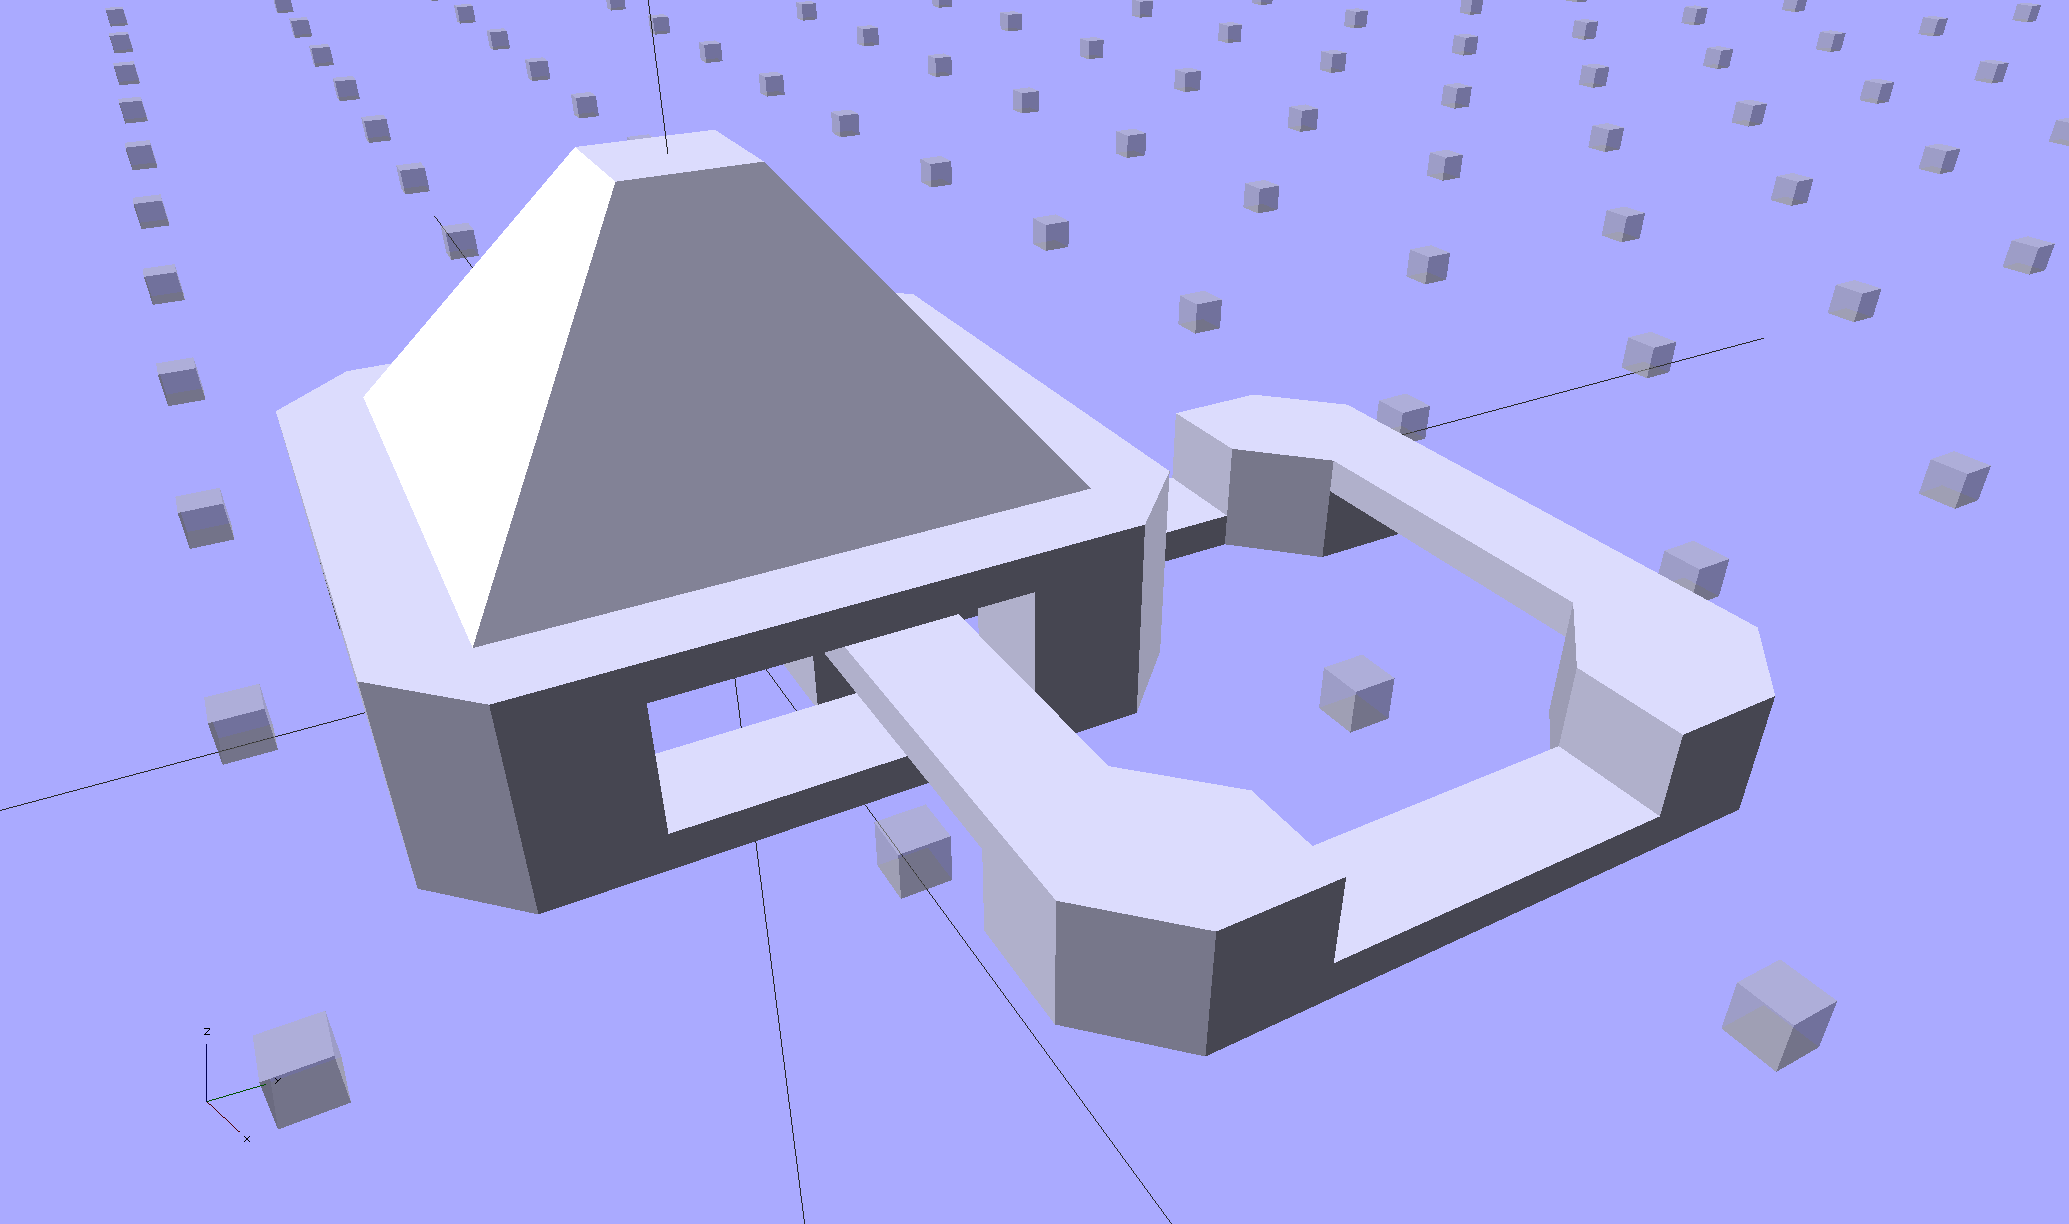
Armor Buttons – on platform – side Now, however, you can plunk an armor button atop the cap:
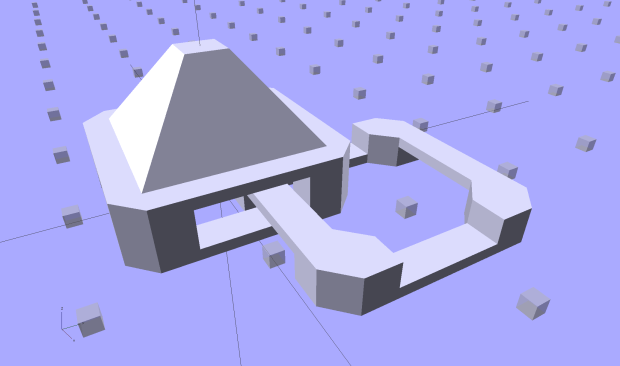
Chain Mail Armor – 4 sided With any number of sides:
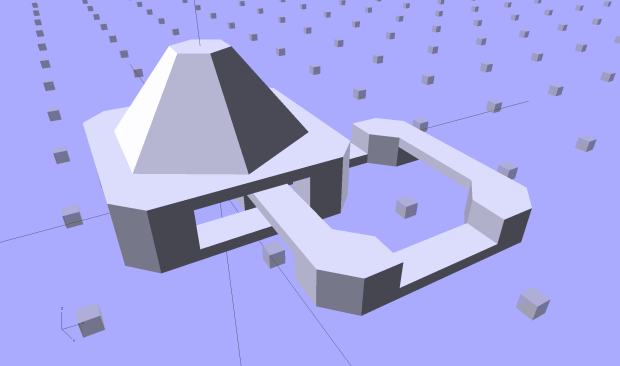
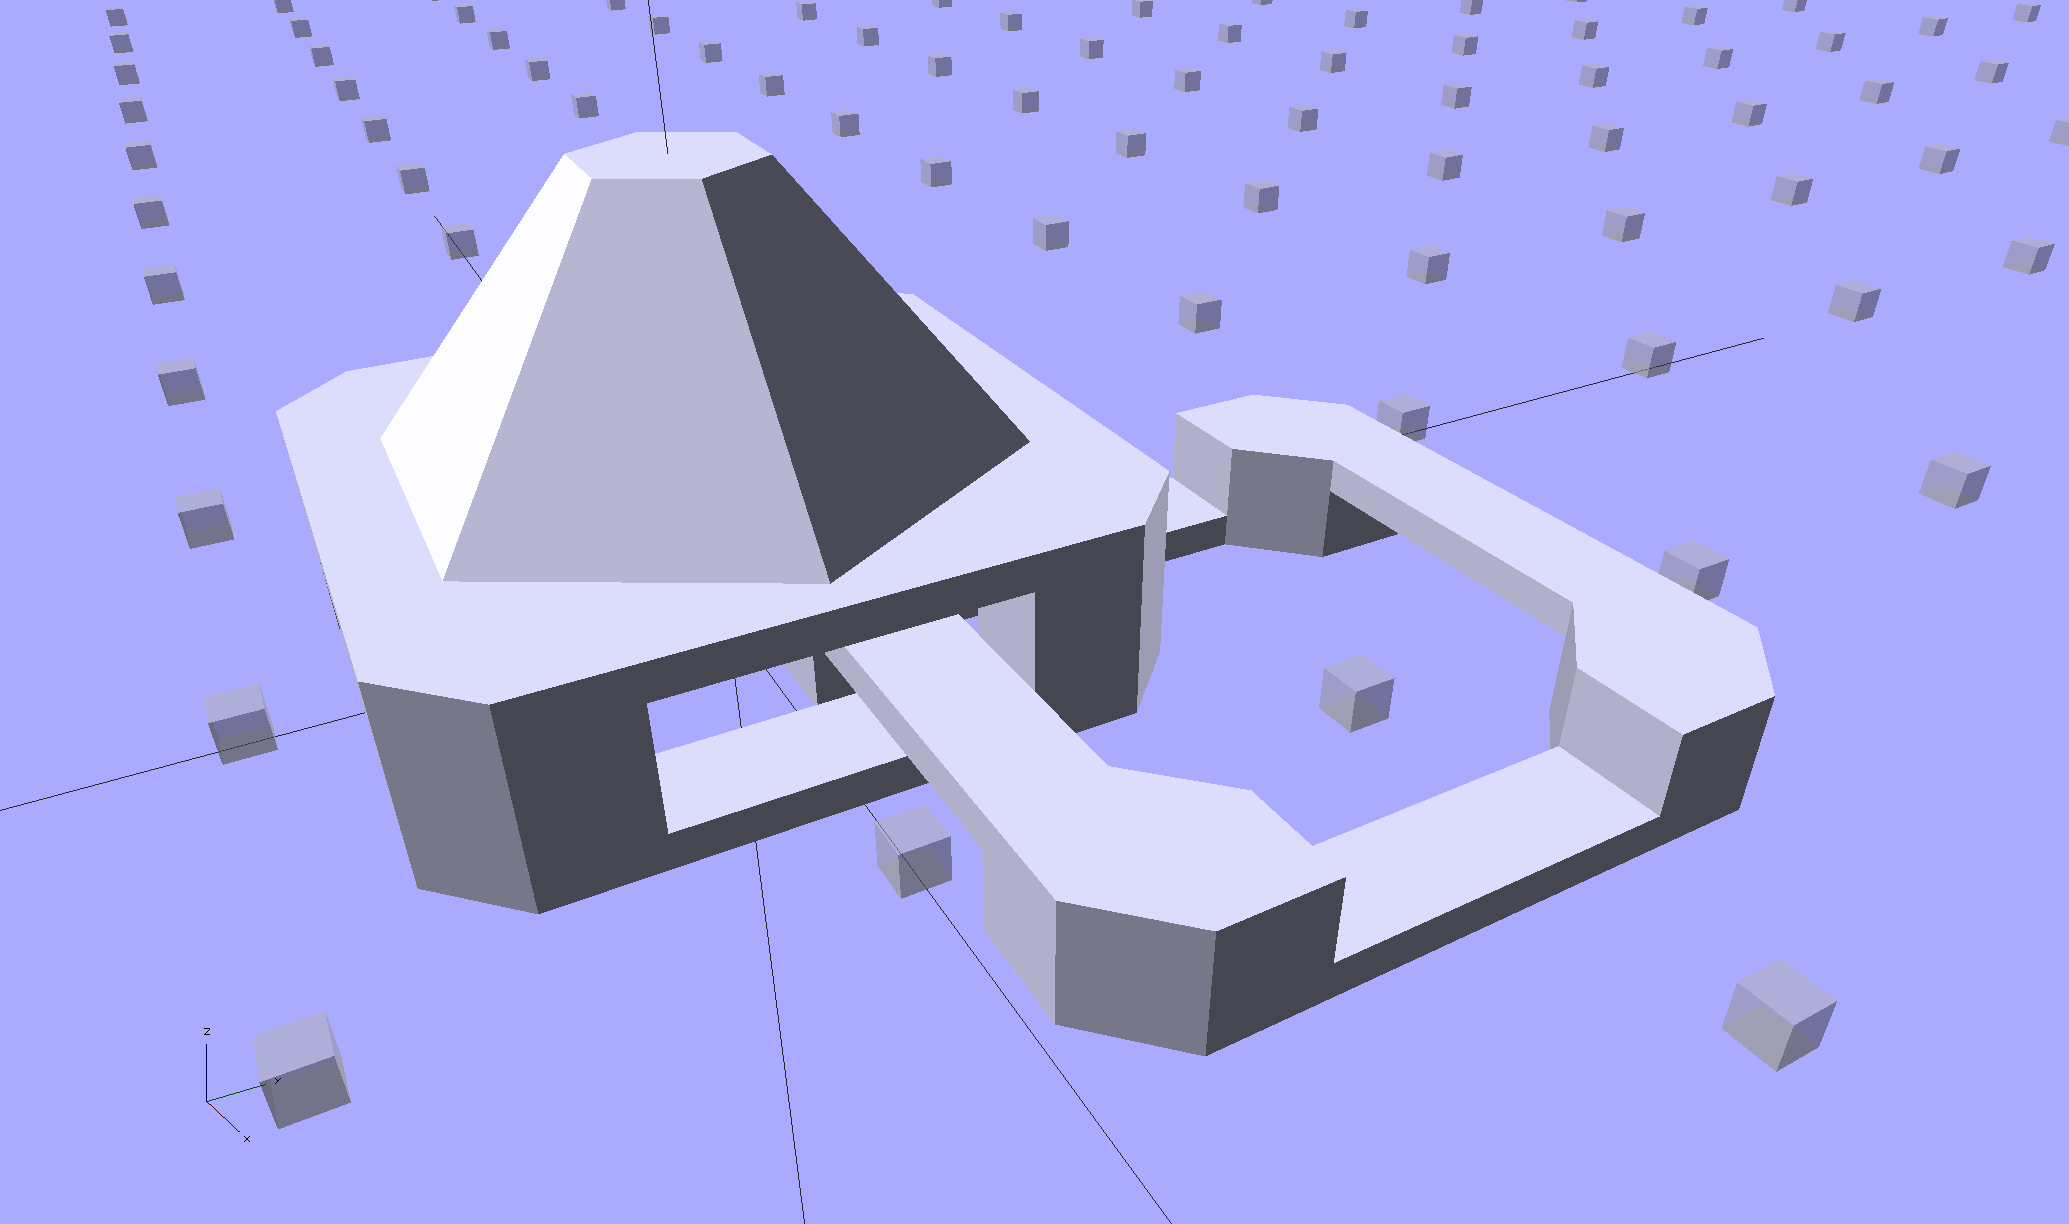
Chain Mail Armor – 6 sided Up to a truncated cone:
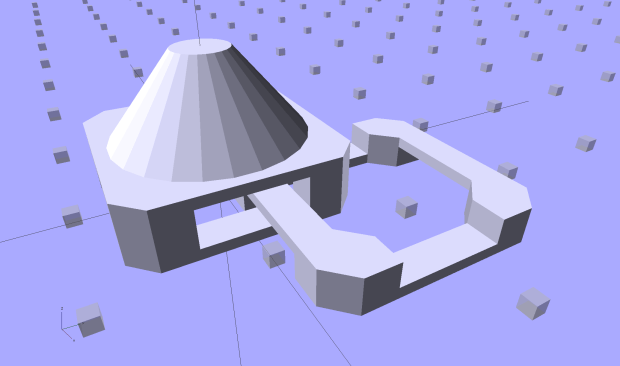
Chain Mail Armor – 24 sided The flat tip makes the button more durable and user-friendly, but you can make it a bit more pointy if you favor that sort of thing. The button adds 6 mm to the link base, making armor links 10.4 mm tall.
Other printable stuff could fit on that cap: letters, decorations, widgets, whatever.
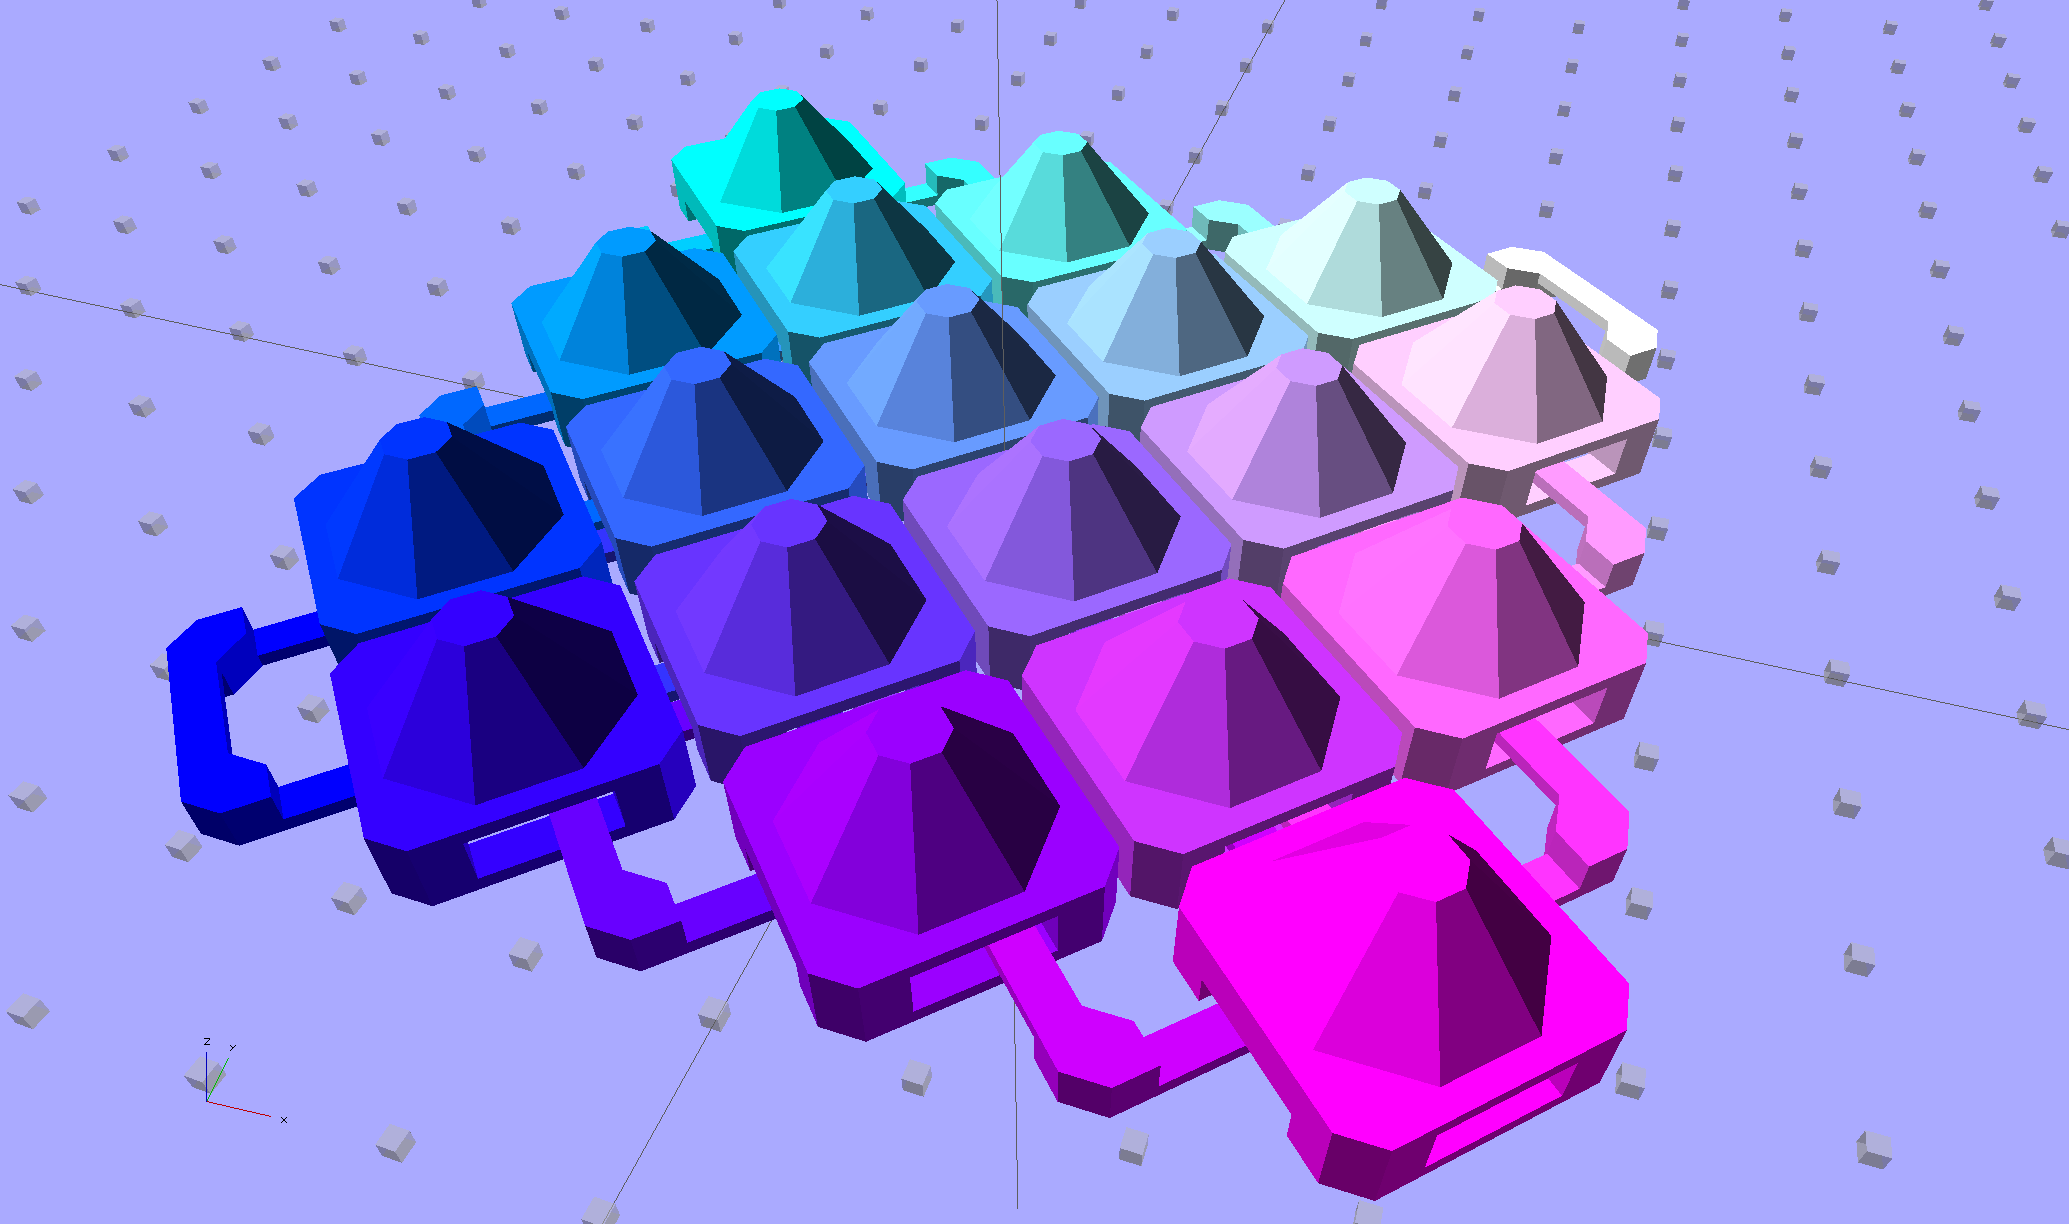
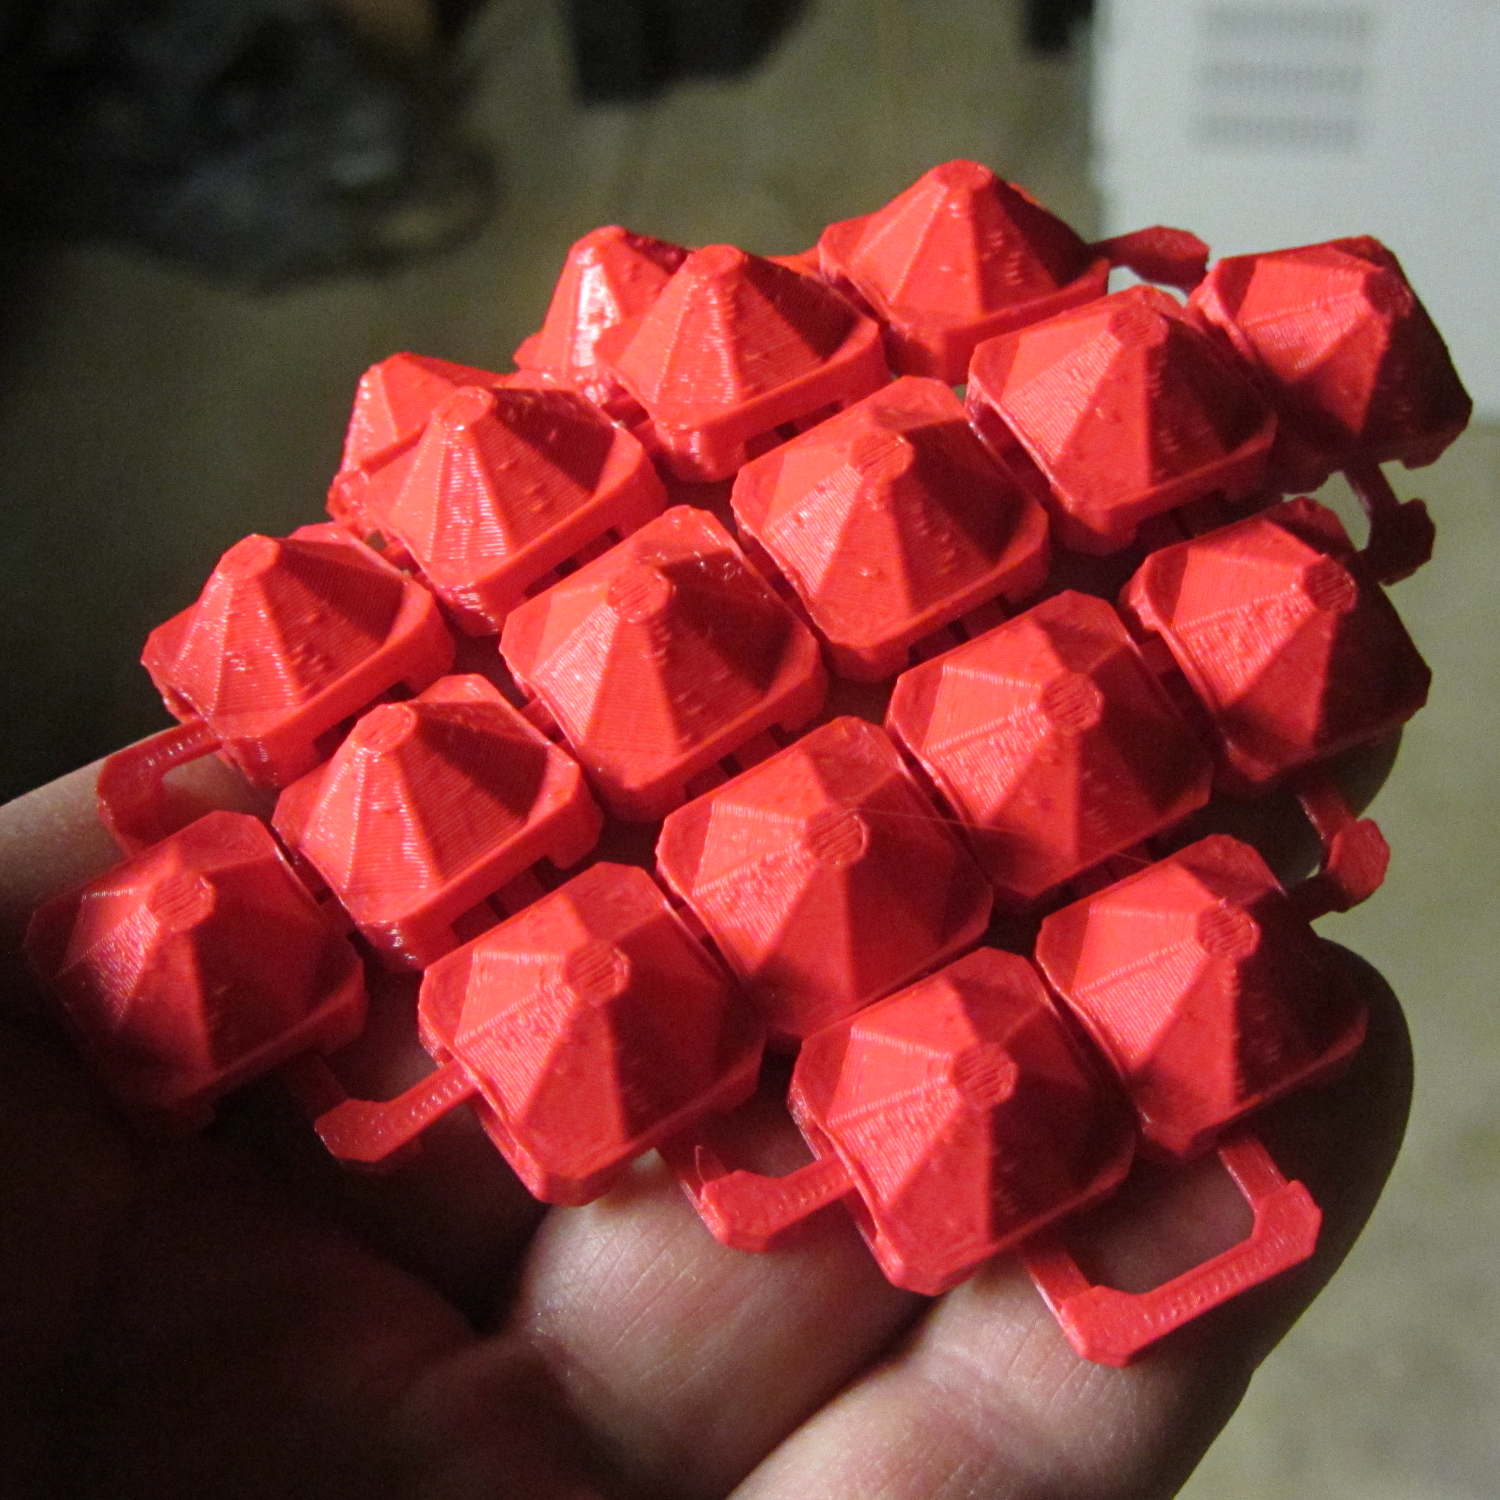
I think square armor buttons look ever so imposing when they’re arrayed in a sheet:
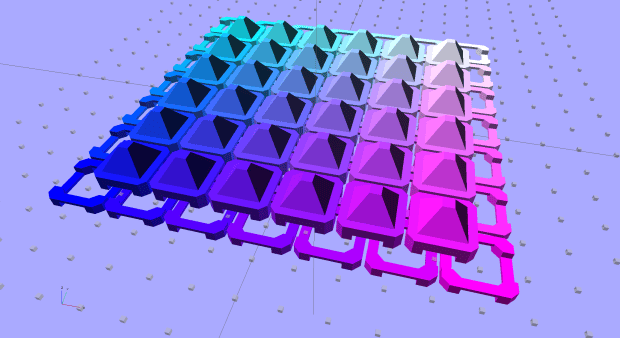
Chain Mail Armor – square – 4 sided The general idea being that you could attach the armor sheet to a cloth / leather backing to form a gauntlet or greave; the border of bottom links around the button array should serve for that purpose.
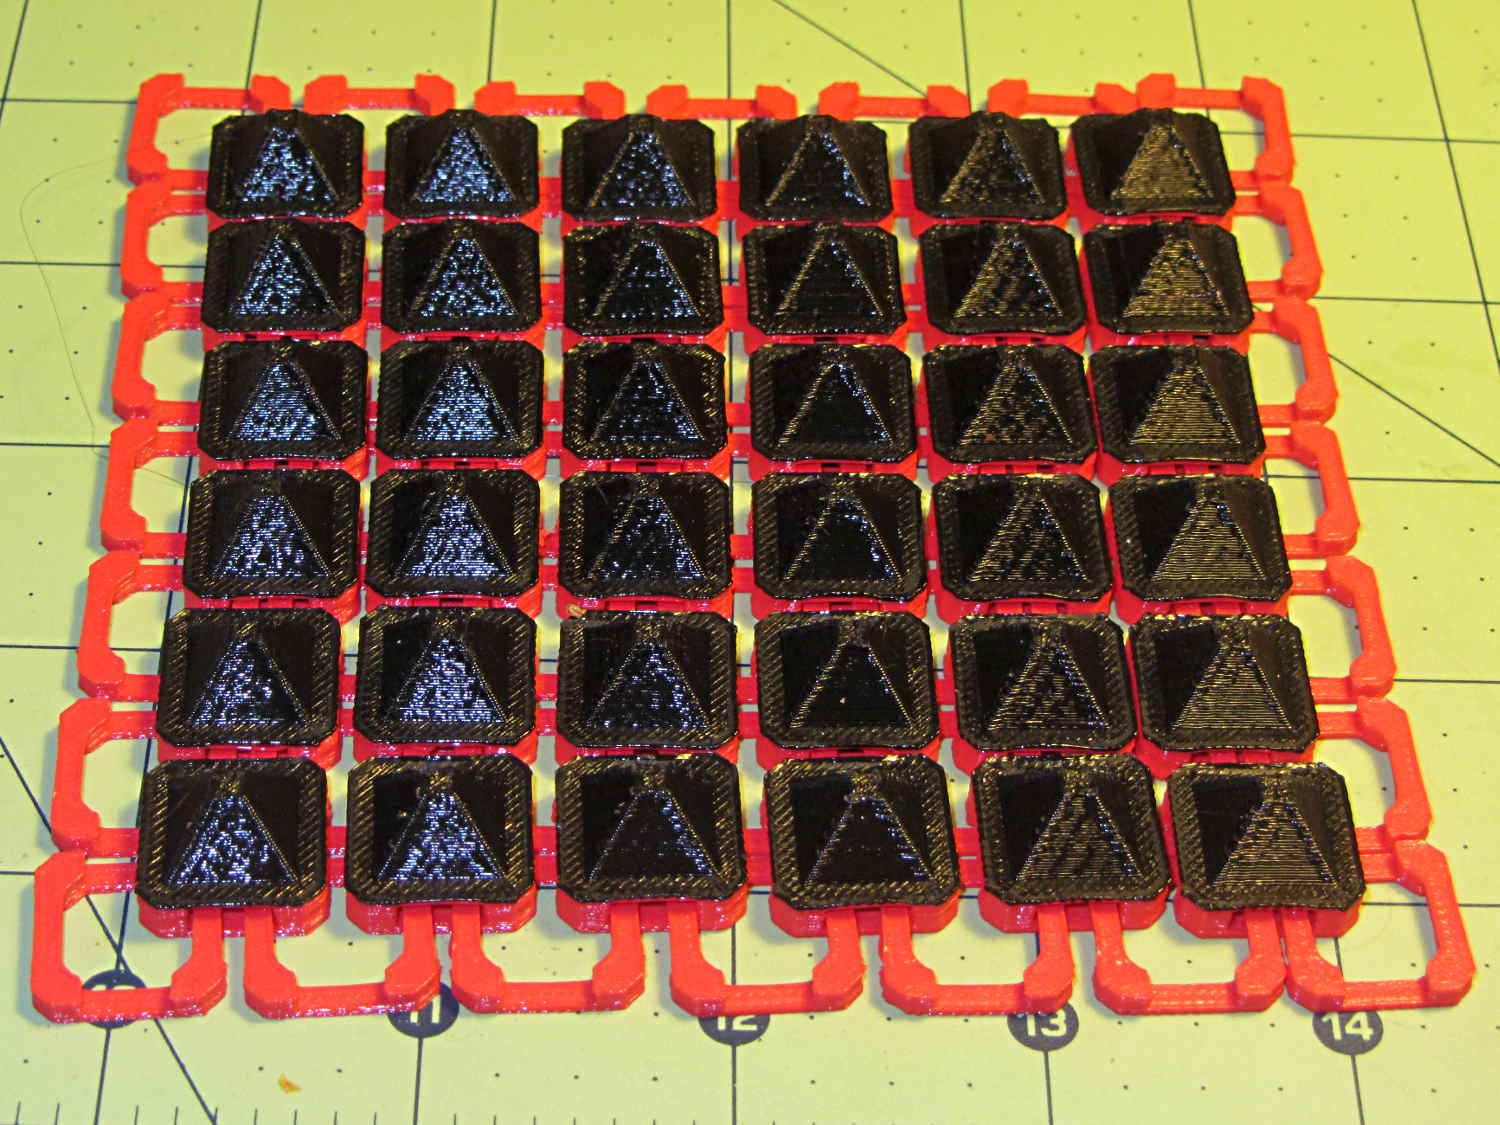
The plastic prints just like the model and pops off the M2’s platform ready to use, with no finishing required:
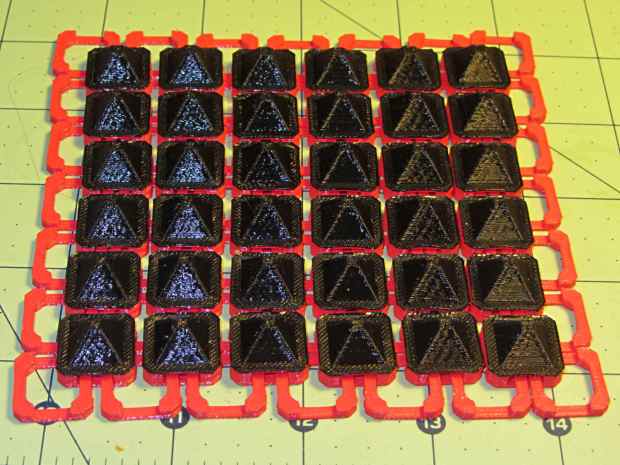
Chain Mail Armor – square on desk The two-color effect came from hot-swapping black filament as the red PLA ran out. The 6×6 armor button array and the 7×7 connecting link array holding it together required 14 meters of filament and I guesstimated the red spool held 9 meters: I was ready when the last of the red vanished just after completing the bridging layer under the flat caps. Filament swaps work reasonably well; I’d hate to do that on a production basis.
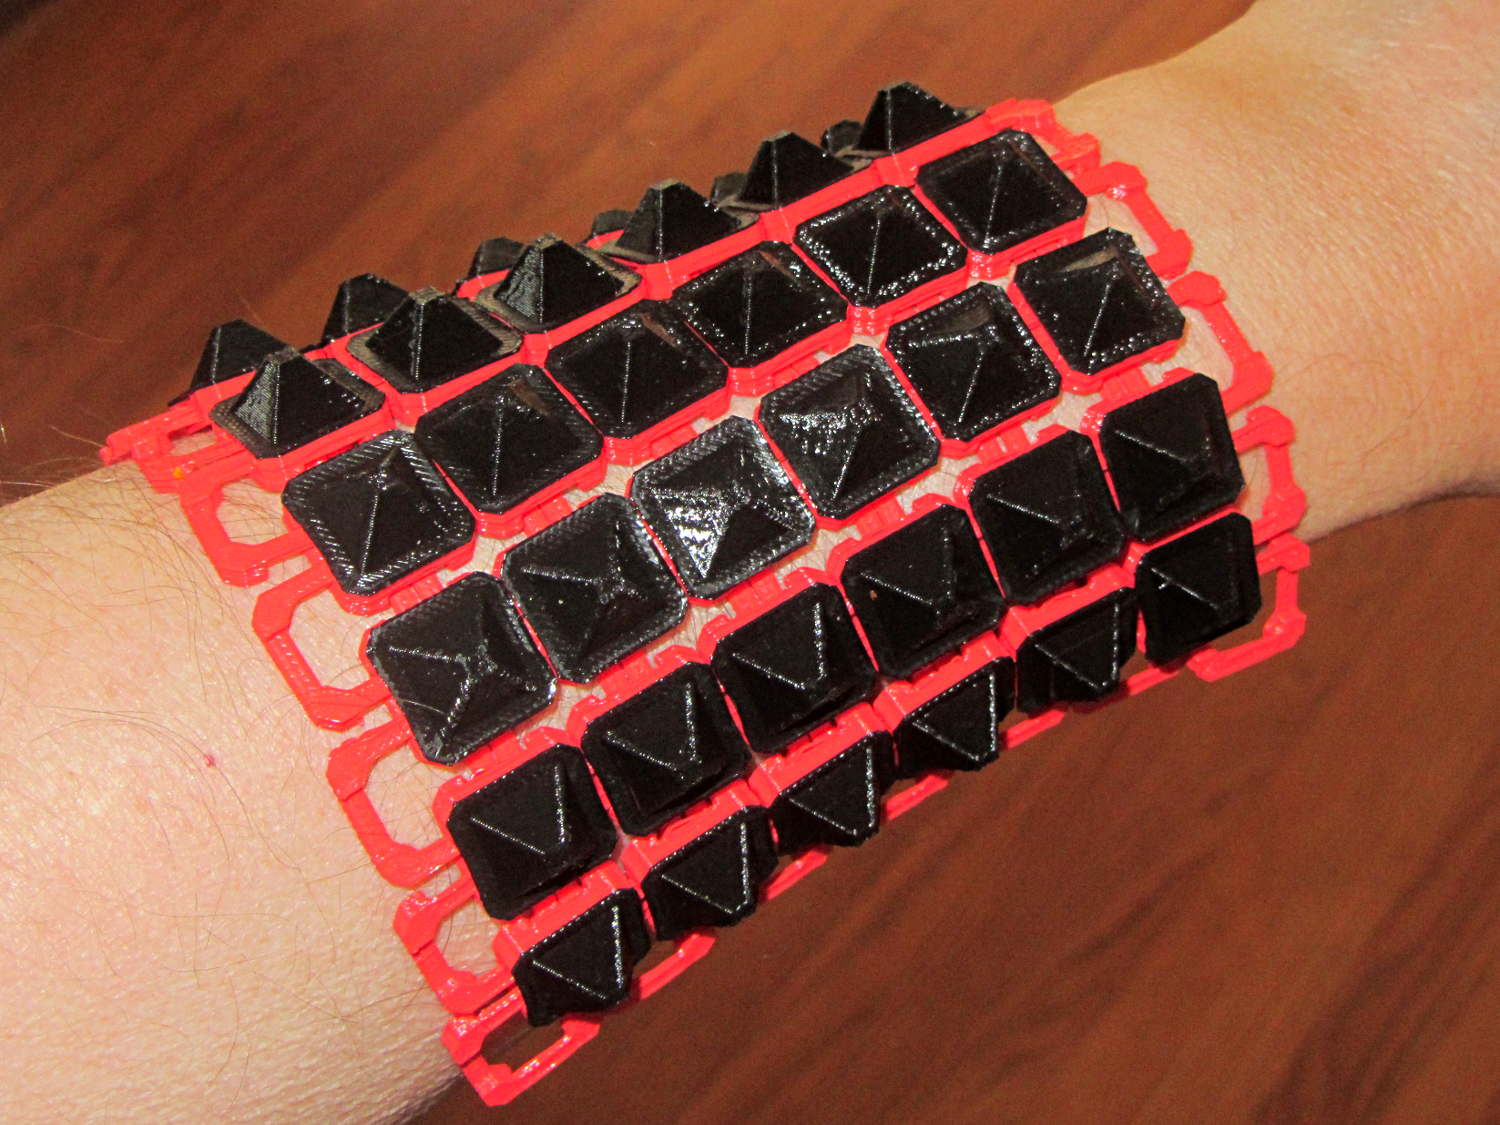
If you don’t mind my saying so, everybody thinks it’s spectacular:
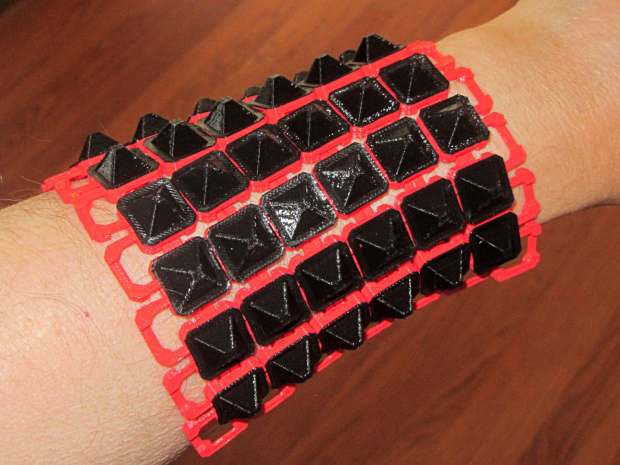
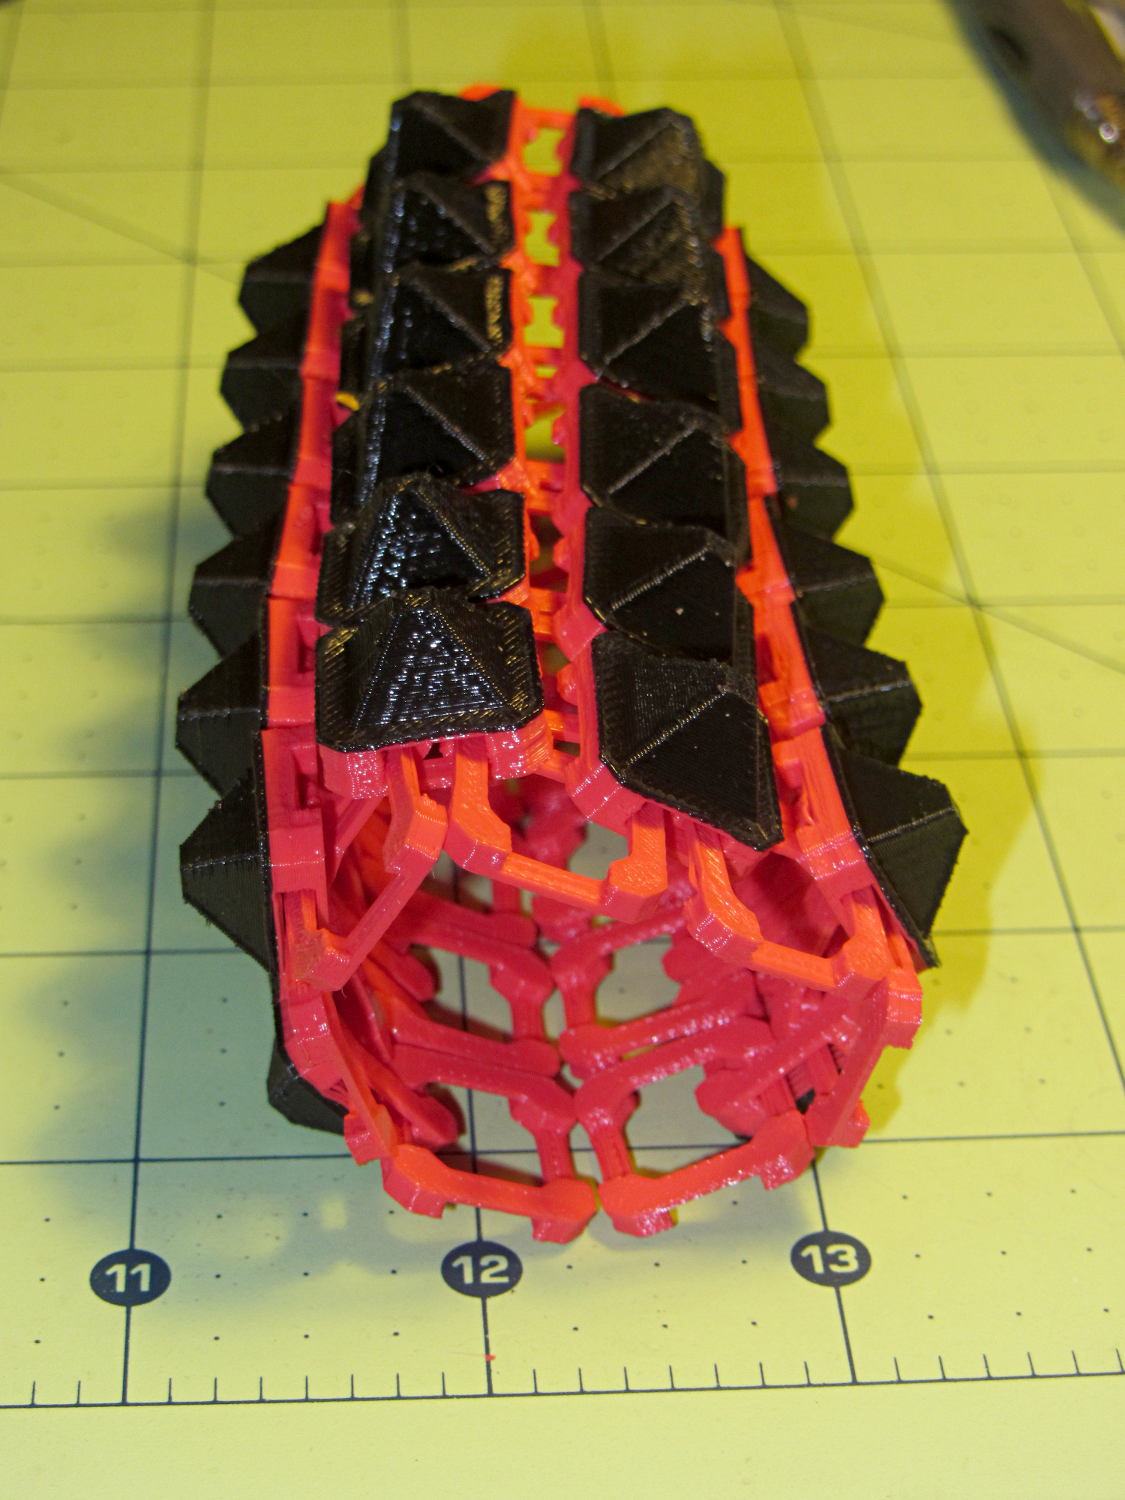
Chain Mail Armor – square on arm The sheet has a definite “grain” defined by the orientation of the bottom links, making it far more bendy in one direction than the other:
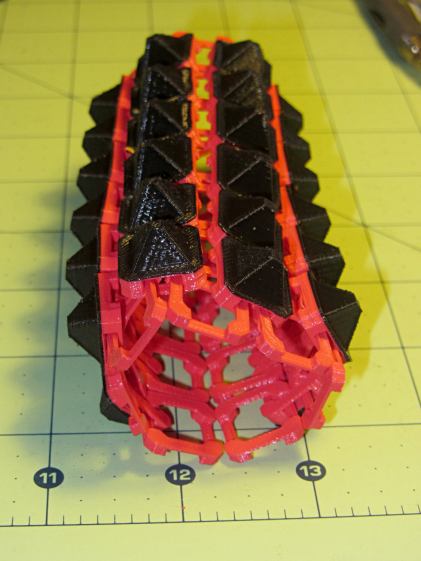
Chain Mail Armor – square rolled The sheet layout orients the more-bendy direction along the M2’s (longer) Y axis, so that sheets can wrap snugly around your arm (or leg) and extend straight-ish along the bones in the other direction. That should be configurable, I think.
There’s an option to rotate the links by 45° to produce diamond-theme arrays:
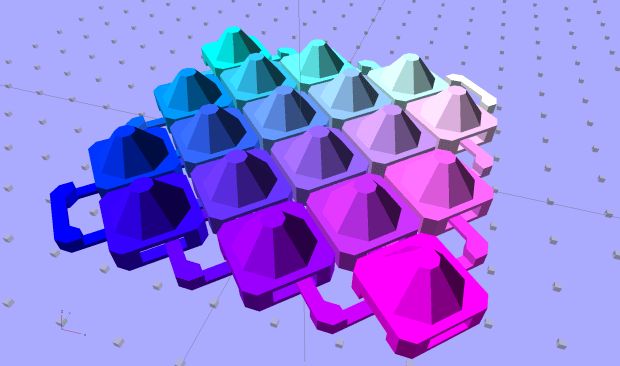
Chain Mail Armor – diamond – 8 sided Which would make good patch armor, if you’re into that sort of thing:
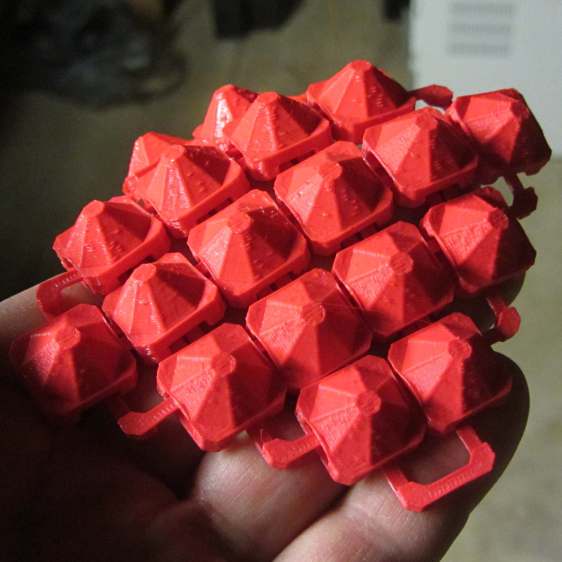
Chain Mail Armor – diamond on hand Those have octagonal buttons, which IMHO don’t look nearly as crisp as the four-sided version.
Ah! I should generalize the diamond rotation option to select all four useful rotations.
The 6×6 square sheet requires three hours on the M2, with the intial print time estimates being low by nearly a factor of two. The M2 has a 200×250 mm platform and I’ll definitely try a full-size array just to see how it works.
The OpenSCAD source code, which stands badly in need of refactoring:
// Chain Mail Armor Buttons
// Ed Nisley KE4ZNU - November 2014

Layout = "Build";			// Link Button LB Build

//-------
//- Extrusion parameters must match reality!
//  Print with 1 shell and 2+2 solid layers

ThreadThick = 0.20;
ThreadWidth = 0.40;

HoleWindage = 0.2;

Protrusion = 0.1;			// make holes end cleanly

function IntegerMultiple(Size,Unit) = Unit * ceil(Size / Unit);

//-------
// Dimensions

//- Set maximum sheet size

SheetSizeX = 70;
SheetSizeY = 80;

//- Diamond or rectangular sheet?

Diamond = false;					// true = rotate 45 degrees, false = 0 degrees for square
ArmorButton = true;					// true = build button atop cap

// Link bar sizes

BarWidth = 6 * ThreadWidth;
BarThick = 4 * ThreadThick;

BarClearance = 5*ThreadThick;		// vertical clearance above & below bars

//-- Compute link sizes from those values

// Absolute minimum base link: bar width + corner angle + build clearance around bars
//  rounded up to multiple of thread width to ensure clean filling
BaseSide = IntegerMultiple((4*BarWidth + 2*BarWidth/sqrt(2) + 3*(2*ThreadWidth)),ThreadWidth);

BaseHeight = 2*BarThick + BarClearance;           // both bars + clearance

echo(str("BaseSide: ",BaseSide," BaseHeight: ",BaseHeight));

BaseOutDiagonal = BaseSide*sqrt(2) - BarWidth;
BaseInDiagonal = BaseSide*sqrt(2) - 2*(BarWidth/2 + BarWidth*sqrt(2));

echo(str("Outside diagonal: ",BaseOutDiagonal));

//- On-center distance measured along coordinate axis

LinkOC = BaseSide/2 + ThreadWidth;

LinkSpacing = Diamond ? (sqrt(2)*LinkOC) : LinkOC;
echo(str("Base spacing: ",LinkSpacing));

//- Compute how many links fit in sheet

MinLinksX = ceil((SheetSizeX - (Diamond ? BaseOutDiagonal : BaseSide)) / LinkSpacing);
MinLinksY = ceil((SheetSizeY - (Diamond ? BaseOutDiagonal : BaseSide)) / LinkSpacing);
echo(str("MinLinks X: ",MinLinksX," Y: ",MinLinksY));

NumLinksX = ((0 == (MinLinksX % 2)) && !Diamond) ? MinLinksX + 1 : MinLinksX;
NumLinksY = ((0 == (MinLinksY % 2) && !Diamond)) ? MinLinksY + 1 : MinLinksY;
echo(str("Links X: ",NumLinksX," Y: ",NumLinksY," Total: ",NumLinksX*NumLinksY));

//- Armor button base

CapThick = BarThick;

ButtonHeight = BaseHeight + BarClearance + CapThick;
echo(str("ButtonHeight: ",ButtonHeight));

//- Armor ornament size & shape

ArmorSides = 4;
ArmorAngle = true ? 180/ArmorSides : 0;			// rotate half a side?

ArmorThick = IntegerMultiple(6,ThreadThick);	// keep it relatively short

ArmorOD = 1.1 * BaseSide;						// tune for best fit at base

ArmorID = 10 * ThreadWidth;						// make the tip wide & strong

//-------

module ShowPegGrid(Space = 10.0,Size = 1.0) {

  RangeX = floor(95 / Space);
  RangeY = floor(125 / Space);

	for (x=[-RangeX:RangeX])
	  for (y=[-RangeY:RangeY])
		translate([x*Space,y*Space,Size/2])
		  %cube(Size,center=true);

}

//-------
// Create base link

module BaseLink() {

render()
	rotate(Diamond ? 45 : 90)			// 90 = more bendy around X axis
		difference() {
			translate([0,0,BaseHeight/2]) {
				difference(convexity=2) {
					intersection() {		// outside shape
						cube([BaseSide,BaseSide,BaseHeight],center=true);
						rotate(45)
							cube([BaseOutDiagonal,BaseOutDiagonal,BaseHeight],center=true);
					}
					intersection() {		// inside shape
						cube([(BaseSide - 2*BarWidth),
							  (BaseSide - 2*BarWidth),
							  (BaseHeight + 2*Protrusion)],
							 center=true);
						rotate(45)
							cube([BaseInDiagonal,
								  BaseInDiagonal,
								  (BaseHeight +2*Protrusion)],
								 center=true);
					}
				}
			}

			translate([0,0,(BaseHeight/2 + BarThick)])
				cube([(BaseSide - 2*BarWidth - 2*BarWidth/sqrt(2)),
					  (2*BaseSide),
					  BaseHeight],
					 center=true);
			translate([0,0,(BaseHeight - BaseHeight/2 - BarThick)])
				cube([(2*BaseSide),
					  (BaseSide - 2*BarWidth - 2*BarWidth/sqrt(2)),
					  BaseHeight],
					 center=true);
		}
}

//-------
// Create button link

module ButtonLink() {

render()
	rotate(Diamond ? 45 : 90)			// 90 = more bendy around X axis
		union() {
			difference() {
				translate([0,0,ButtonHeight/2])		// outside shape
					intersection() {
						cube([BaseSide,BaseSide,ButtonHeight],center=true);
						rotate(45)
							cube([BaseOutDiagonal,BaseOutDiagonal,ButtonHeight],center=true);
					}
				translate([0,0,(BaseHeight + BarClearance - Protrusion)/2])
					intersection() {		// inside shape
						cube([(BaseSide - 2*BarWidth),
								(BaseSide - 2*BarWidth),
								(BaseHeight + BarClearance + Protrusion)],
								center=true);
						rotate(45)
							cube([BaseInDiagonal,
									BaseInDiagonal,
									(BaseHeight + BarClearance + Protrusion)],
									center=true);
				}

				translate([0,0,((BarThick + 2*BarClearance)/2 + BarThick)])
					cube([(BaseSide - 2*BarWidth - 2*BarWidth/sqrt(2)),
						(2*BaseSide),
						BarThick + 2*BarClearance],
						center=true);

				translate([0,0,(BaseHeight/2 - BarThick)])
					cube([(2*BaseSide),
						(BaseSide - 2*BarWidth - 2*BarWidth/sqrt(2)),
						BaseHeight],
						center=true);

			}

			if (ArmorButton)
				translate([0,0,(ButtonHeight - Protrusion)])		// armor on cap
					rotate(ArmorAngle)
					cylinder(d1=ArmorOD,
							 d2=ArmorID,
							 h=(ArmorThick + Protrusion),
							 $fn=ArmorSides);
		}
}

//-------
// Build it!

ShowPegGrid();

if (Layout == "Link") {
	BaseLink();
}

if (Layout == "Button") {
	ButtonLink();
}

if (Layout == "LB") {
	ButtonLink();
	translate([LinkSpacing,LinkSpacing,0])
		BaseLink();
}

if (Layout == "Build") {
	for (ix = [0:(NumLinksX - 1)],
		 iy = [0:(NumLinksY - 1)])
			assign(x = (ix - (NumLinksX - 1)/2)*LinkSpacing,
				   y = (iy - (NumLinksY - 1)/2)*LinkSpacing)
			translate([x,y,0])
			color([(ix/(NumLinksX - 1)),(iy/(NumLinksY - 1)),1.0])
				if (Diamond)
					if ((ix + iy) % 2)						// armor at odd,odd & even, even points
						ButtonLink();
					else
						BaseLink();							// connectors otherwise
				else
					if ((iy % 2) && (ix % 2))				// armor at odd,odd points
						ButtonLink();
					else if ((!(iy % 2) && !(ix % 2)))		// connectors at even,even points
						BaseLink();
}



-
Subscribe
Subscribed
Have a WordPress.com account? Log in now.

