-
Thunar WEBP Thumbnails
For whatever reason, the Thunar file browser in XFCE does not automagically show thumbnails for
webpimages. Some searching produced a recipe, although the displayedwebp.xmlfile needs the last two lines to close the tags:<?xml version="1.0" encoding="UTF-8"?> <mime-info xmlns="http://www.freedesktop.org/standards/shared-mime-info"> <mime-type type="image/webp"> <comment>WebP file</comment> <icon name="image"/> <glob-deleteall/> <glob pattern="*.webp"/> </mime-type> </mime-info>The magic copy-to-clipboard button includes those tags, so I suppose it’s another case of being careful what you believe on the Intertubes.
Going through the steps displayed images of the Subpixel Zoo:
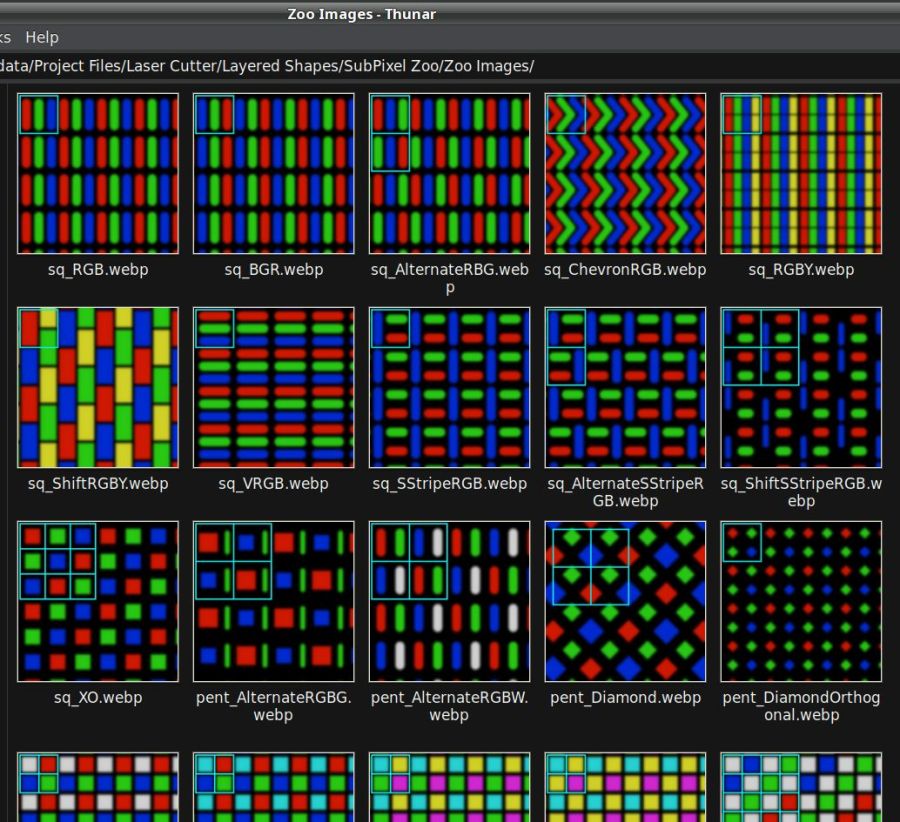
Thunar – webp previews They’ll turn into layered paper patterns:

Subpixel Zoo – Quattron RGBY Shifted – detail
-
Subscribe
Subscribed
Already have a WordPress.com account? Log in now.
