-
HP 7475A Plotter: Pen Holder Height Map Cap
The “pen holder” in an HP 7475A plotter carries the pen across the width of the paper:
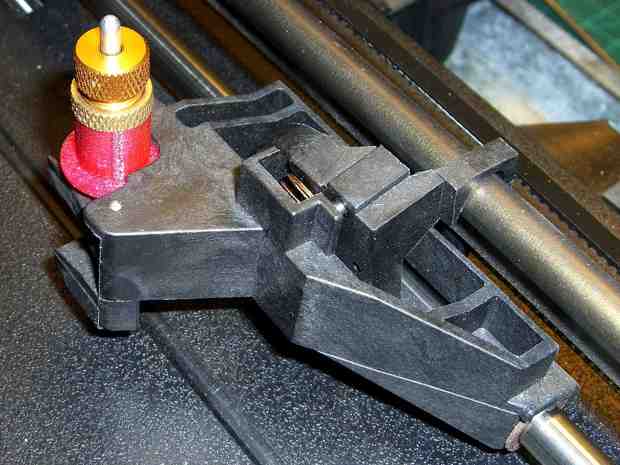
HP 7475A – Pen Holder – overview Given that it was designed to carry pens, not knives, I wasn’t surprised that the spring-loaded finger clamping the knife adapter didn’t apply enough force to hold the adapter in place against the cutting forces. I figured a quick test of a gizmo to stabilize the adapter would be in order, even though I knew:
- The pen holder doesn’t apply enough downward force
- The knife adapter doesn’t have a depth-of-cut shroud around the blade
In order to build the gizmo, I need the carrier’s dimensions…
An overhead photo of the pen holder shows the layout in the XY plane:
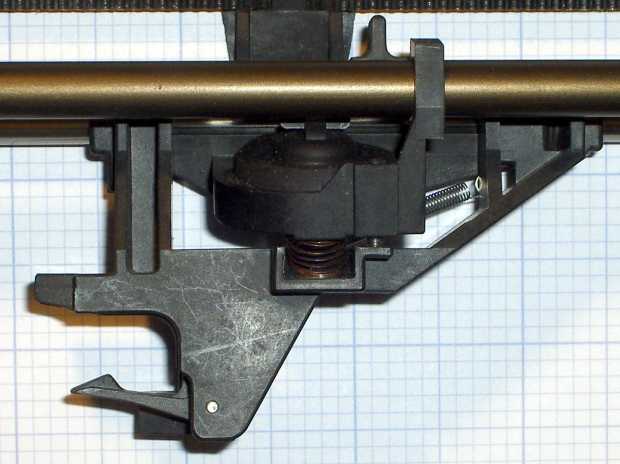
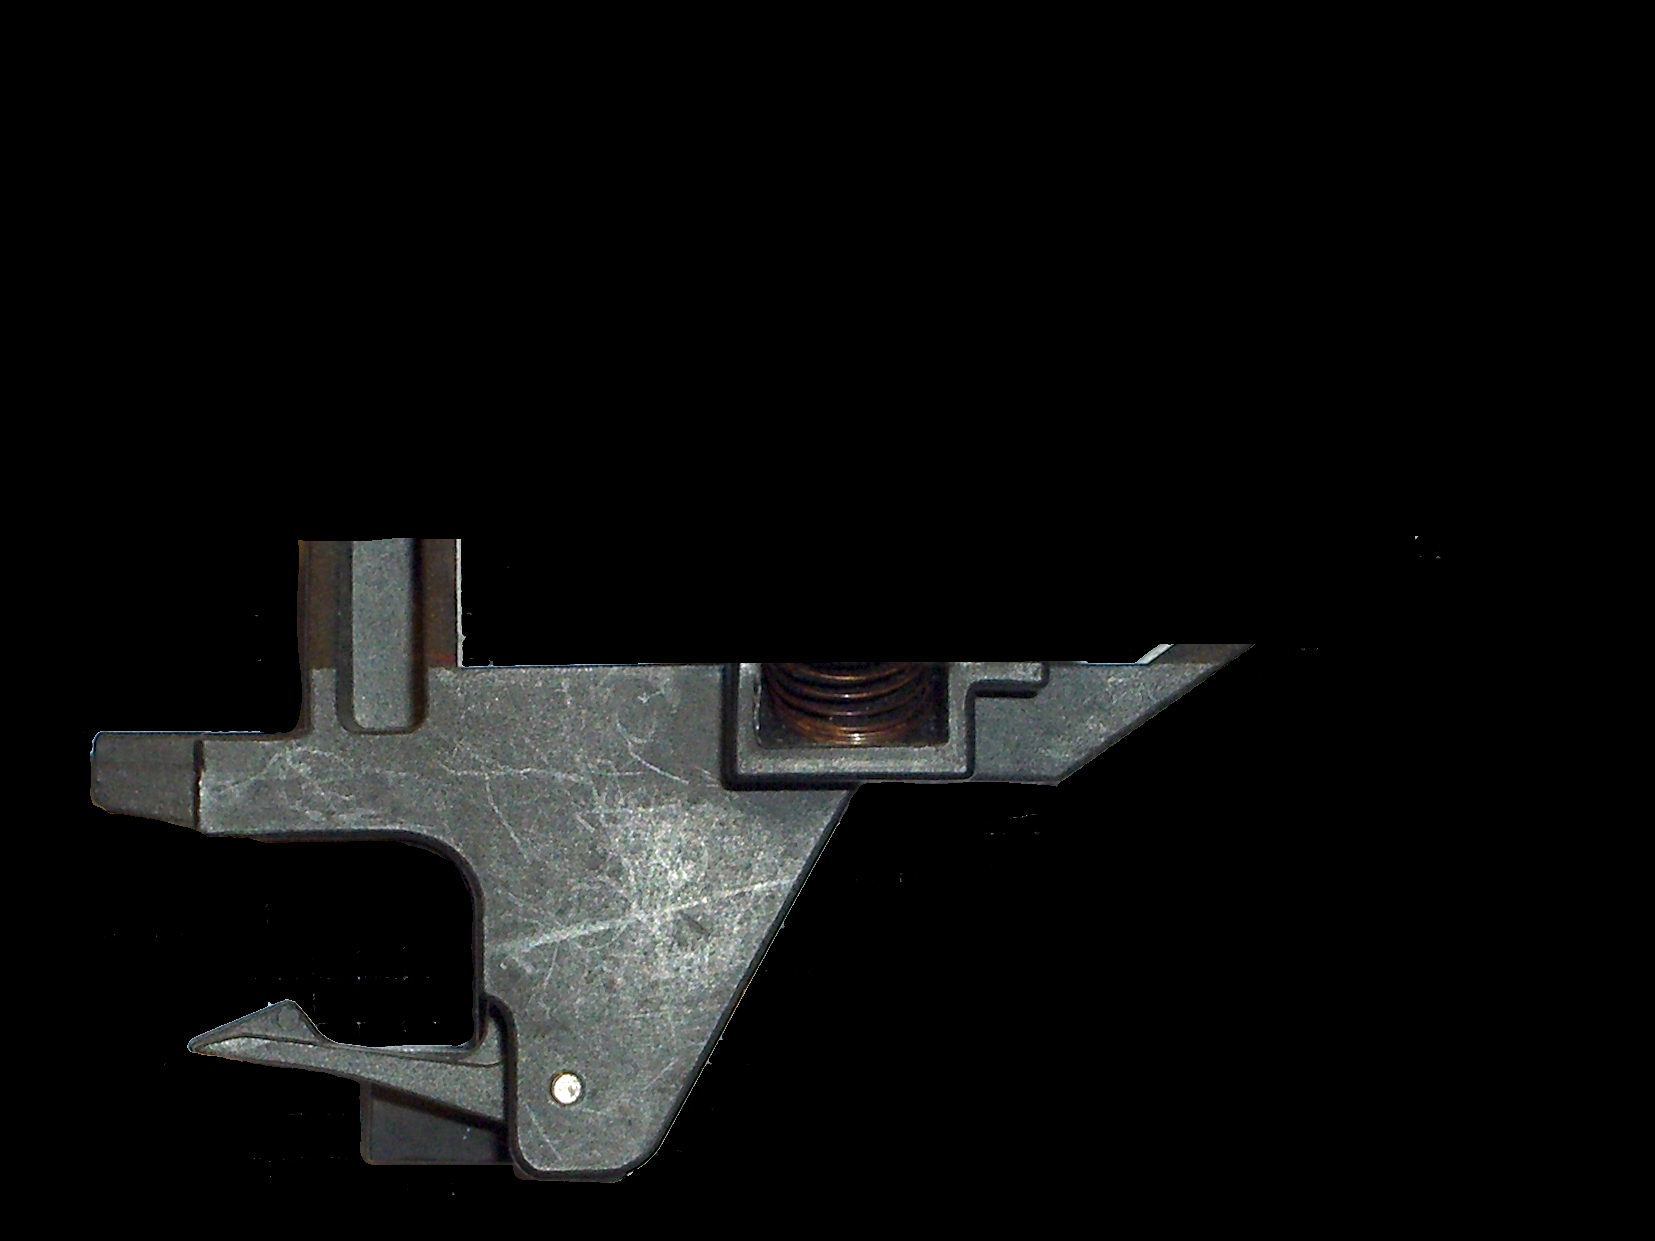
HP7475A – pen holder – top view I shouldn’t have used graph paper as a background, because the next step was to remove the background and isolate the carrier:
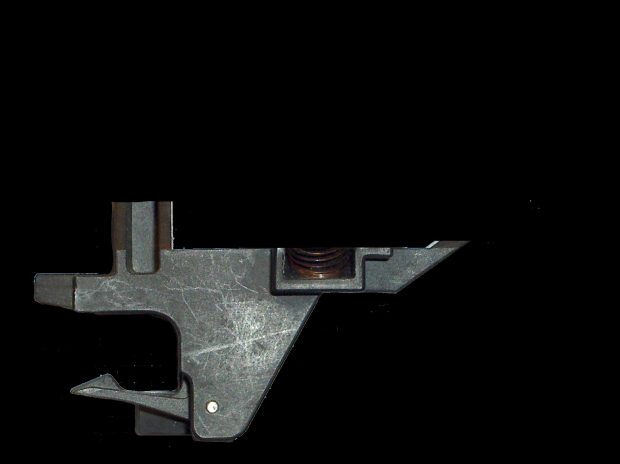
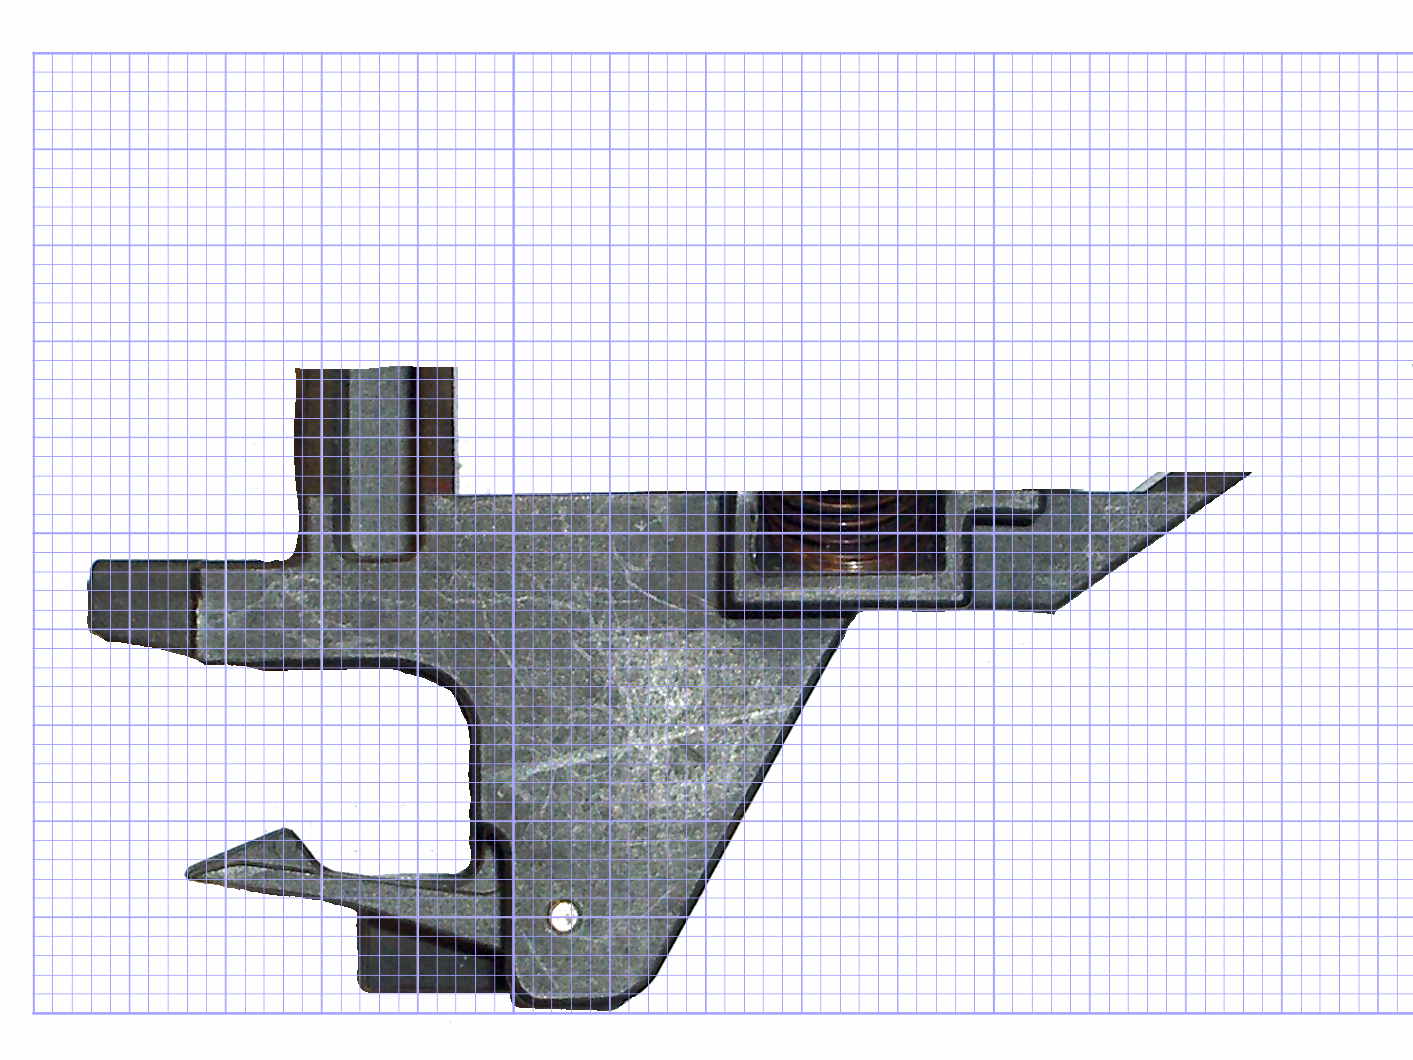
HP7475A – pen holder – top view – isolated The carrier measures 26.8 mm front-to-back, so scaling a grid to match that dimension provides a coordinate system overlay:
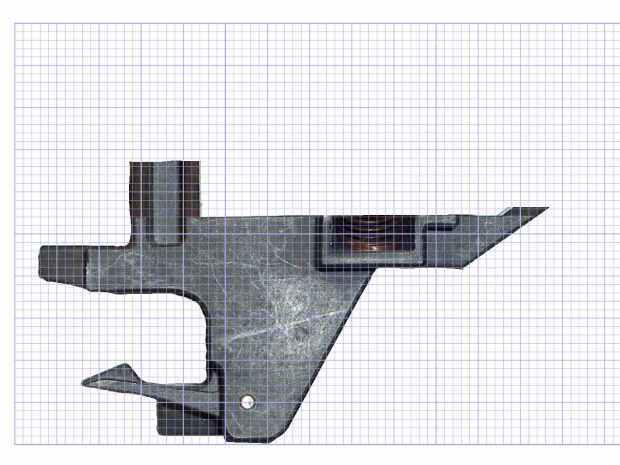
HP7475A – pen holder – top view – 1 mm grid The (0,0) origin sits at the lower left, so you can read off all the relevant coordinates as needed.
However, rather than go full-frontal digital, I resized the isolated image to 20 pixel/mm, turned it into a height map, and treated it like a chocolate mold or cookie cutter with gray values scaled to the desired height:
- Black = background to be removed
- Dark gray = 2.5 mm thick
- Medium gray = 3.5 mm
- Light gray = 7 mm
- White = 10 mm
Drawing the walls with a 40 pixel diameter pen makes them 2 mm wide at 20 pixel/mm:
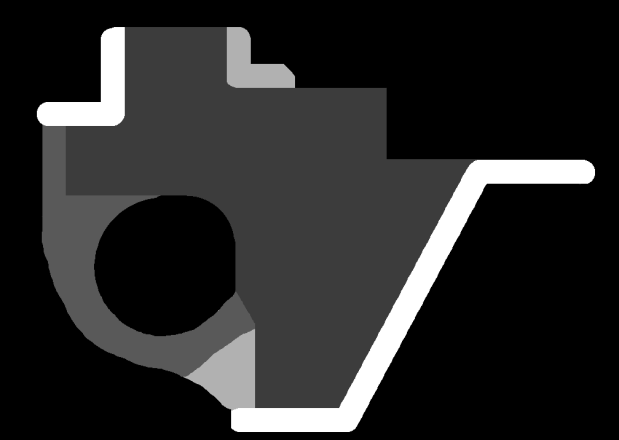
HP7475A – knife stabilizer It’s painfully obvious why I don’t do much freehand drawing, although the knife adapter hole is supposed to be oval.
As with cookie cutters and chocolate molds, there’s no need for that much resolution, so I rescaled it to 4 pixel/mm, saved that tiny image as a PNG file, and handed it to OpenSCAD’s
surface()function to get a solid model. This being a one-off, I typed this OpenSCAD source code directly into the OpenSCAD editor on the fly, then remembered to save it (!) before shutting down:rotate([0,180,0]) mirror([0,0,1]) scale([0.25,0.25,10/100]) difference() { translate([0,0,-2.0]) render(convexity=10) surface("/long-and-tedious-path/HP7475A - knife stabilizer - scaled.png",center=true); translate([0,0,-200]) cube(400,center=true); }The
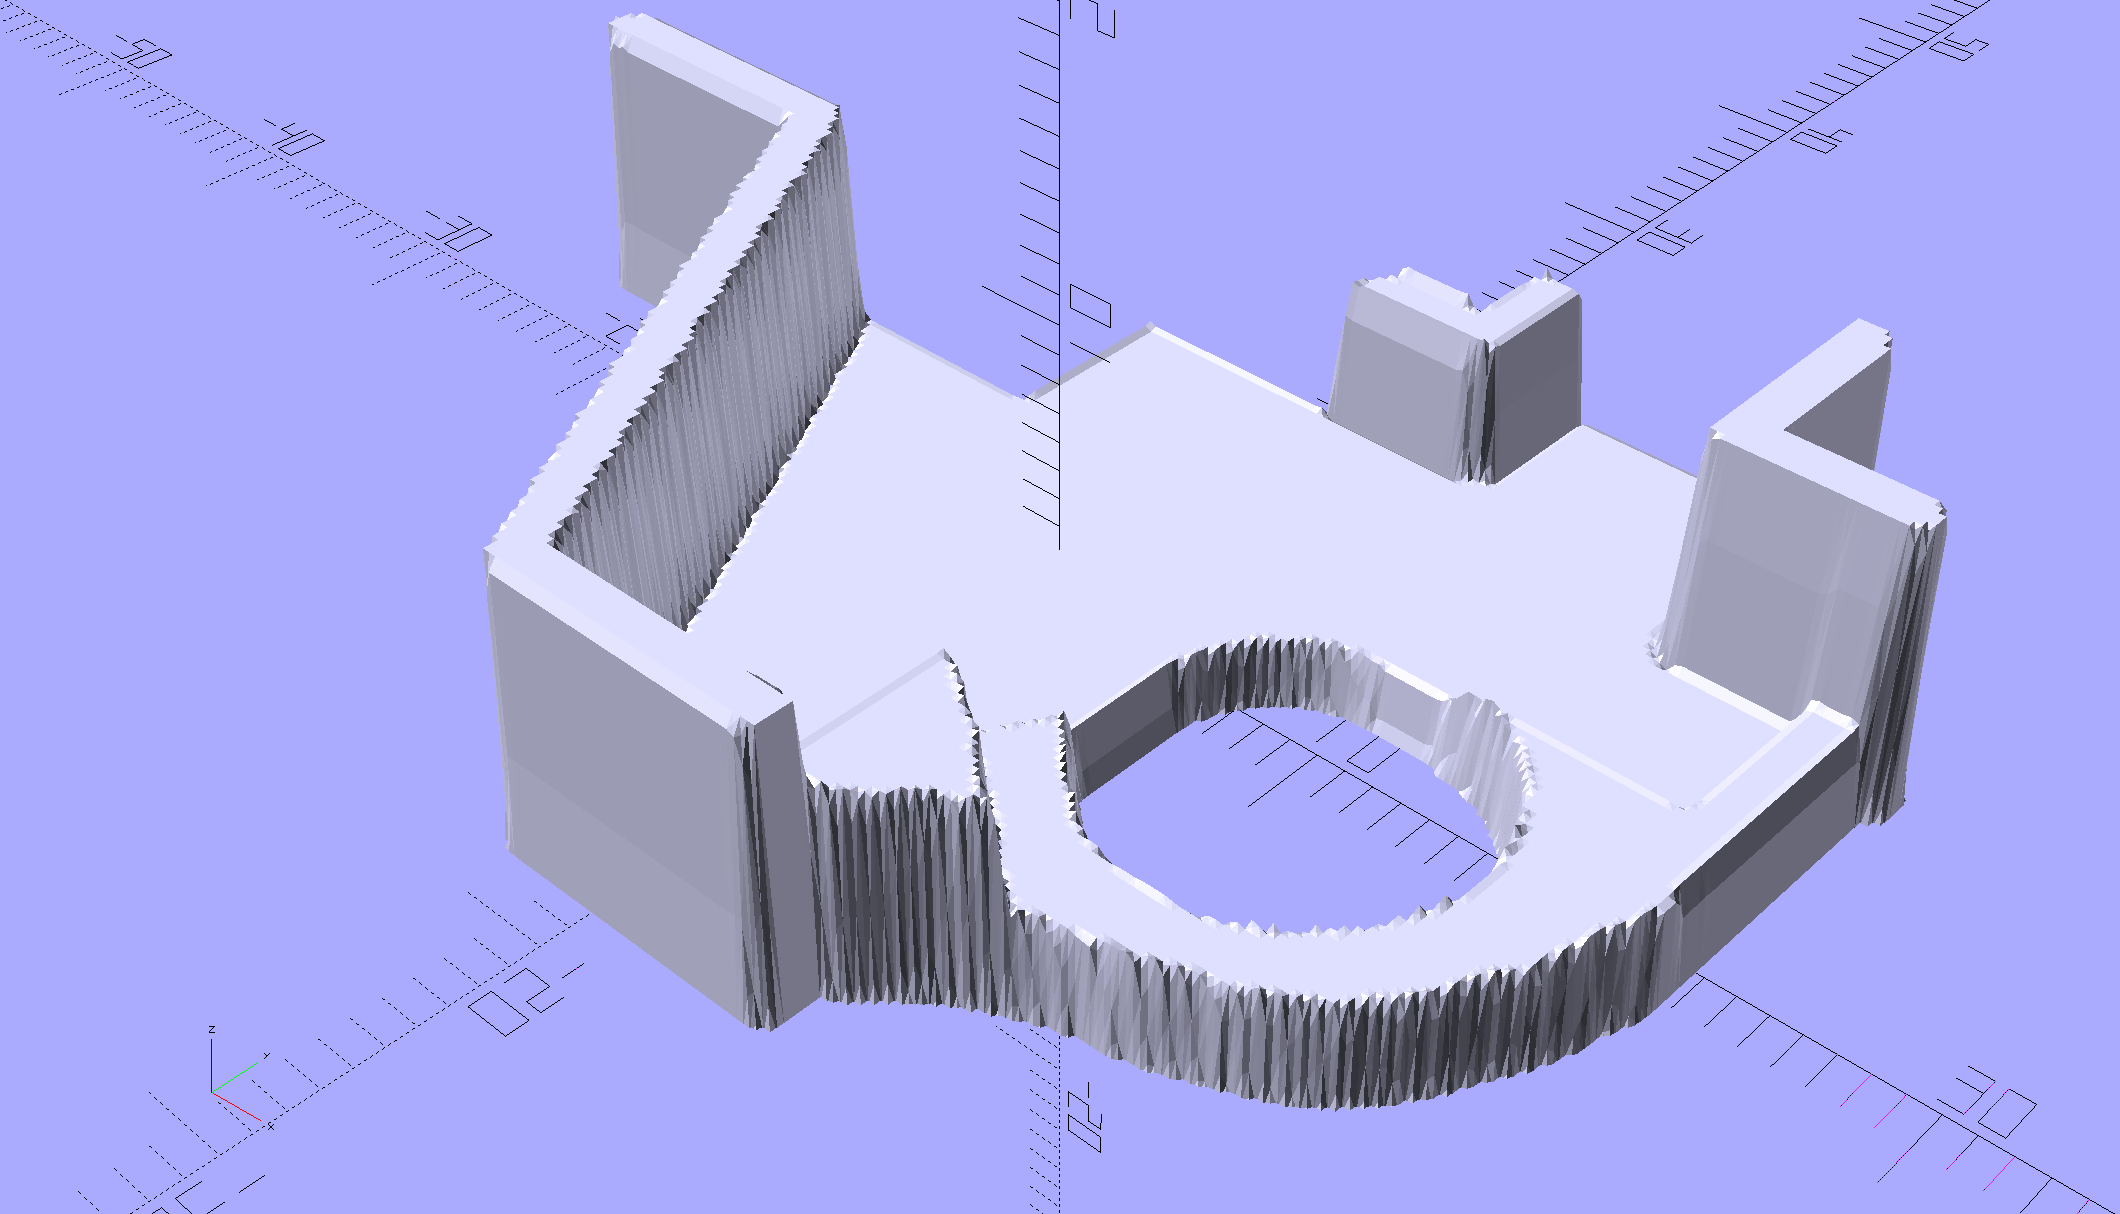
mirror()transformation inverts the model top-to-bottom along the Z axis, compensating for the flip from drawing the height map as though the walls rise upward from the pen carrier, after which theflip()transformation puts the flat side down to make it buildable.The height map image conversion produces a bazillion irrelevant faces, but it’s quick and easy:
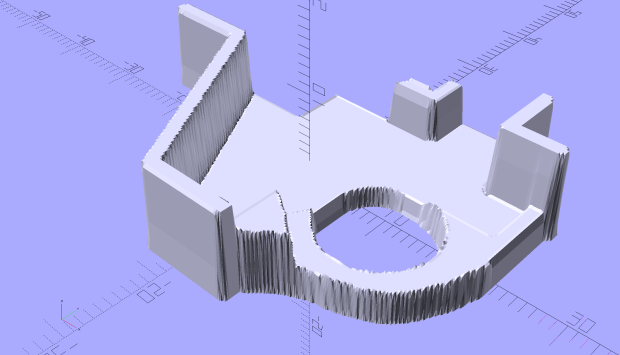
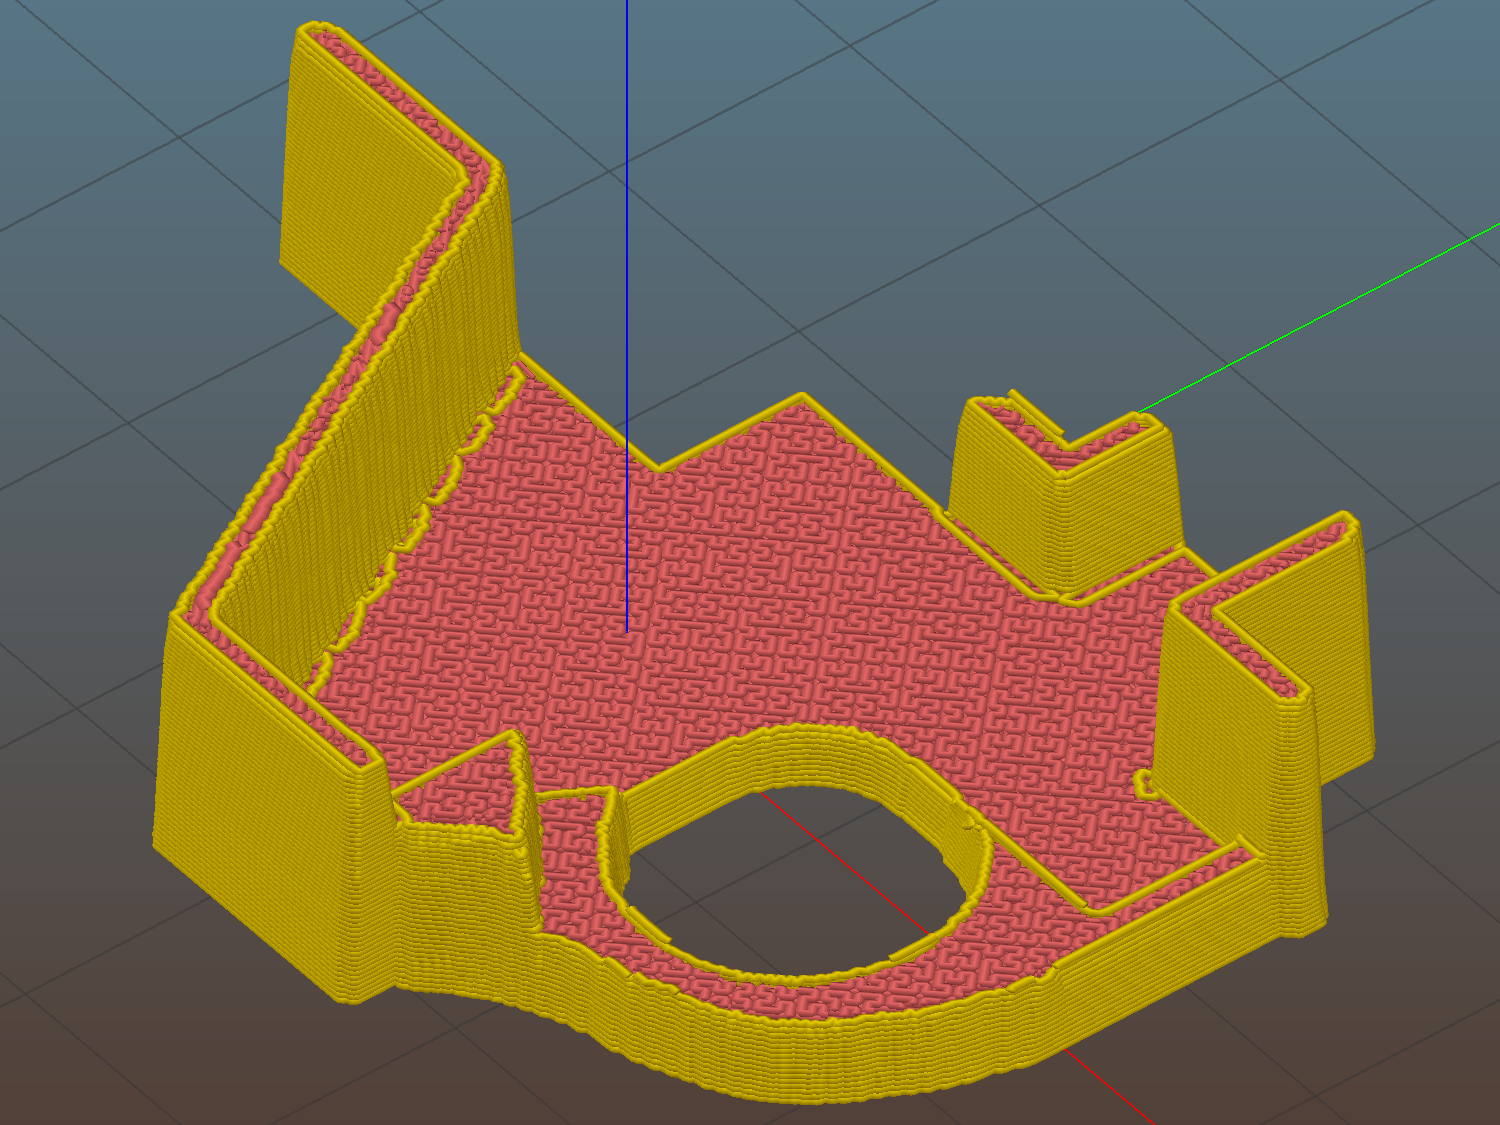
HP7475A – Roland knife stabilizer – height map model I’ve been using Slic3r’s Hilbert Curve pattern for top & bottom infill to get a nice textured result:
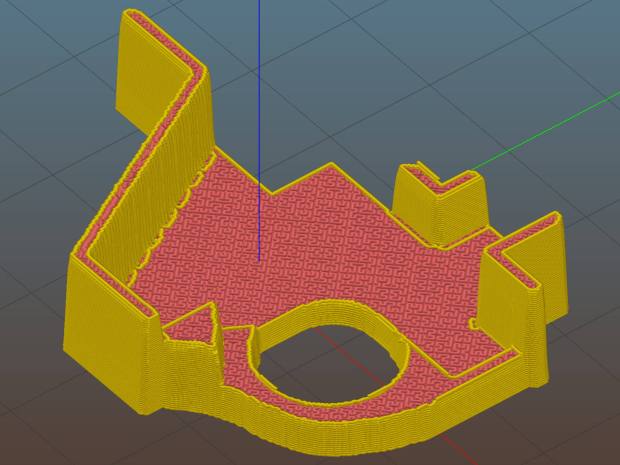
Roland knife stabilizer – height map – Slic3r preview Which printed just about like you’d expect:
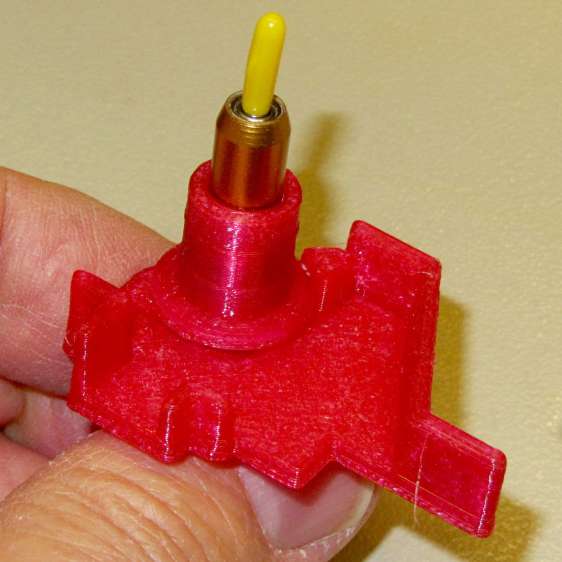
HP 7475A – Roland knife adapter and stabilizer – height map – bottom view I reamed out the hole with a step drill (the HP pens are close enough to 7/16 as to make no difference here) to get the knife adapter to fit, but the walls and suchlike came out close enough.
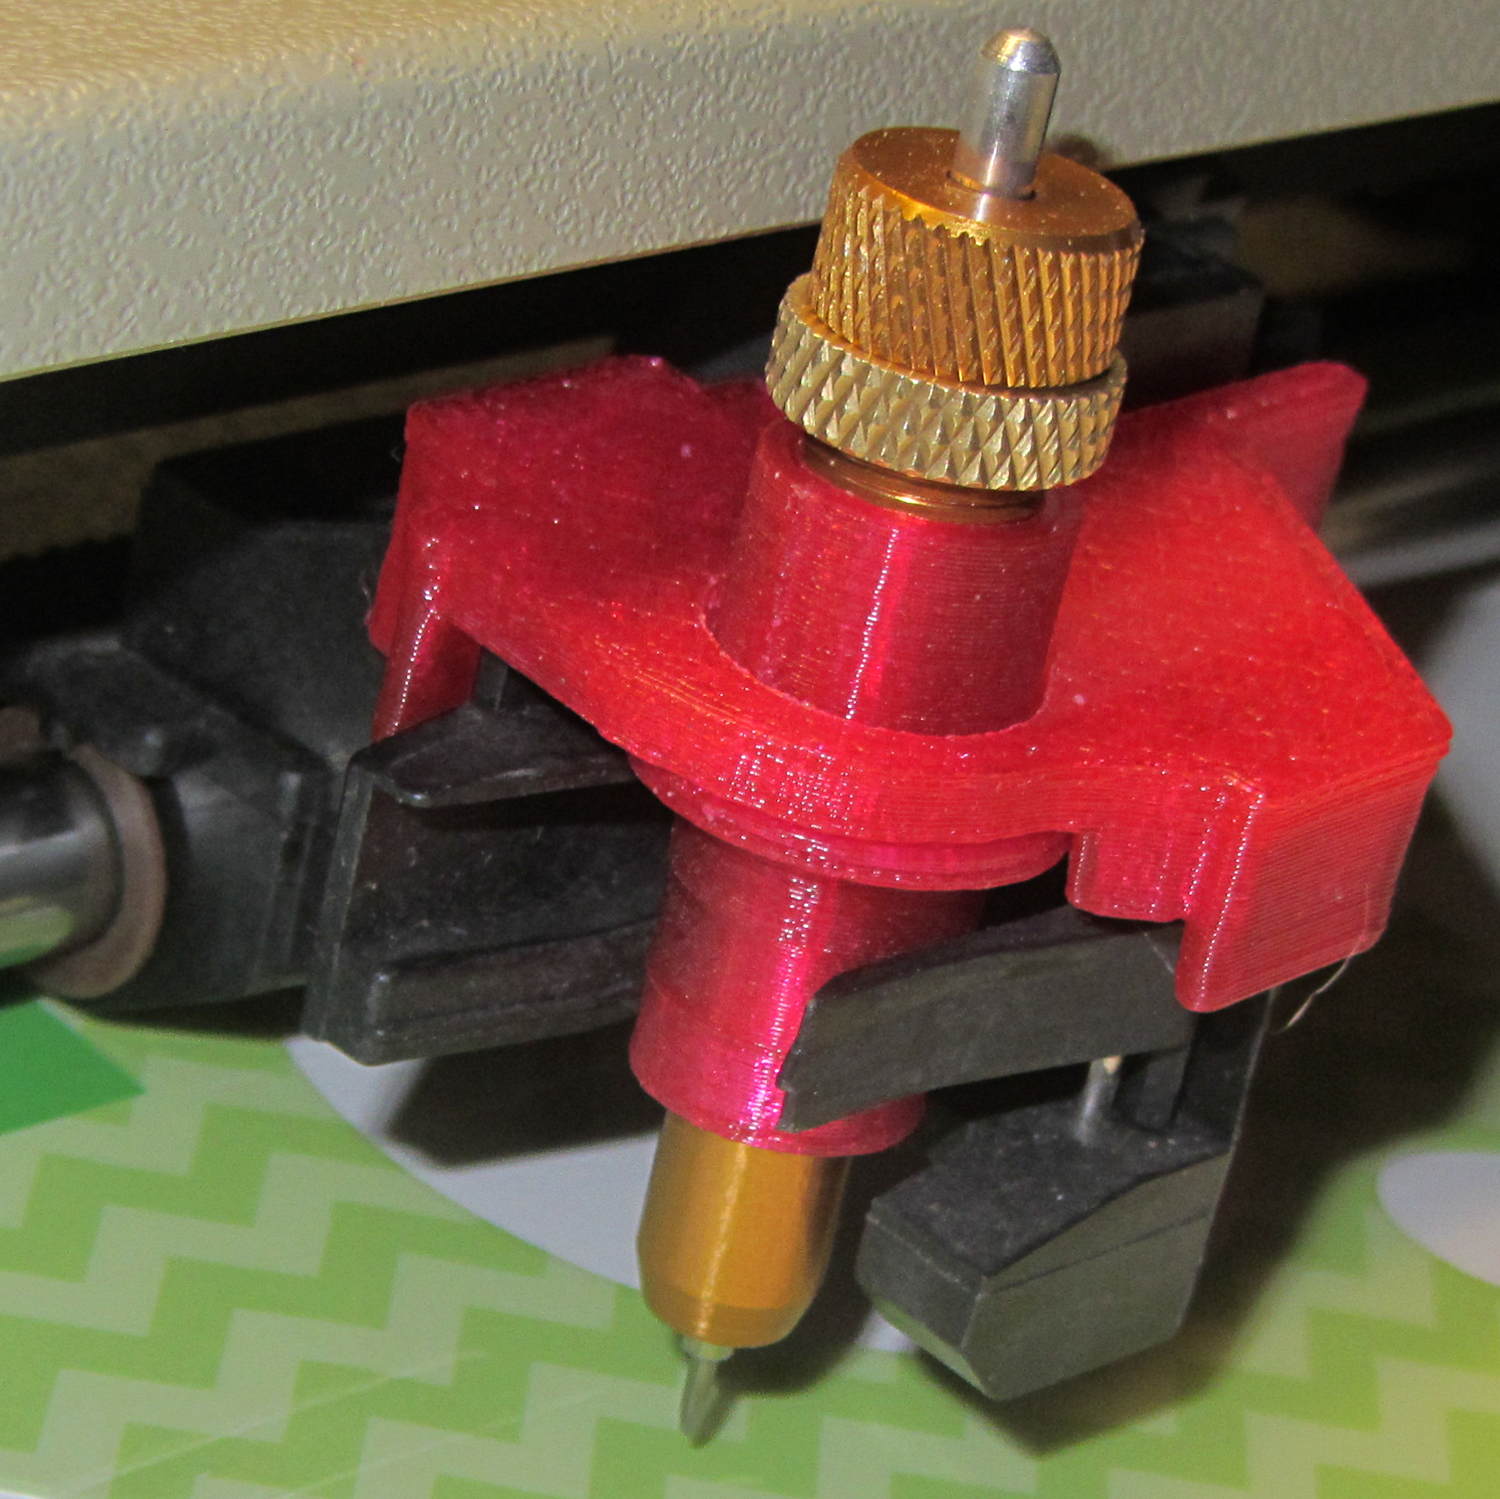
Then it just snapped into place:
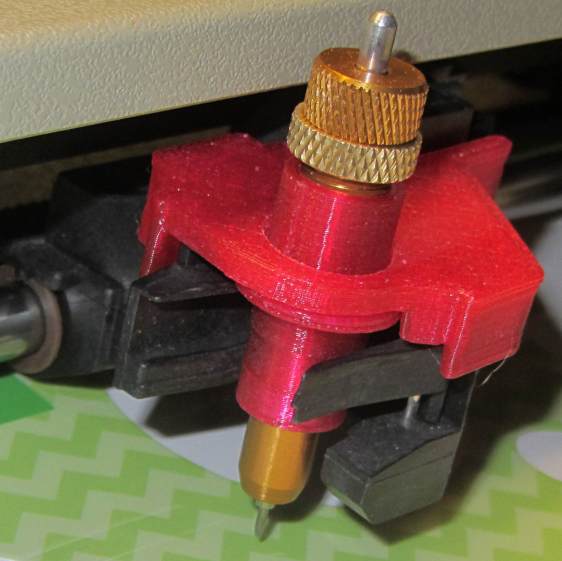
HP 7475A – Roland knife adapter and stabilizer – height map Actually, no, it didn’t just snap into place: some (dis)assembly was required.
First, remove the brass knife bearing from the adapter, push the knife adapter shell into the pen holder, slide the stabilizer cap down over the adapter, press it firmly around the pen holder, reinstall the brass knife bearing, then it’s ready.
The cuts in the green vinyl just to the left of the knife blade (in a window decoration sheet I spotted in a trash can) show that the blade can cut, albeit with some finger pressure, but the fancy red stabilizer didn’t stay stuck on the pen carrier nearly as well as I expected. A screw attachment will help with that, which calls for going all digital on those coordinates.
But it was quick & easy…




-
Subscribe
Subscribed
Have a WordPress.com account? Log in now.

