-
Humidifier Float Clip Replacement
This being the end of the humidifcation season, I tried to set the longsuffering Sears Humidifier’s water level float to dry the thing out. After a few days, it became obvious that wasn’t working and I eventually found the clip intended to hold the float at the top of its travel had broken:
Humidifier float clips – on float Building the retina-burn orange replacement started with a scan of the original:
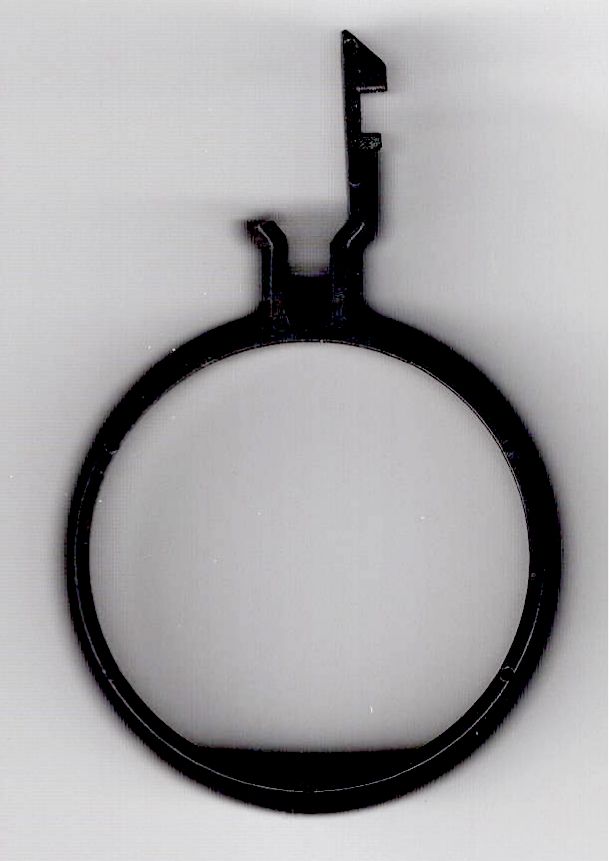
Humidifier float clip The black segment at the bottom is a shadow due to the scanner’s light bar being offset from the imaging sensor.
Using GIMP, duplicate the remaining part of the latch, flip it left-to-right, then align it at the proper position:
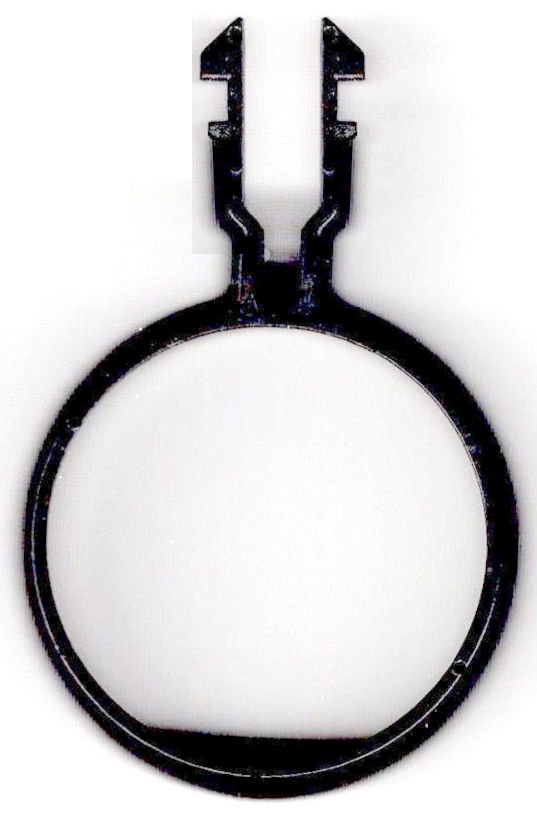
Humidifier float clip – repaired The latch is the only tricky part and the ID of the ring is easy to locate, so (still in GIMP):
- Trace the edge of the whole shape
- Using
Quick Maskmode, remove all but the latch - Convert the selection to a path
- Export it as an SVG file
Then import it into OpenSCAD and eyeballometrically translate the shape to put the ring ID at the origin:
  color("Red")
    translate([-23.6,-42.6])
      import("Humidifier float clip - cabinet latch.svg");
Which looks like this:
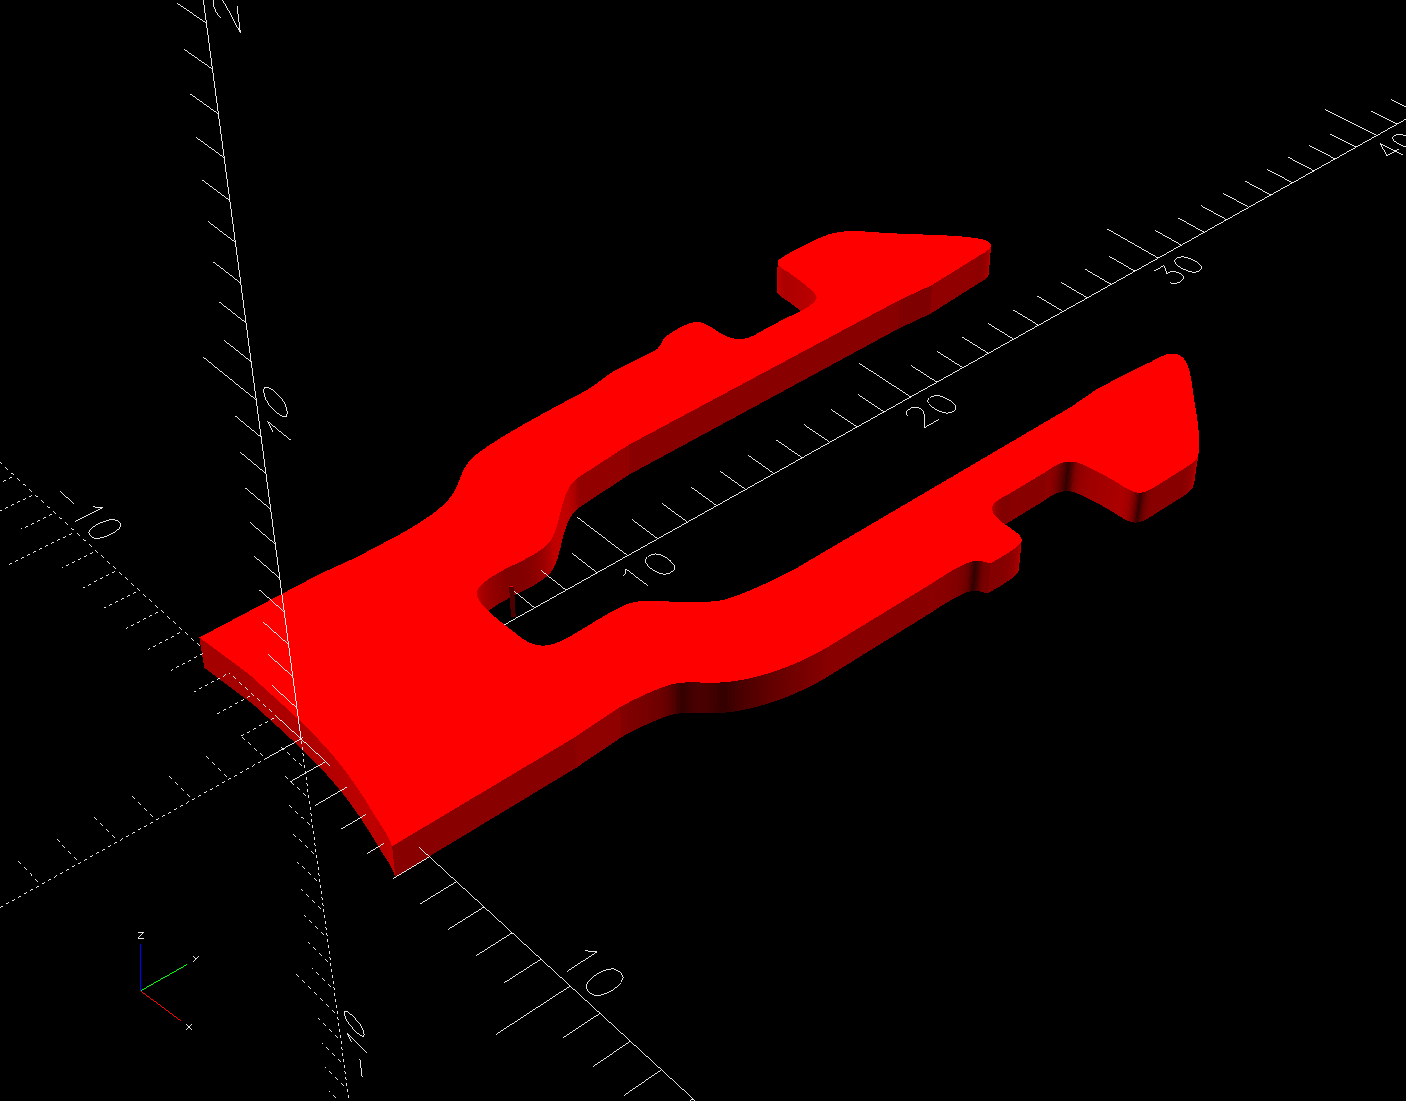
Float clip – 2D latch Then glom a perfect ring onto it:

Float clip – 2D model parts Extrude half an inch upward:
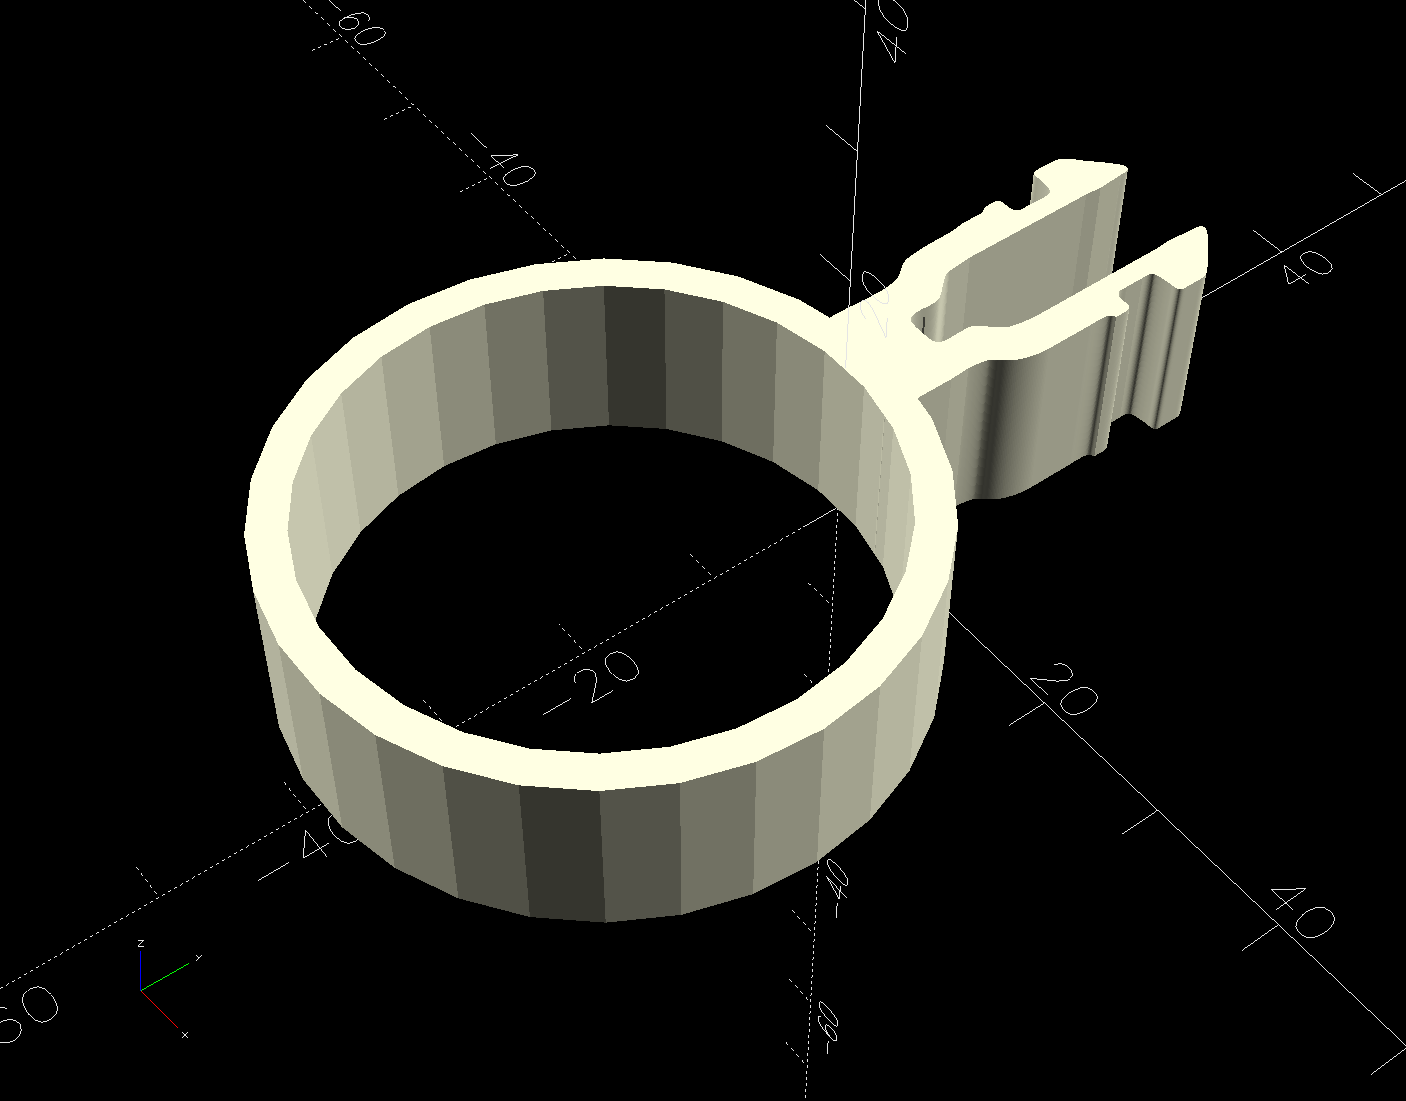
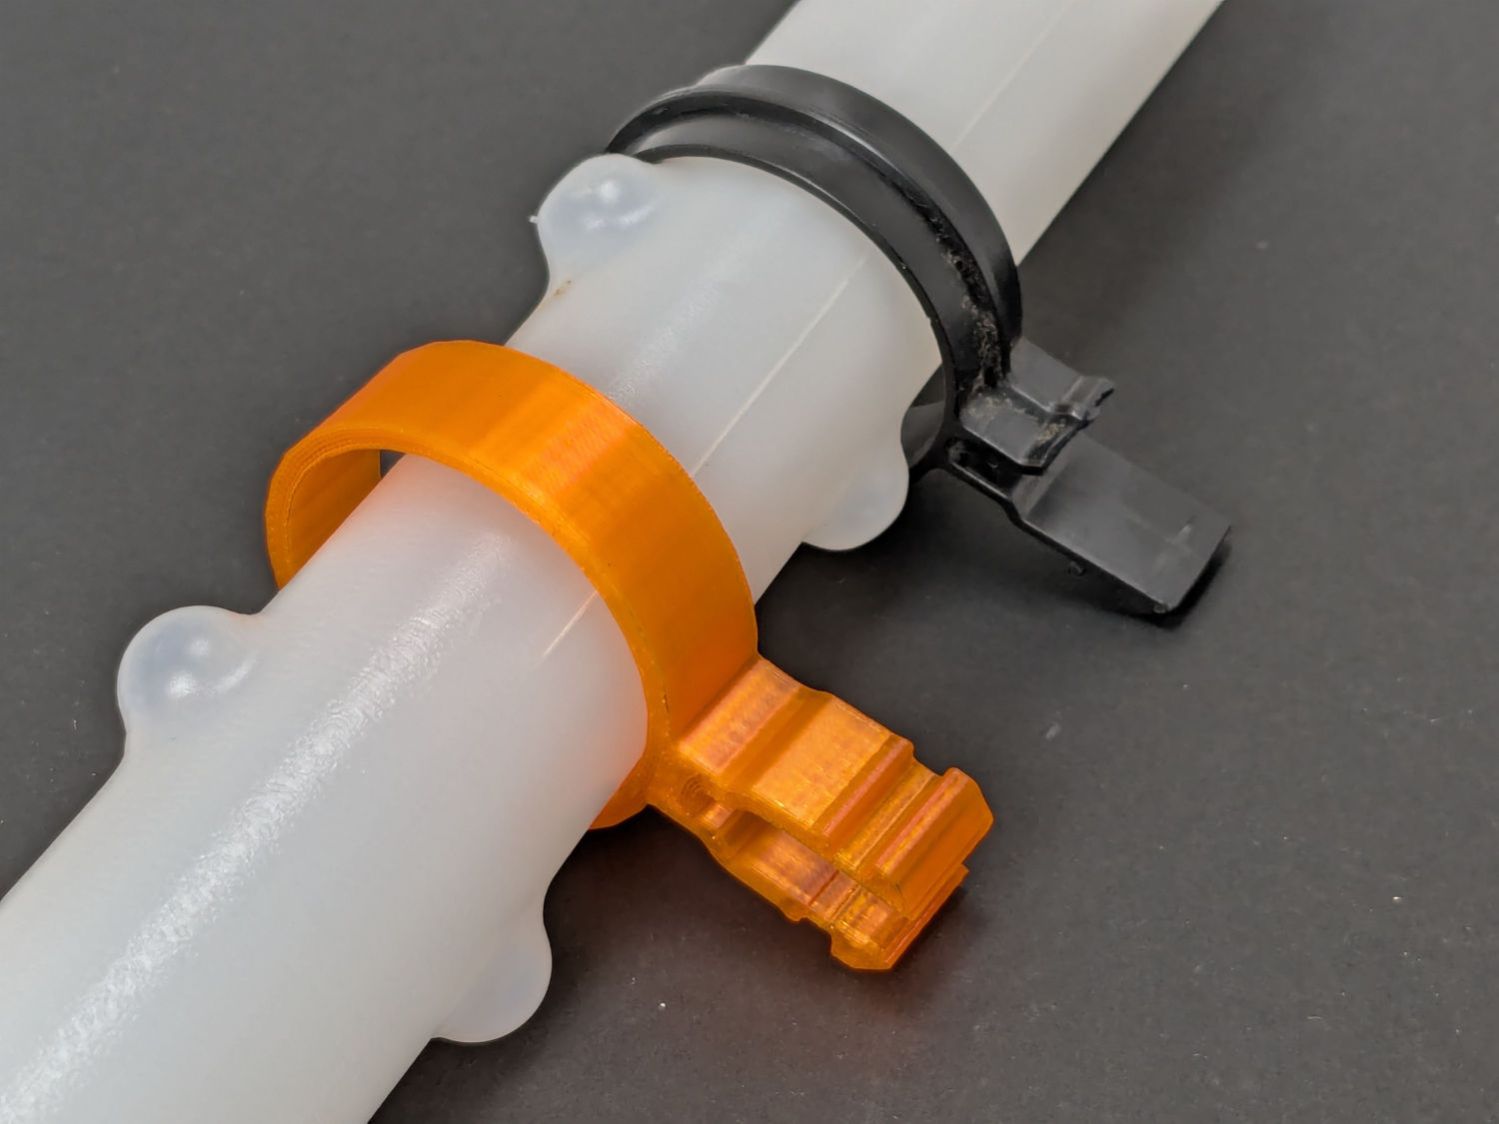
Float clip – extruded model And It Just Works™:
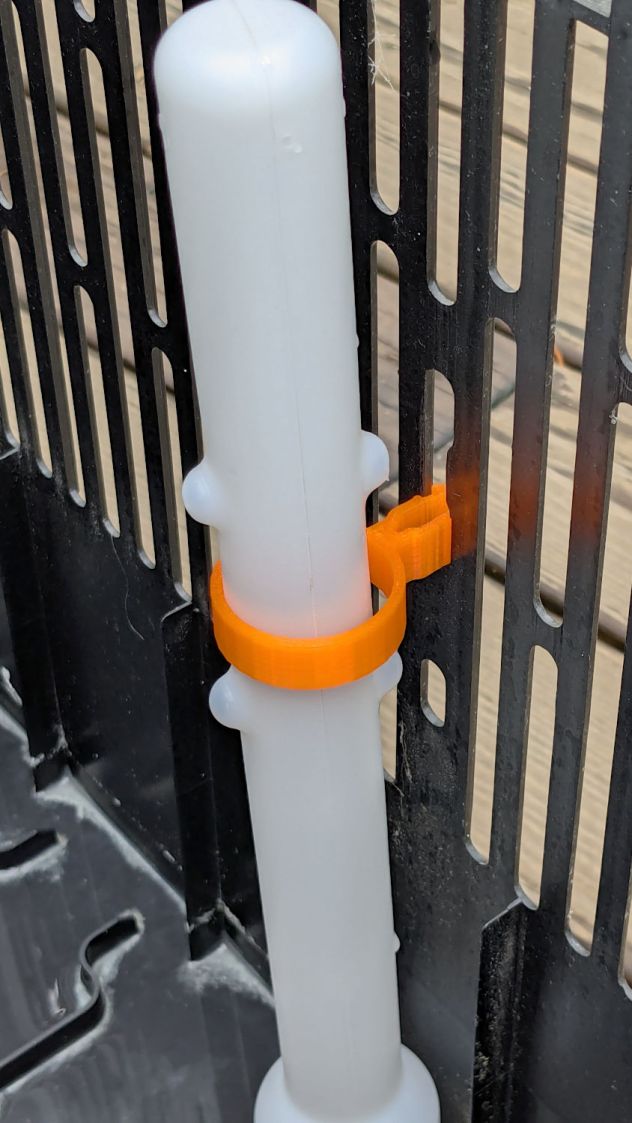
Humidifier float clip – installed There being no obvious affordance to get the ring over the two bumps in the float, I applied Channellock pliers to the float while easing the ring into place.
Re-rebuilding the hinges sits behind a few other things going on around here …
-
Subscribe
Subscribed
Already have a WordPress.com account? Log in now.
