-
Microscope 60 LED Ring Light Adapter
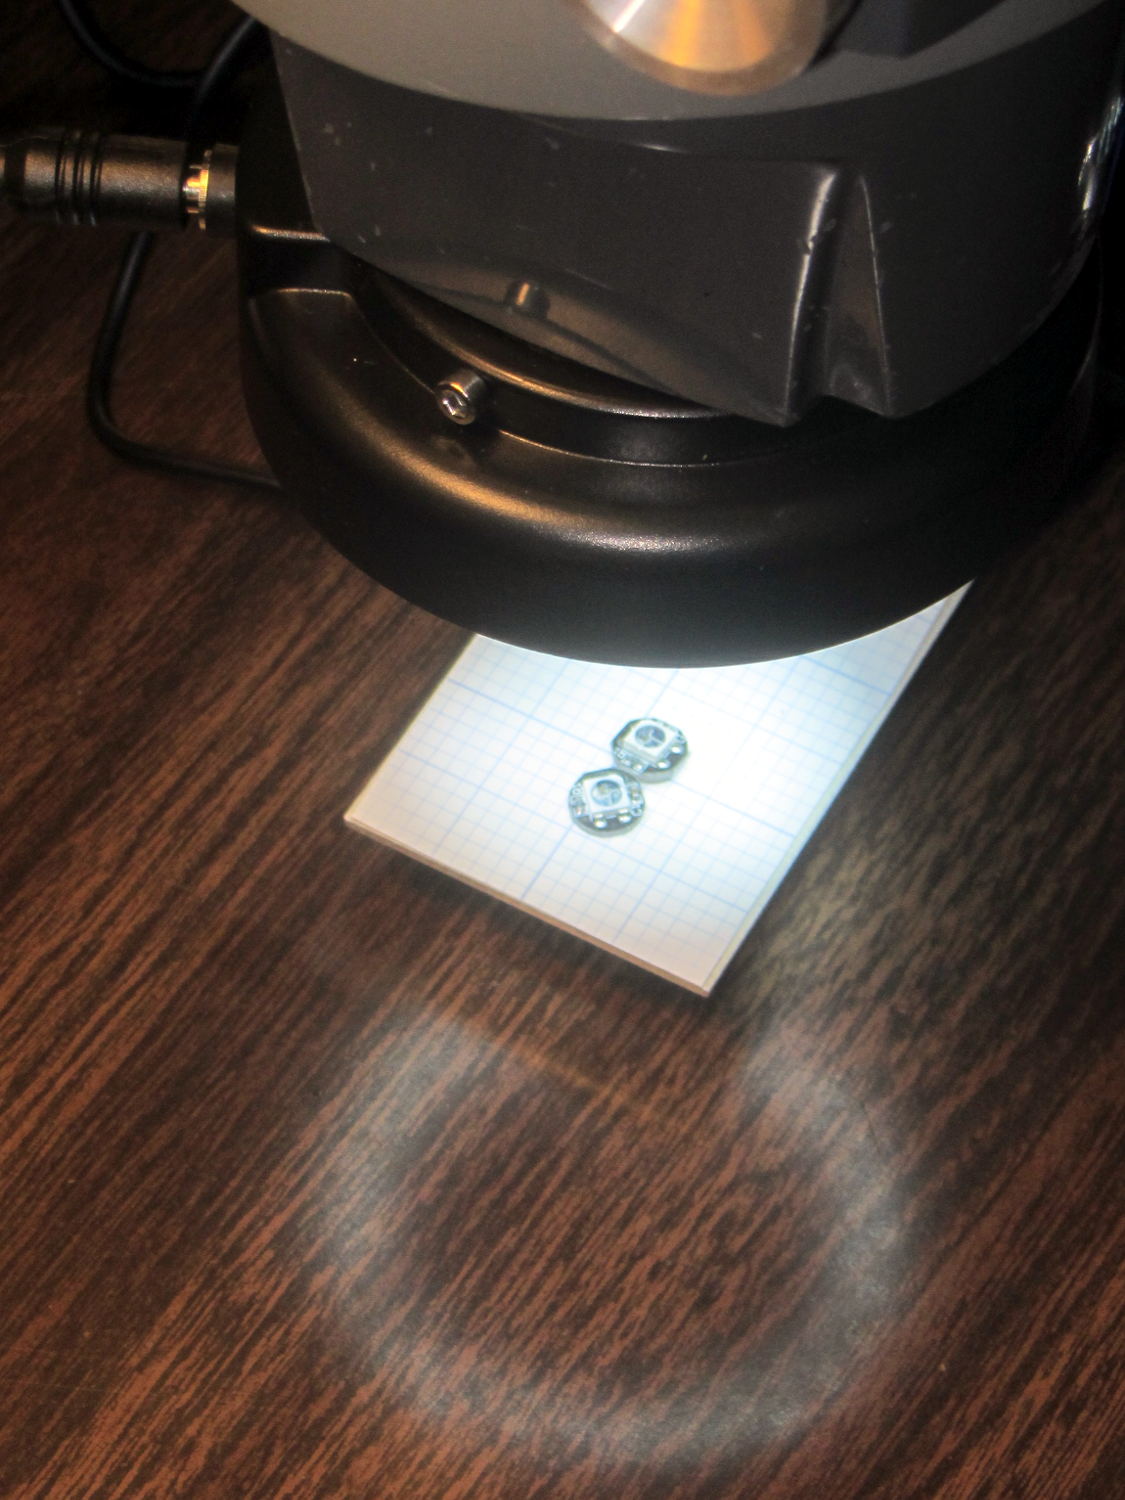
The Barbie-themed microscope light I built from an angel eye LED ring worked fine for the last six years (!), but a much brighter ring with 60 aimed 5 mm LEDs for $17 delivered from a US seller caught my eye:
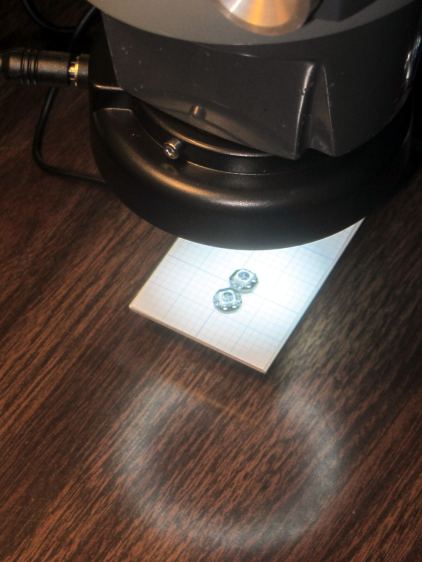
Microscope 60 LED ring light – in use Although this ring looks much more professional, it didn’t quite fit the microscope, being designed for a round snout rather than a squarish one. This snout has a 47-ish mm threaded ring intended for filters & suchlike, so I built an adapter between that and the 60 mm ID of the LED ring:
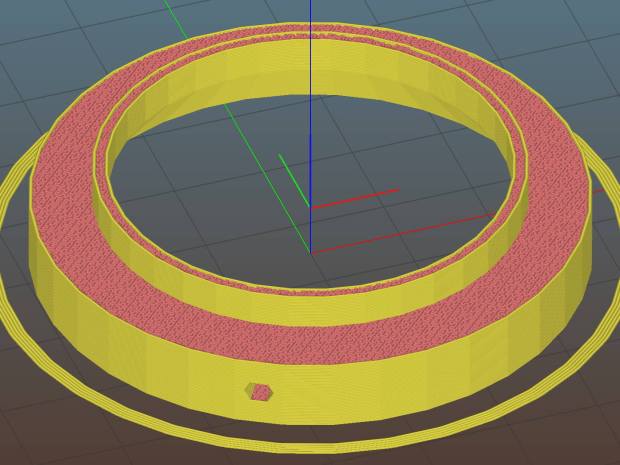
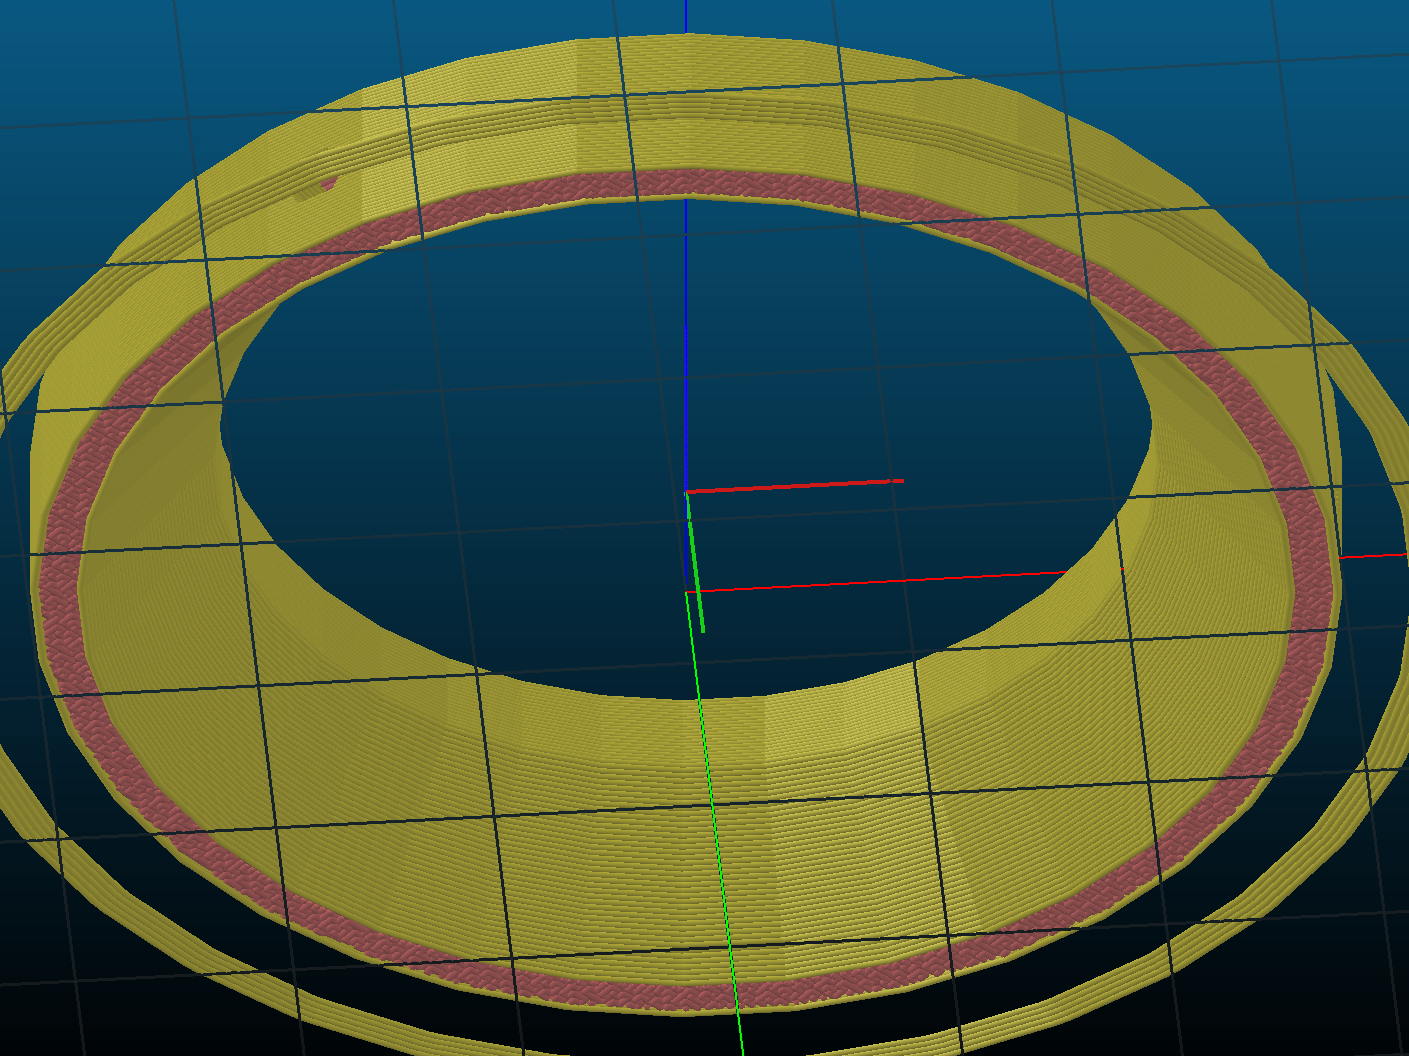
Microscope 60 LED Ring Light Adapter – top – Slic3r The ring came with three long knurled screws which I replaced with much tidier M3 socket-head screws going into those holes:
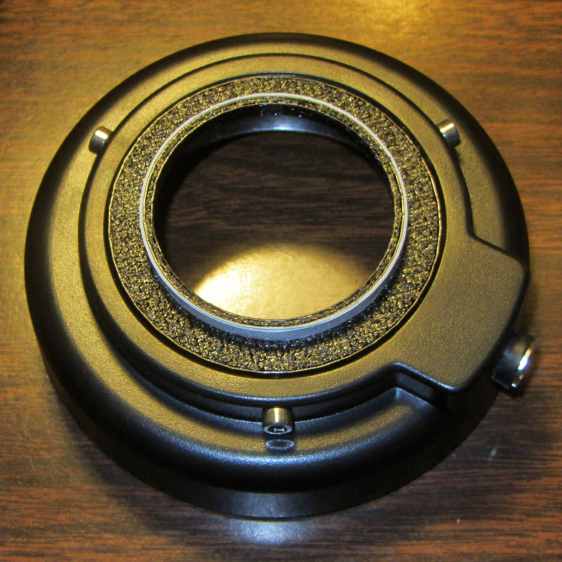
Microscope 60 LED ring light – assembled – top The part going into the snout threads is deliberately (honest!) a bit small, so I could wrap it with soft tape for a good friction fit. The Barbie Ring didn’t weigh anything and I wound up using squares of double-sticky foam tape; it could come to that for this ring, too.
The adapter features a taper on the bottom for no particularly good reason, as the field-of-view tapers inward, not outward:
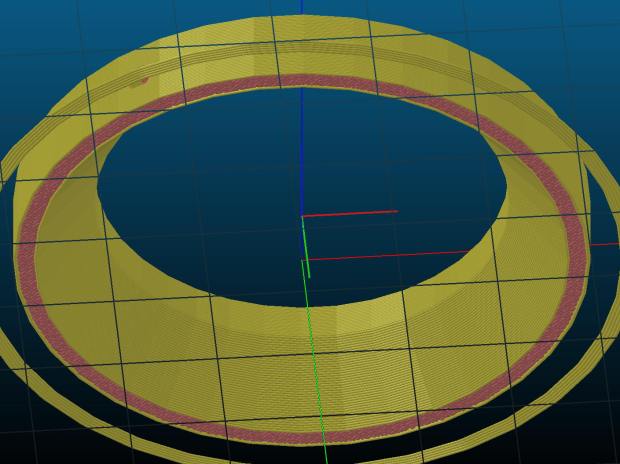
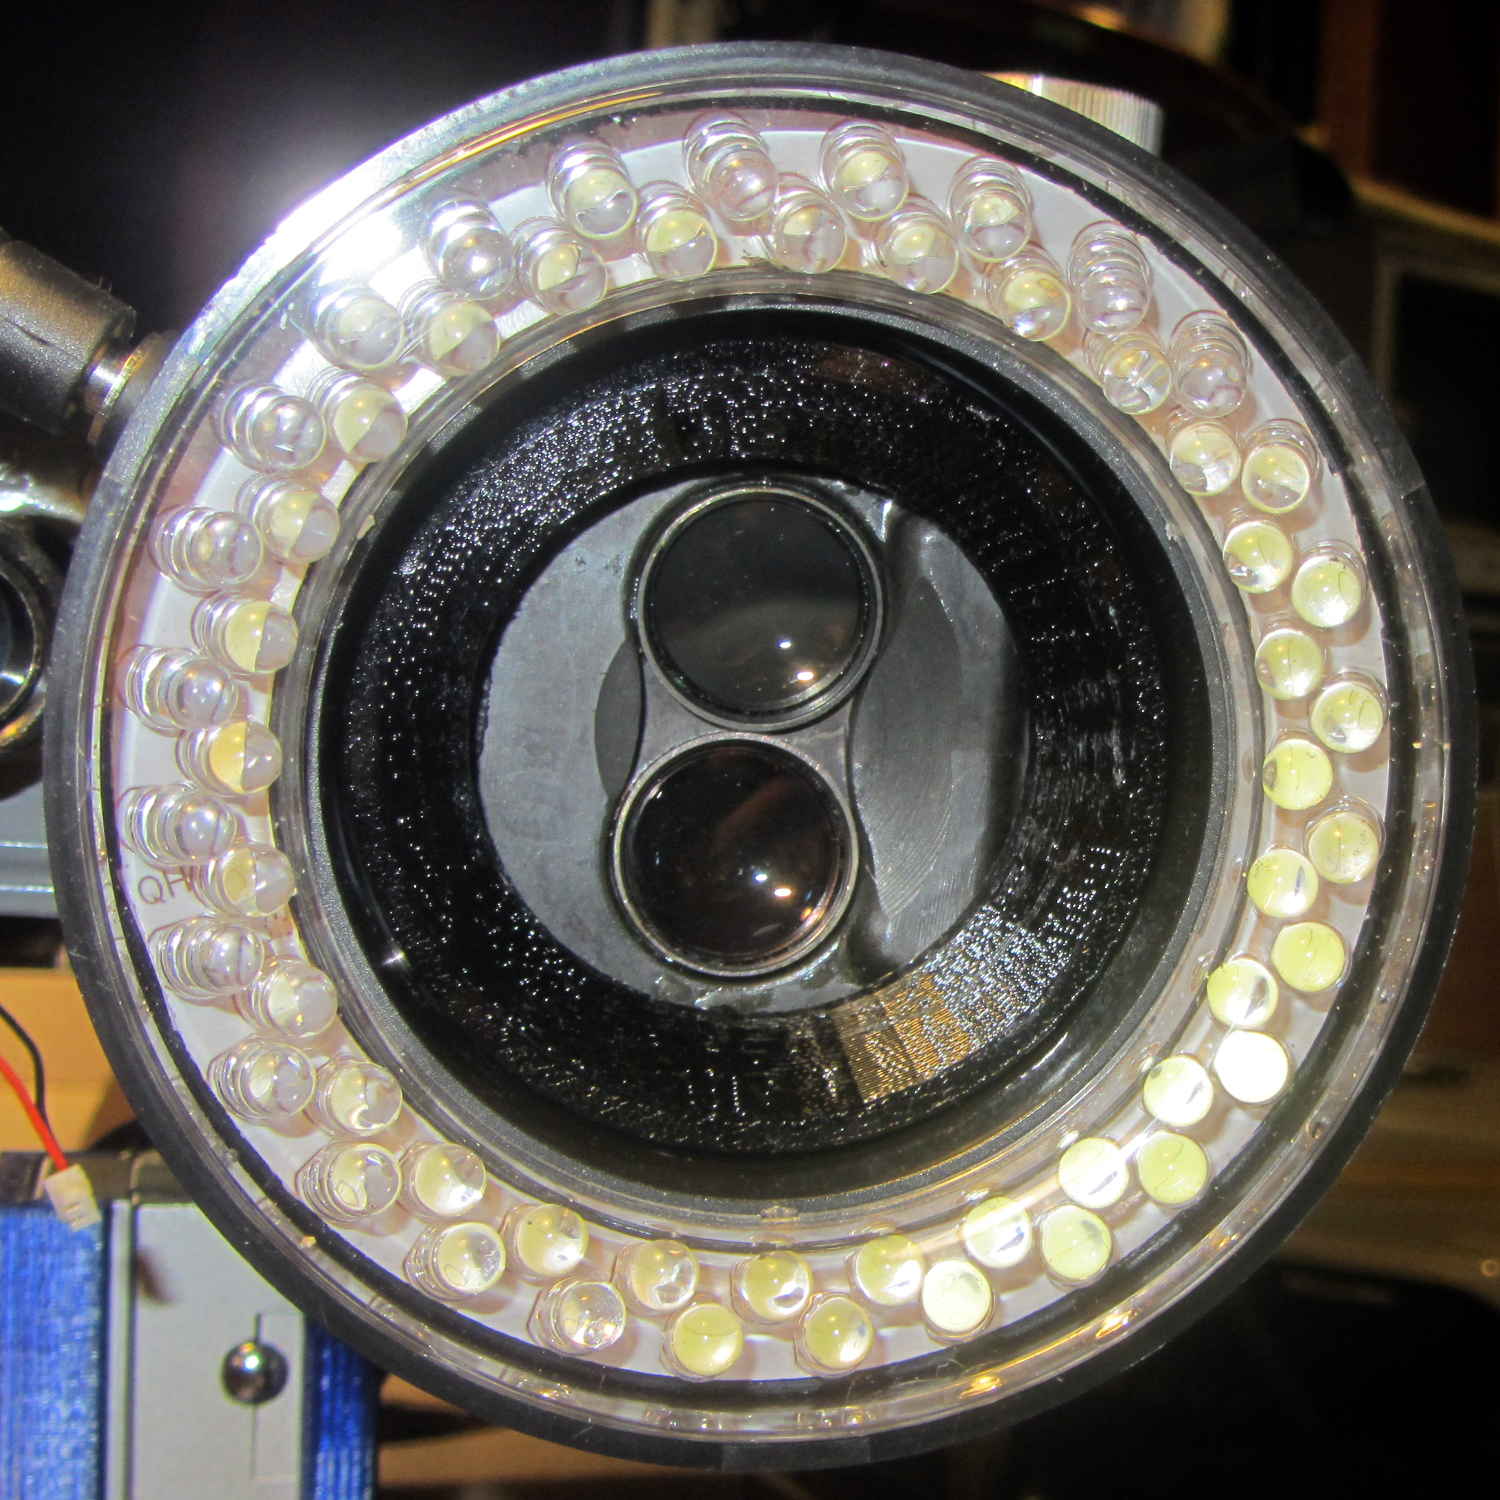
Microscope 60 LED Ring Light Adapter – bottom – Slicer Seen from the bug’s POV, it’s a rather impressive spectacle:
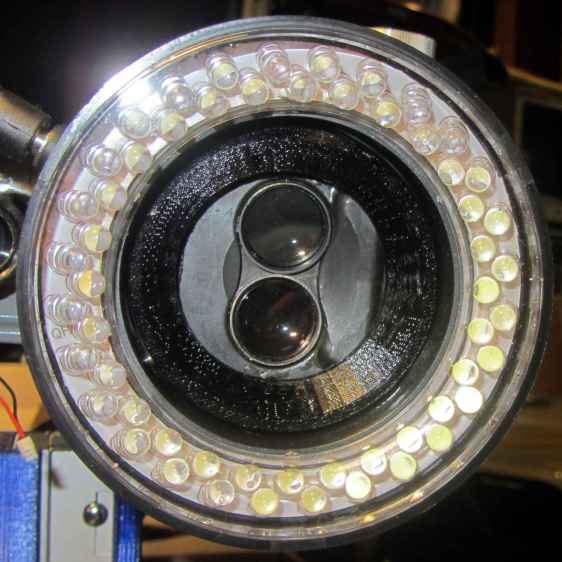
Microscope 60 LED ring light – assembled – bottom The control box sports a power switch and a brightness knob. Come to find out the ring is actually too bright at full throttle; a nice problem to have.
That was easy!
The OpenSCAD source code as a GitHub Gist:
This file contains hidden or bidirectional Unicode text that may be interpreted or compiled differently than what appears below. To review, open the file in an editor that reveals hidden Unicode characters. Learn more about bidirectional Unicode characters// LED Ring Light Mount – 60 mm ID ring // Ed Nisley KE4ZNU April 2017 //- Extrusion parameters must match reality! ThreadThick = 0.25; ThreadWidth = 0.40; HoleWindage = 0.2; Protrusion = 0.1; // make holes end cleanly inch = 25.4; function IntegerMultiple(Size,Unit) = Unit * ceil(Size / Unit); //———————- // Dimensions ID = 0; OD = 1; LENGTH = 2; ScopeThread = [43.0,46.5,4.0]; // scope snout thread, ID = minimum invisible LEDRing = [ScopeThread[ID],60.0,8.0]; LEDScrewOffset = 4.0; LEDScrewOD = 3.0; LEDScrews = 3; OAH = ScopeThread[LENGTH] + LEDRing[LENGTH]; NumSides = 3*4*LEDScrews; // get symmetry for screws //———————- // Useful routines module PolyCyl(Dia,Height,ForceSides=0) { // based on nophead's polyholes Sides = (ForceSides != 0) ? ForceSides : (ceil(Dia) + 2); FixDia = Dia / cos(180/Sides); cylinder(r=(FixDia + HoleWindage)/2,h=Height,$fn=Sides); } //———————- // Build it difference() { rotate(180/NumSides) union() { cylinder(d=ScopeThread[OD],h=OAH,$fn=NumSides); cylinder(d=LEDRing[OD],h=LEDRing[LENGTH],$fn=NumSides); } translate([0,0,-Protrusion]) rotate(180/NumSides) cylinder(d=ScopeThread[ID],h=OAH + 2*Protrusion,$fn=NumSides); translate([0,0,-Protrusion]) rotate(180/NumSides) cylinder(d1=LEDRing[OD] – 2*6*ThreadWidth, d2=ScopeThread[ID], h=LEDRing[LENGTH] + Protrusion,$fn=NumSides); for (i=[0:LEDScrews-1]) rotate(i*360/LEDScrews) translate([LEDRing[OD]/2 – LEDScrewOD,0,LEDRing[LENGTH] – LEDScrewOffset]) rotate([0,90,0]) rotate(180/6) cylinder(d=LEDScrewOD,h=LEDScrewOD + Protrusion,$fn=6); }


-
Subscribe
Subscribed
Have a WordPress.com account? Log in now.

