-
JYE Tech DSO150 Oscilloscope: Build Notes
I did a quick build of a JYE Tech DSO150 oscilloscope to see how it’d work in a proposed Squidwrench advanced soldering class / kit build session.
The main board requires adding only a few switches and headers, then removing a 0 Ω jumper resistor:
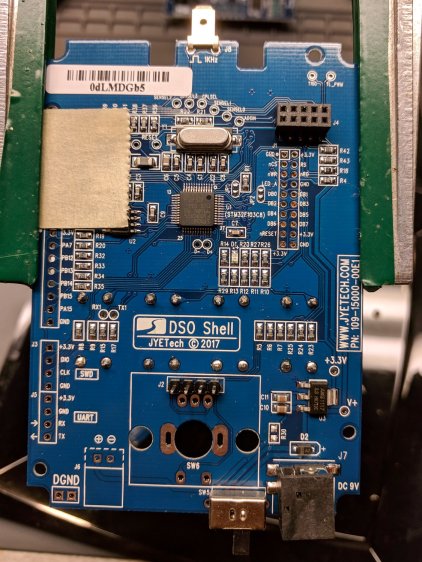
DSO150 – main board – bottom The analog board requires a handful of 1/8 W resistors, various capacitors, switches, and the BNC connector:
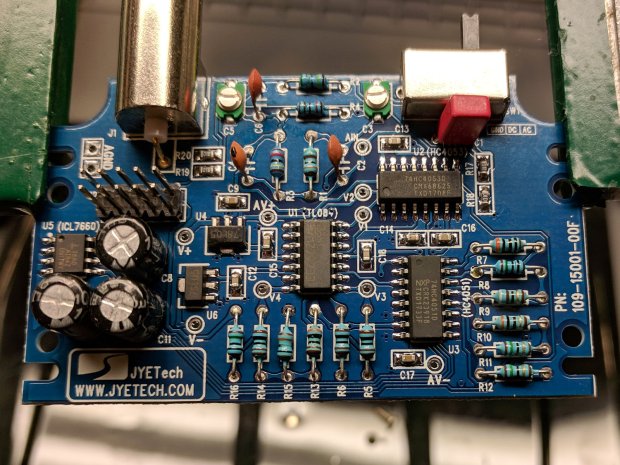
DSO150 – main board – front Some (lightly edited) color commentary from my summary email:
- Just finished assembling the kit, which required two hours; I’m admittedly fussy. The one joint I missed on the input coupling switch required a complete disassembly, but all the rest worked fine.
- The UI is much better than the DSO138.
- Soldering the BNC connector requires lots of heat. My ordinary Hakko iron had inadequate grunt, so I deployed the hulking Radio Shack 150 W gun and did the job in seconds.
- The resistors require a meter to measure them during installation, because they’re 1% 1/8 W jobbies with many teeny color strips in Chinese tints you’ve never seen before. I could not sort them visually, even with a lighted headband magnifier, and I know what I’m looking for.
- The caps are marked, but using a meter builds confidence.
- And, yes, the kit had all the right parts and they all worked. The instructions call for powering up the main board before starting assembly, then again after removing a 0 Ω jumper resistor, but that’s the extent of the “testing” required.
- They recommend a flush cutter and I’d say it’s pretty much required. An ordinary diagonal cutter won’t get close enough to the PCB.
- I needed an angle-tip tweezer to lay the PCB screws in place.
- Don’t install the knob until the very last step and maybe wait until you’ve verified all the functions. You have been warned.
- The minimum power supply voltage really is 8.0 V, not the 7.4 V from a not-quite-fully-charged pair of lithium cells. A 9 V alkaline battery will last a few minutes. A noisy boost converter / crappy 9 V wall wart translates directly into noise on the display, particularly on the internal calibration signal.
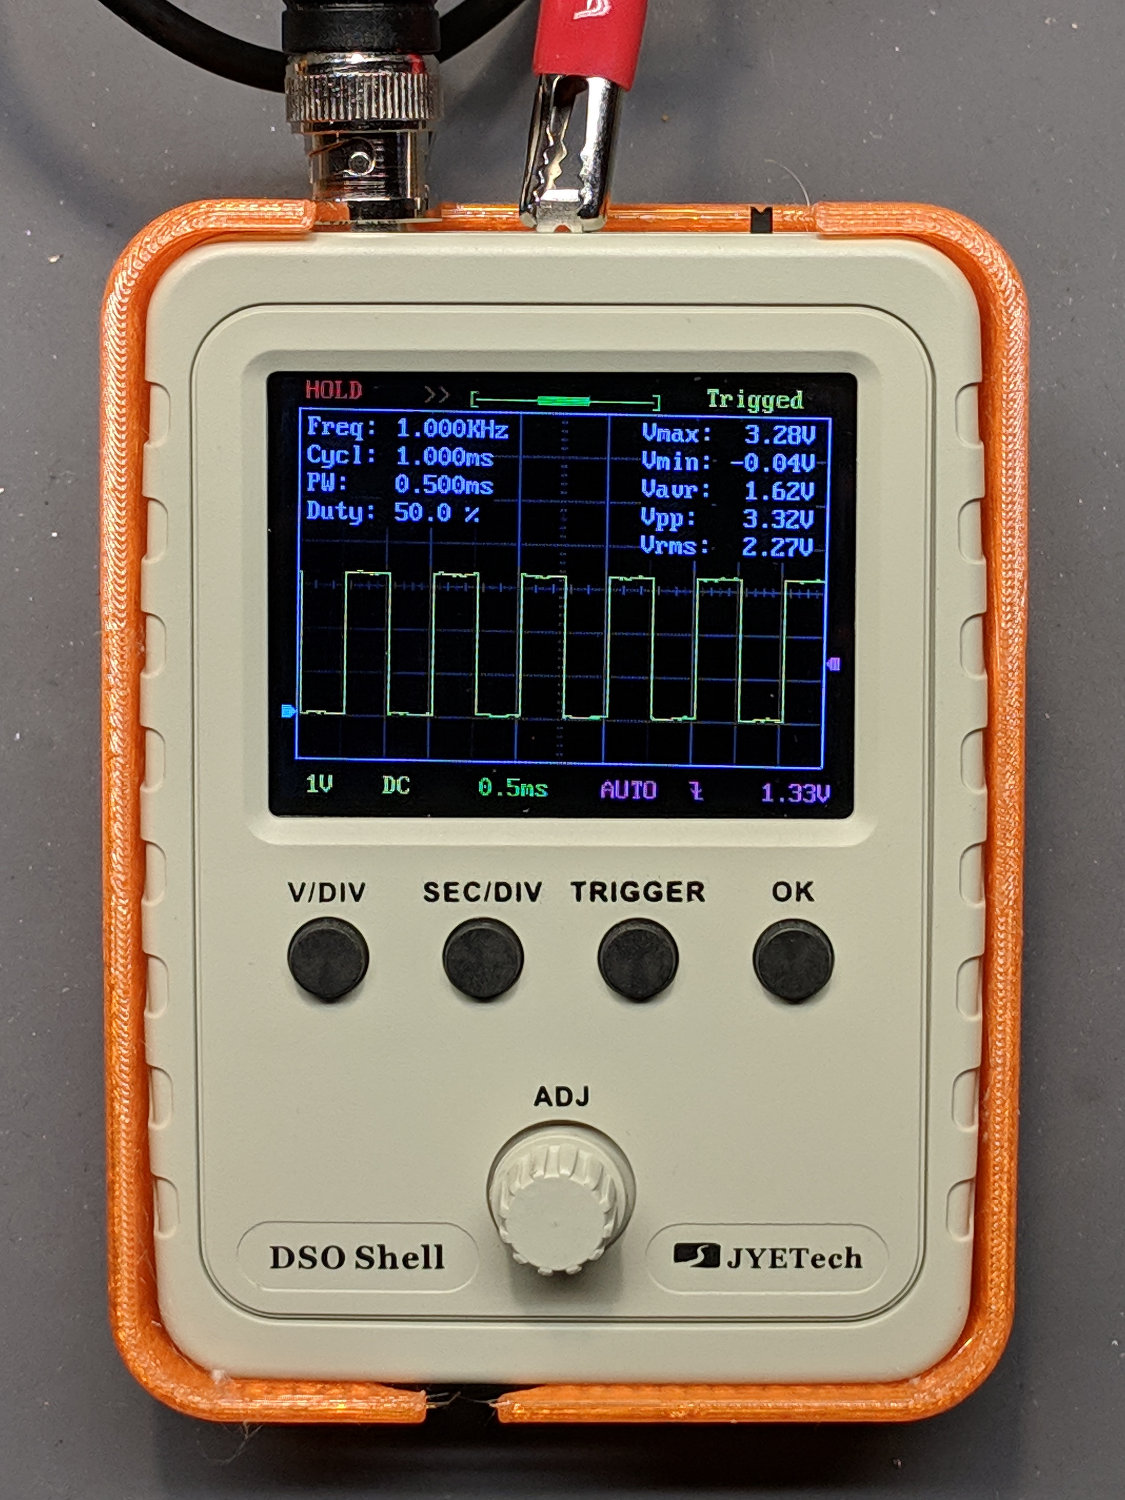
- The “0.1 V” calibration signal turned out to be 150 mV, as measured on a real scope, at 1 kHz. The 3.3 V signal is closer to reality. Both are noisy from a noisy supply.
- All in all, it’s a pretty good scope for thirty bucks!
- Newbies will find it a challenging three hour build, for sure.
The next step involves adding a case and battery power:
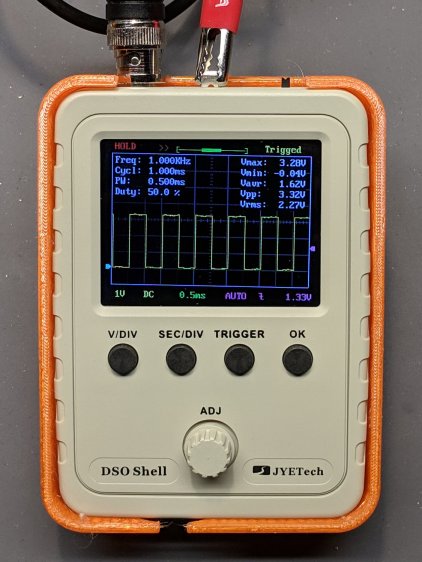
DSO150 battery hack – first light


-
Subscribe
Subscribed
Have a WordPress.com account? Log in now.

