-
Juki TL-2010Q Needle LEDs: Trial Fit
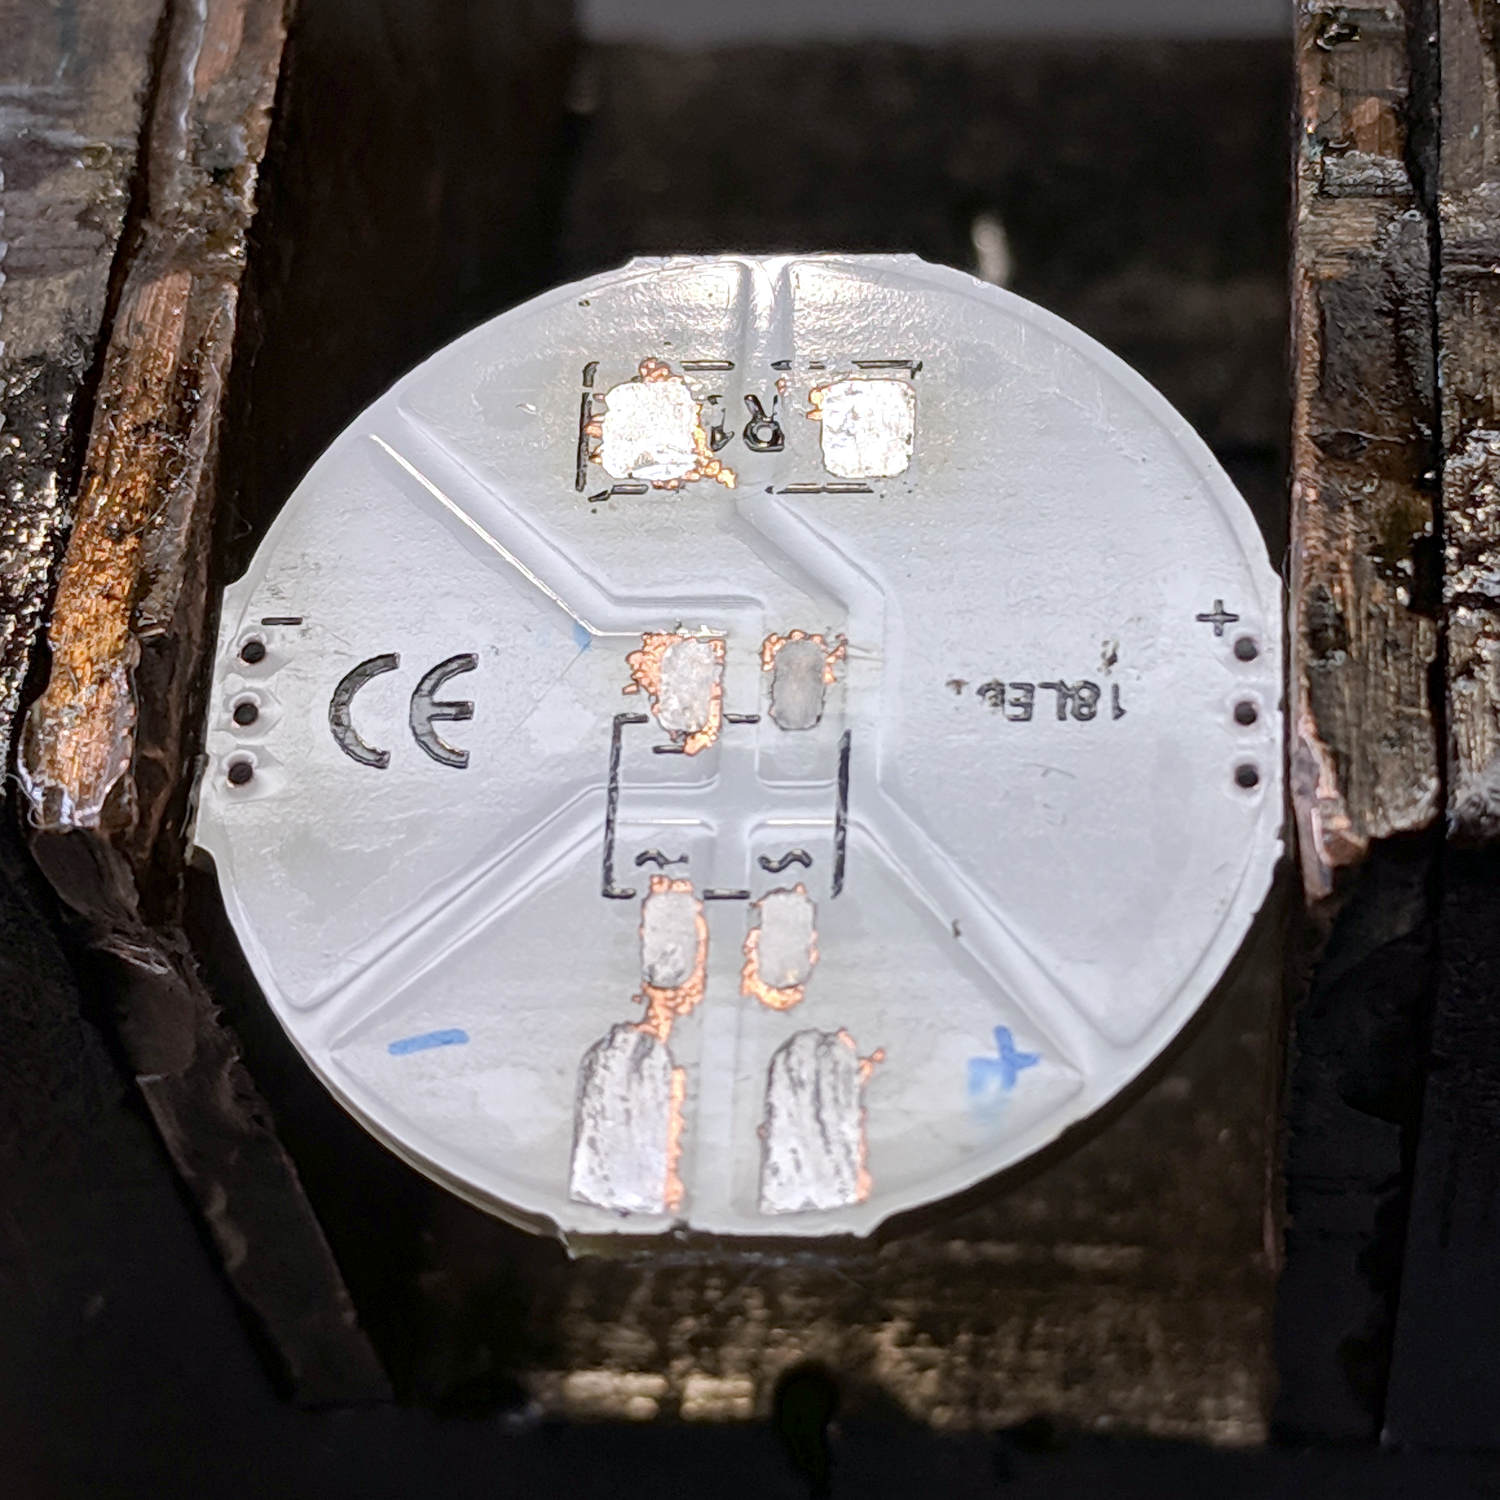
Stripping the components from the back of a “5 W” COB LED gets it ready for action:
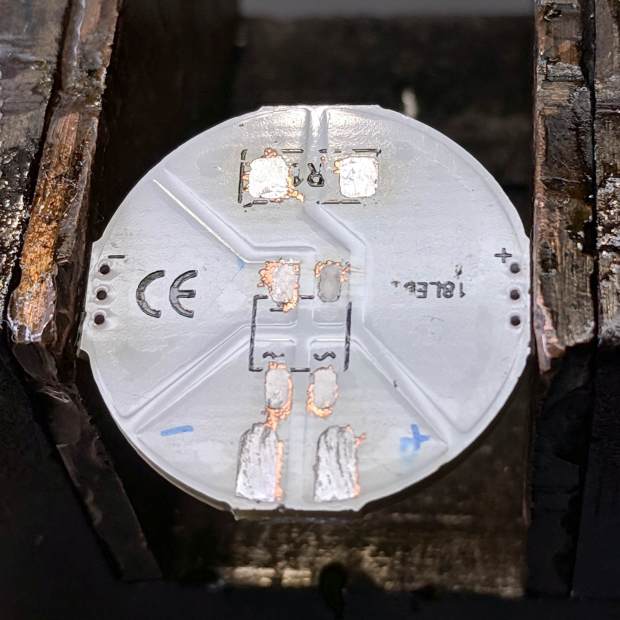
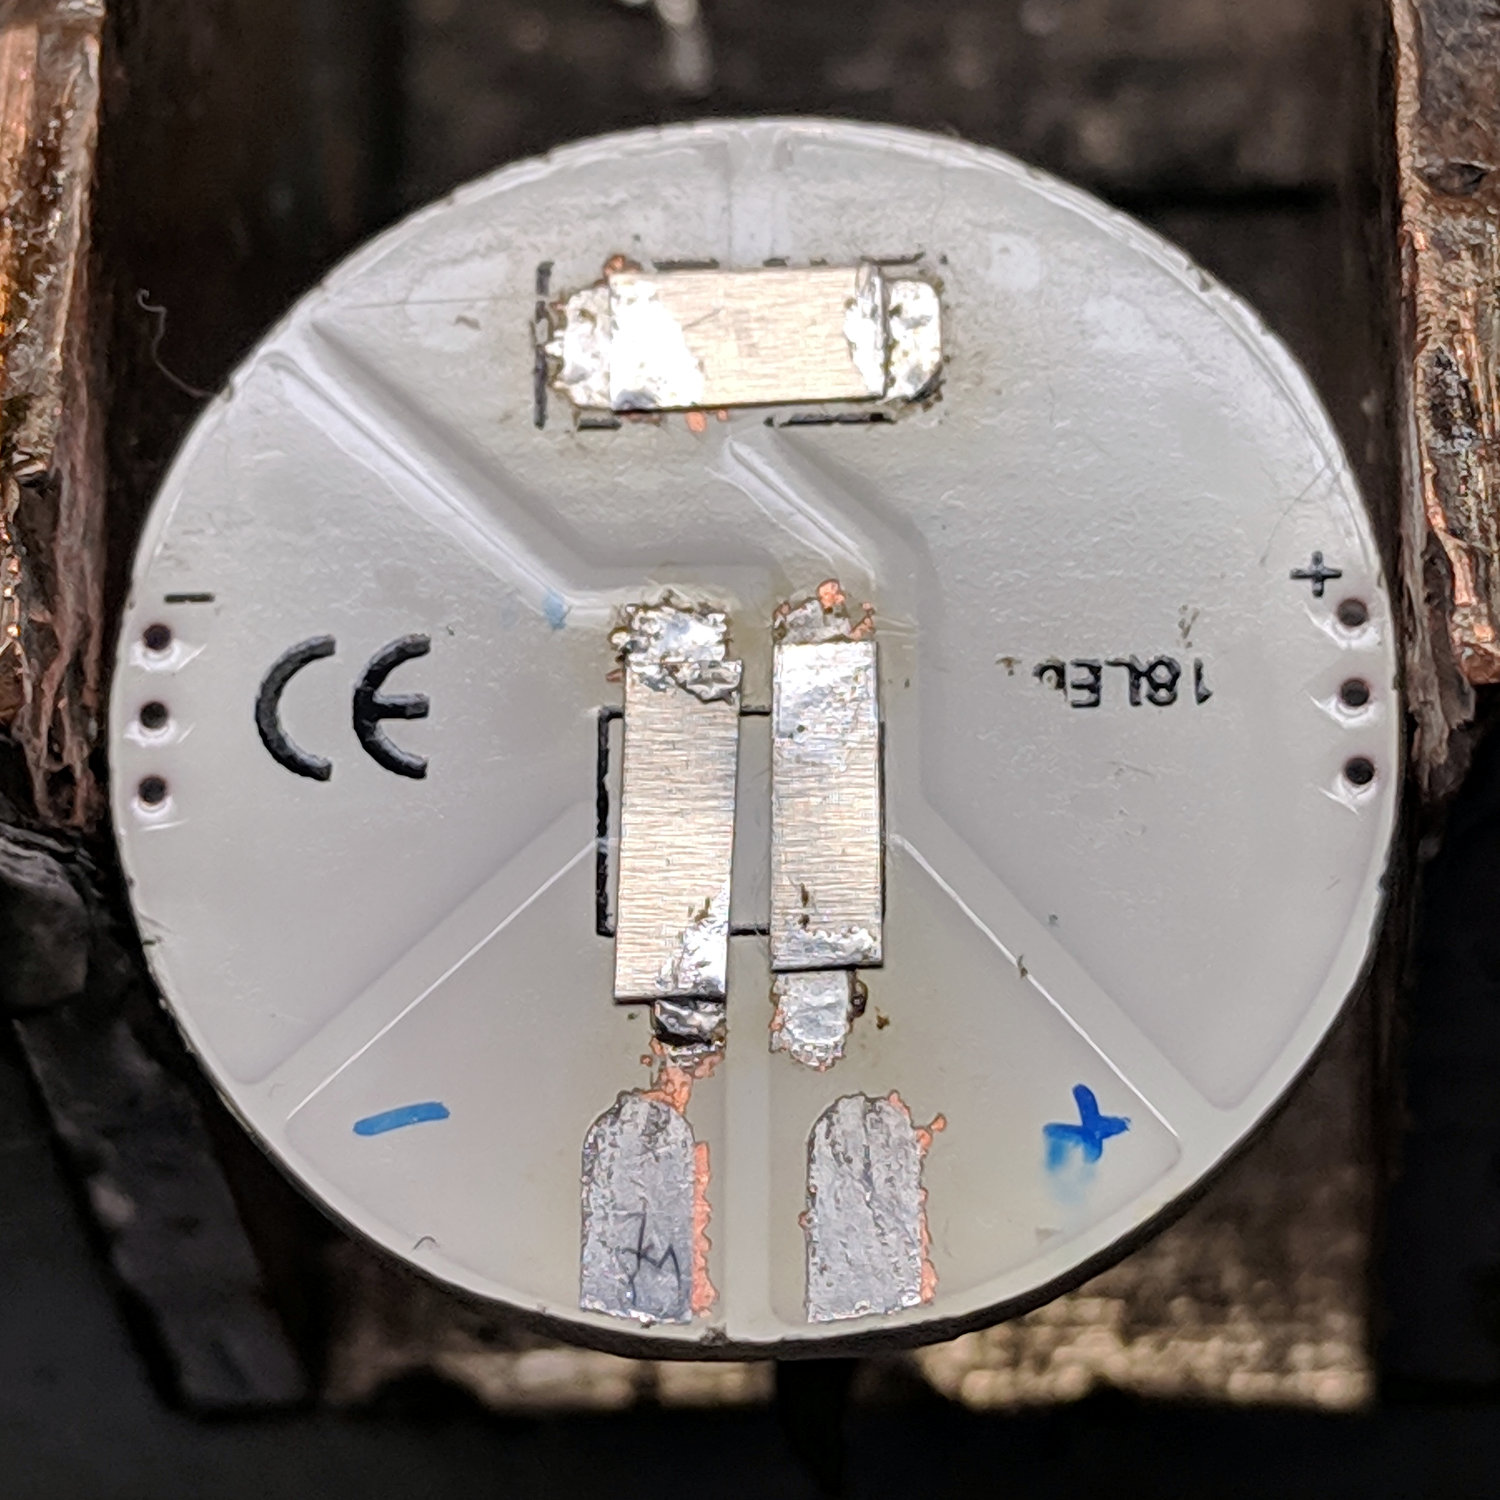
G4 COB LED PCB – stripped Jumpering the pads with nickel strips harvested from various NiMH and lithium cells restores the original contact pads to service:

Juki TL-2010Q Needle LEDs – COB LED jumpers A bit of bandsaw artistry produced a replacement for the OEM LED bracket:
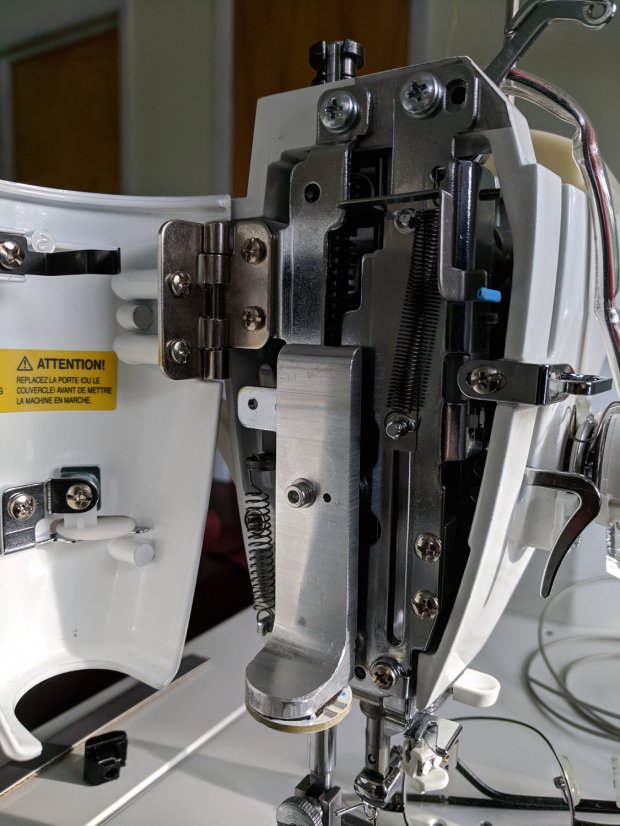
Juki TL-2010Q Needle LEDs – trial installation The epxoy bonding the LED to the heatsink happens a few paragraphs ahead in this story, but the view justifies it. The 2 mm hole just to the right of the 3 mm SHCS aligns the heatsink to a pin in the machine’s frame, ensuring it doesn’t twist around under vibration.
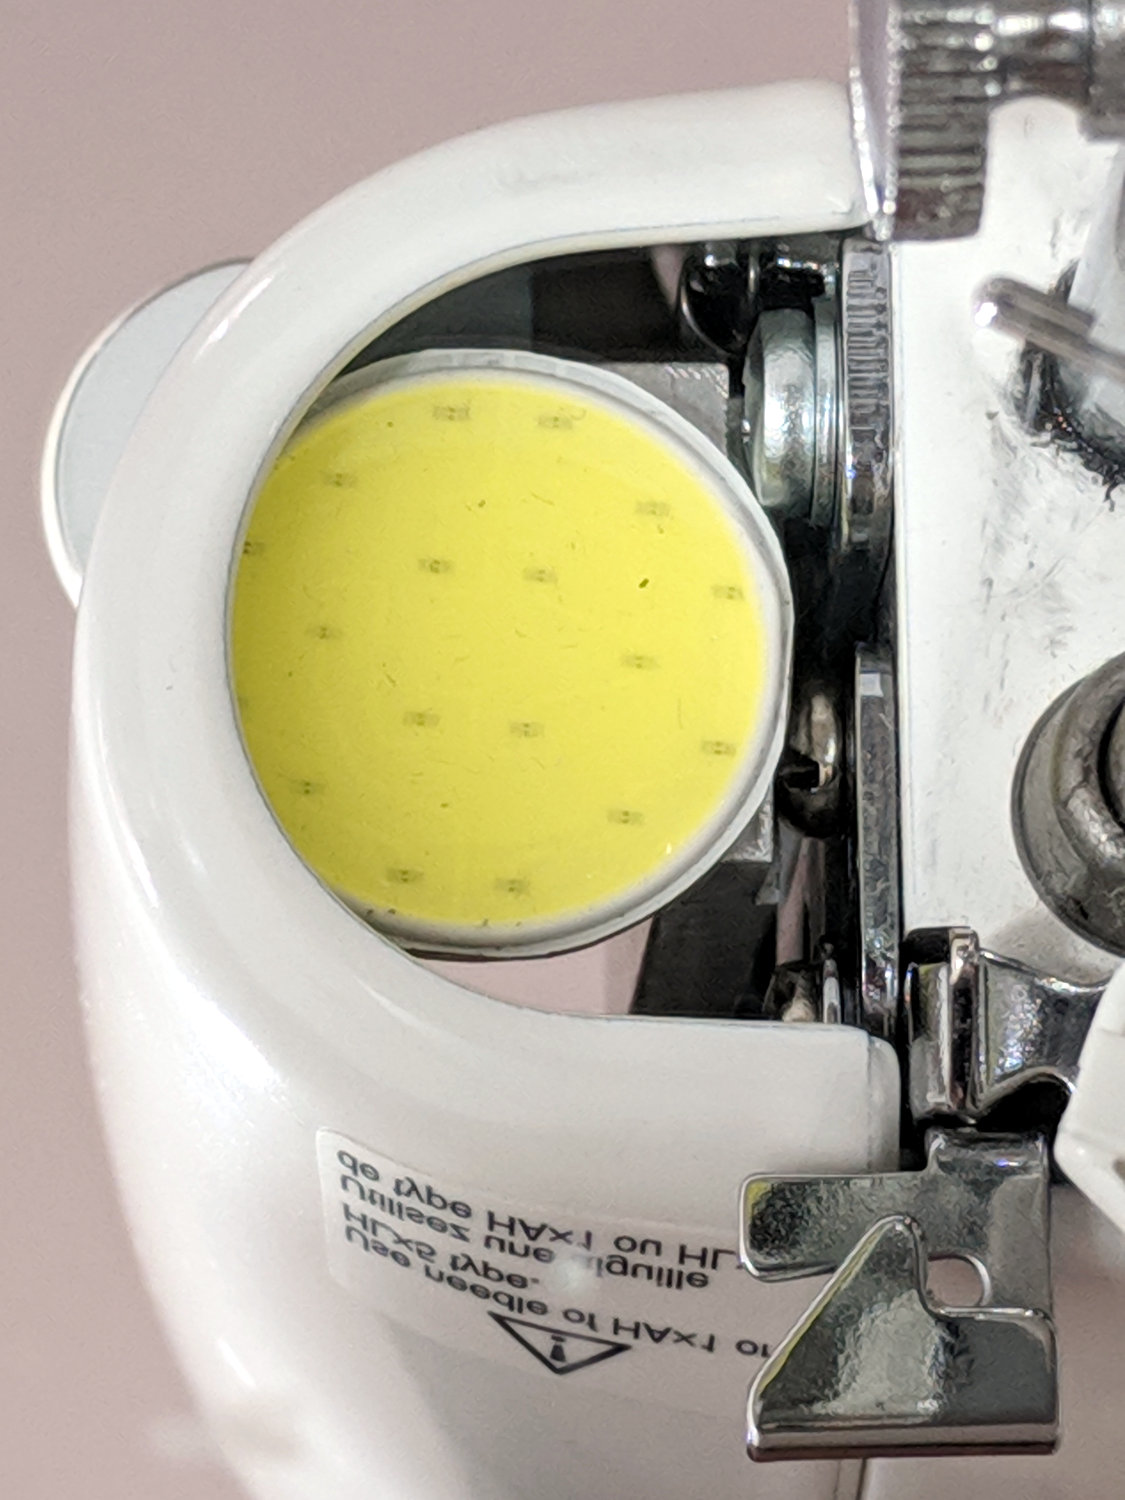
The view from below (in a mirror on the machine’s bed) shows the COB LED just barely fits in the opening:

Juki TL-2010Q Needle LEDs – trial fit I screwed the bare heatsink into the Juki, applied double-stick tape to the COB LED, aligned LED with opening, and stuck it in place. Back in the shop, I traced around the LED to figure out what part of the heatsink needed removing, introduced it to Mr Disk Sander, and contoured it to match the LED.
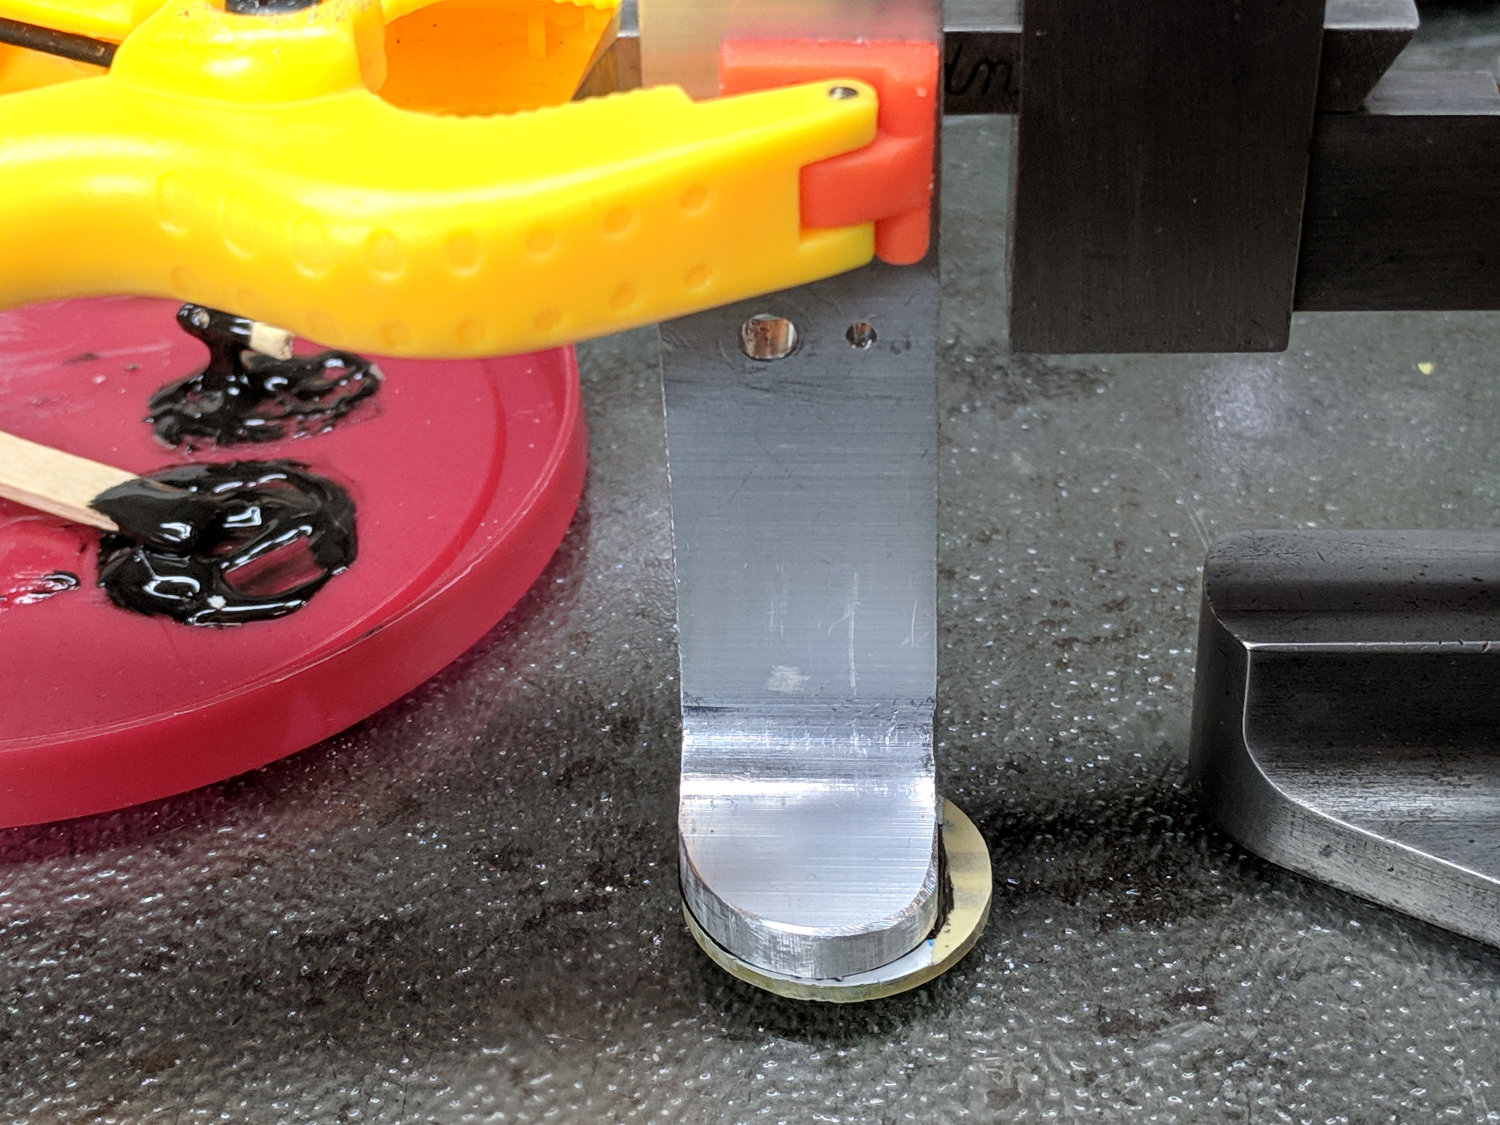
Clean everything with denatured alcohol, put the heatsink on a glass plate, and clamp it to the height gauge:

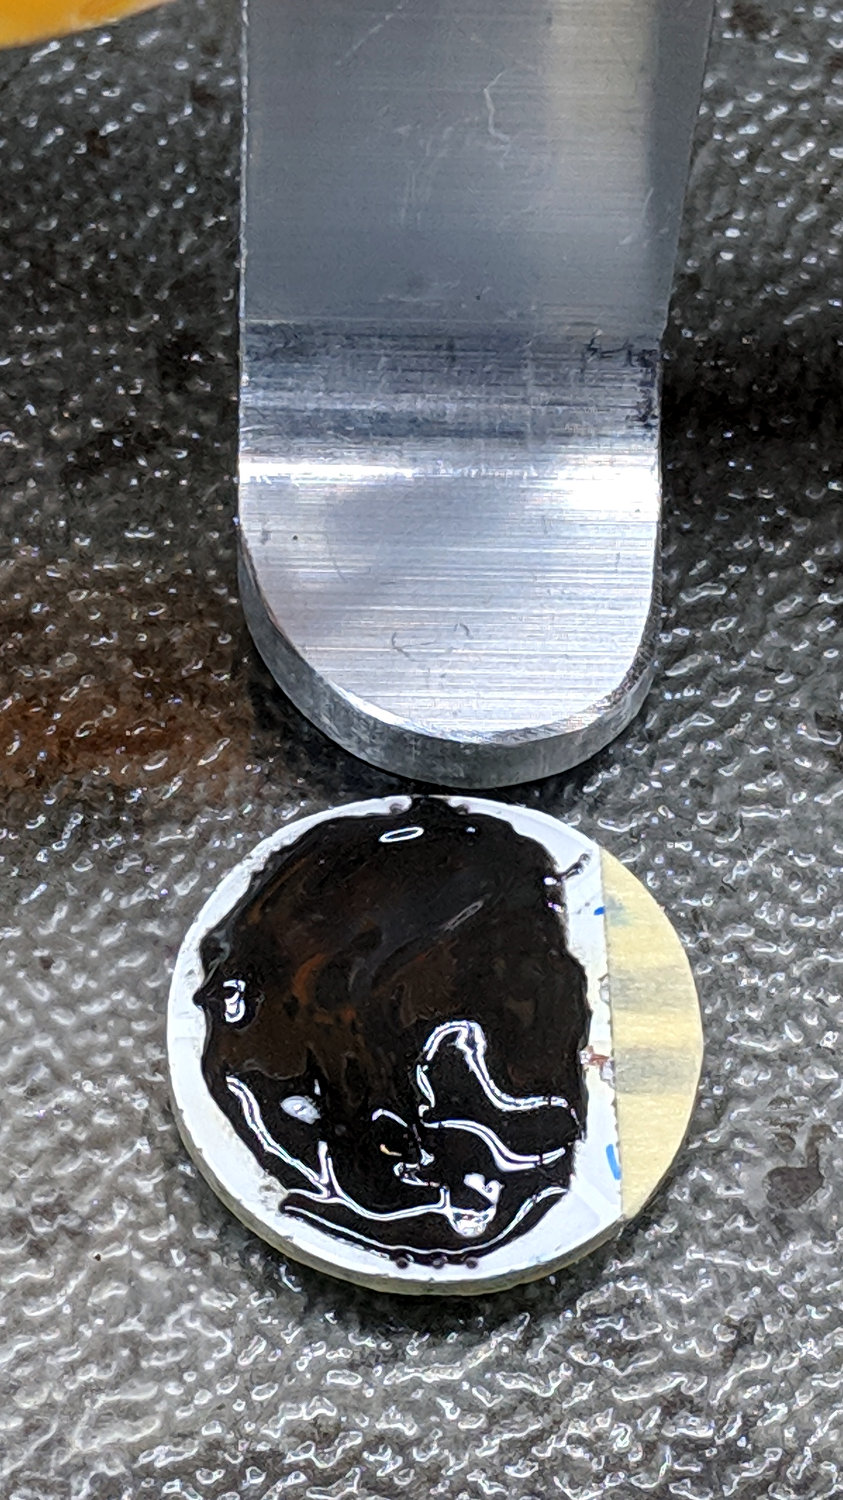
Juki TL-2010Q Needle LEDs – heatsink alignment Butter up the LED PCB with JB Kwik epoxy, having previously masked the contact pads (with masking tape!) to prevent oopsies:

Juki TL-2010Q Needle LEDs – epoxy on COB LED Raise the height gauge, align LED & heatsink, lower height gauge to squish epoxy into an even layer, raise slightly to ensure the aluminum heatsink doesn’t short the nickel strips, and fast forward a few hours:
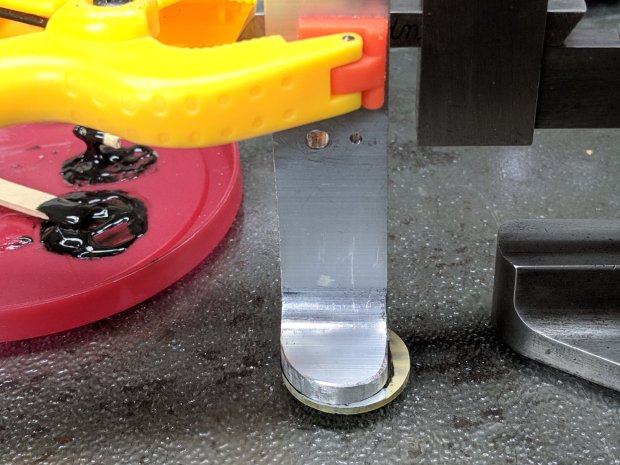
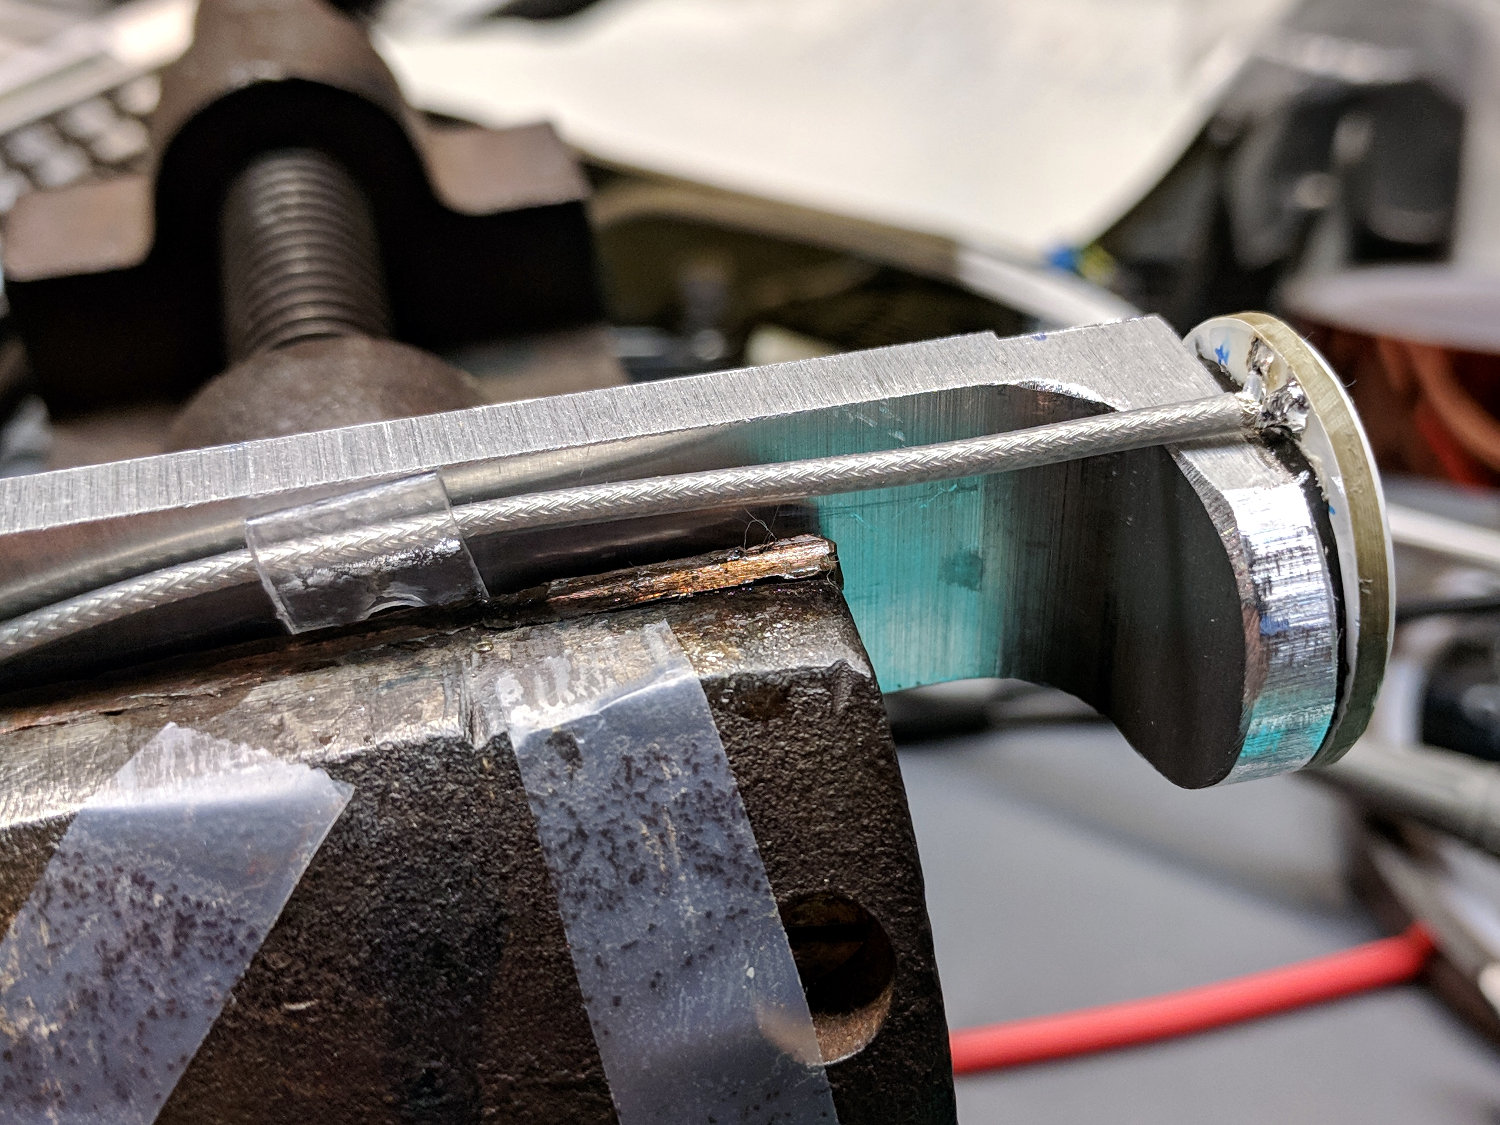
Juki TL-2010Q Needle LEDs – heatsink curing Peel off the masking tape and solder a cable in place:
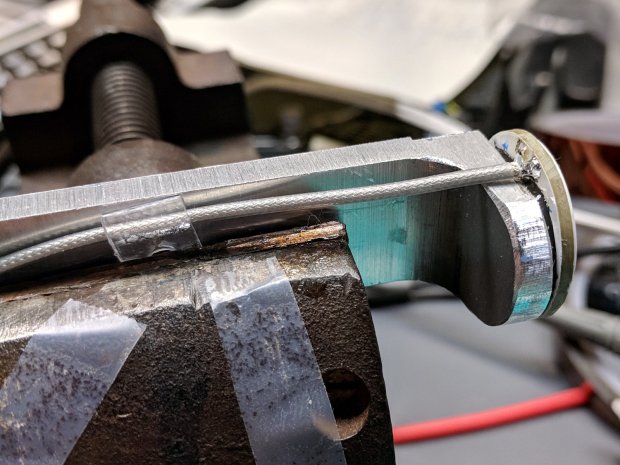
Juki TL-2010Q Needle LEDs – cable installation The transparent doodad around the cable is a PET clamp snipped from a consumer electronics clamshell package, then punched and folded to suit. It didn’t work particularly well, so more rummaging will be required.
Foreshadowing: all this went swimmingly and looks pretty good (in a techie sort of way), but I’ve been running a nasty cold (stipulated: there being no pleasant colds). Building While Stupid is never a good idea, as the part of your brain in charge of telling you you’re about to do something catastrophically wrong is the first thing to go.
More to come …


-
Subscribe
Subscribed
Have a WordPress.com account? Log in now.

