-
Makergear M2: BuildTak Platform Alignment
The Z-axis switch on the Makergear M2 put Z=0 on the surface of the BuildTak platform and a quick leveling got the TerraCycle tires printed, but a more thorough alignment seemed in order.
I wanted to align the magnetic base plate first, but it has a lot of magnets and steel tools just weren’t going to work:
MakerGear M2 BuildTak – FlexPlate magnets So I put the BuildTak FlexPlate on top and deployed the taper gauge, with all the magnetic fields held safely inside the steel sheet below the surface:
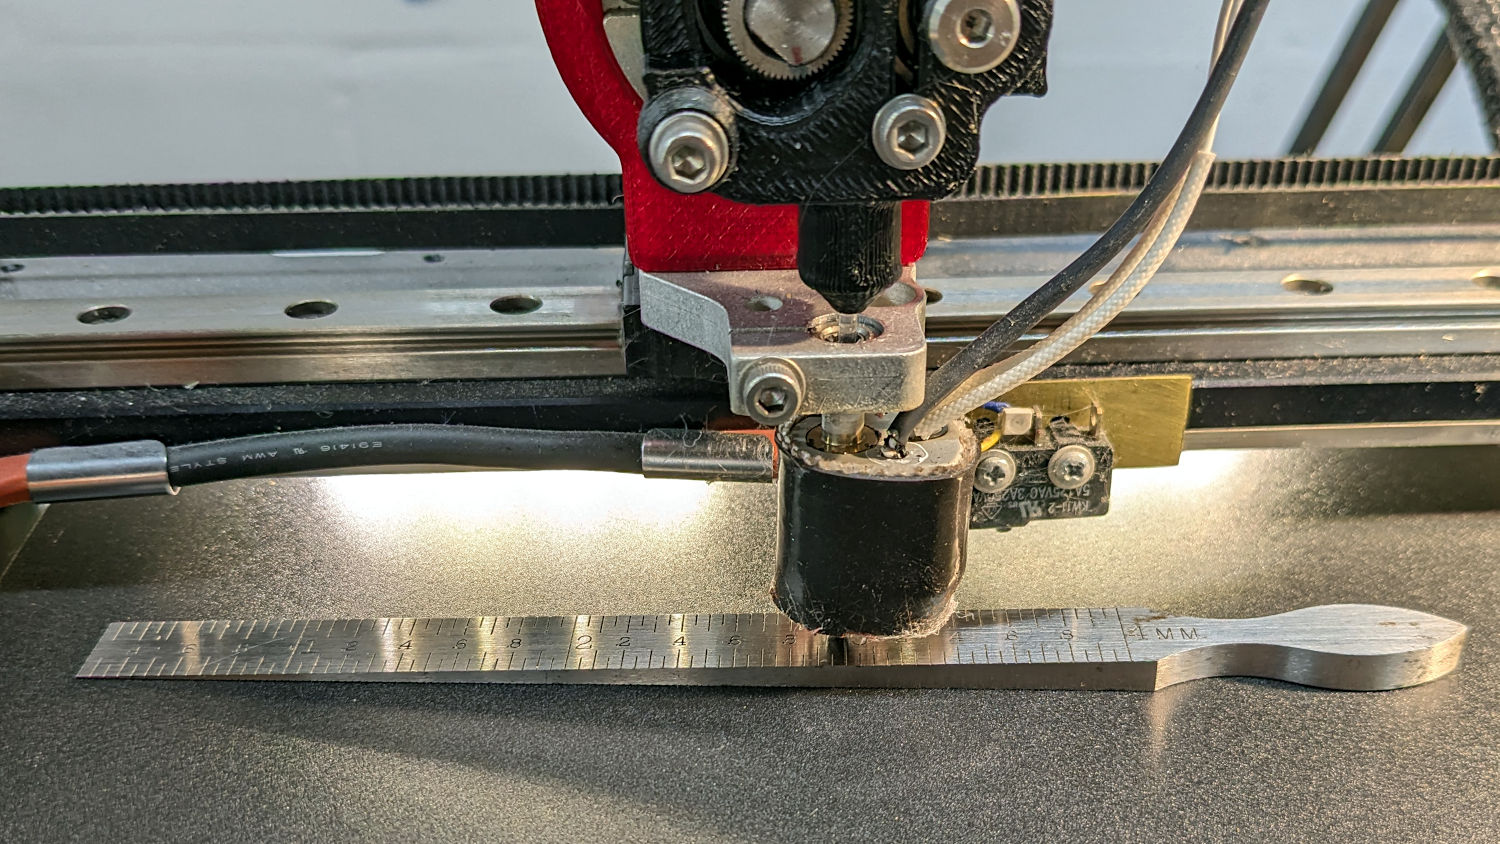
MakerGear M2 BuildTak – taper gauge The plate turned out to be mostly flat, with two high spots at the center front and back. A few strips / layers of Kapton tape raised the lowest spots along the sides and middle enough to get the whole surface Close Enough™:
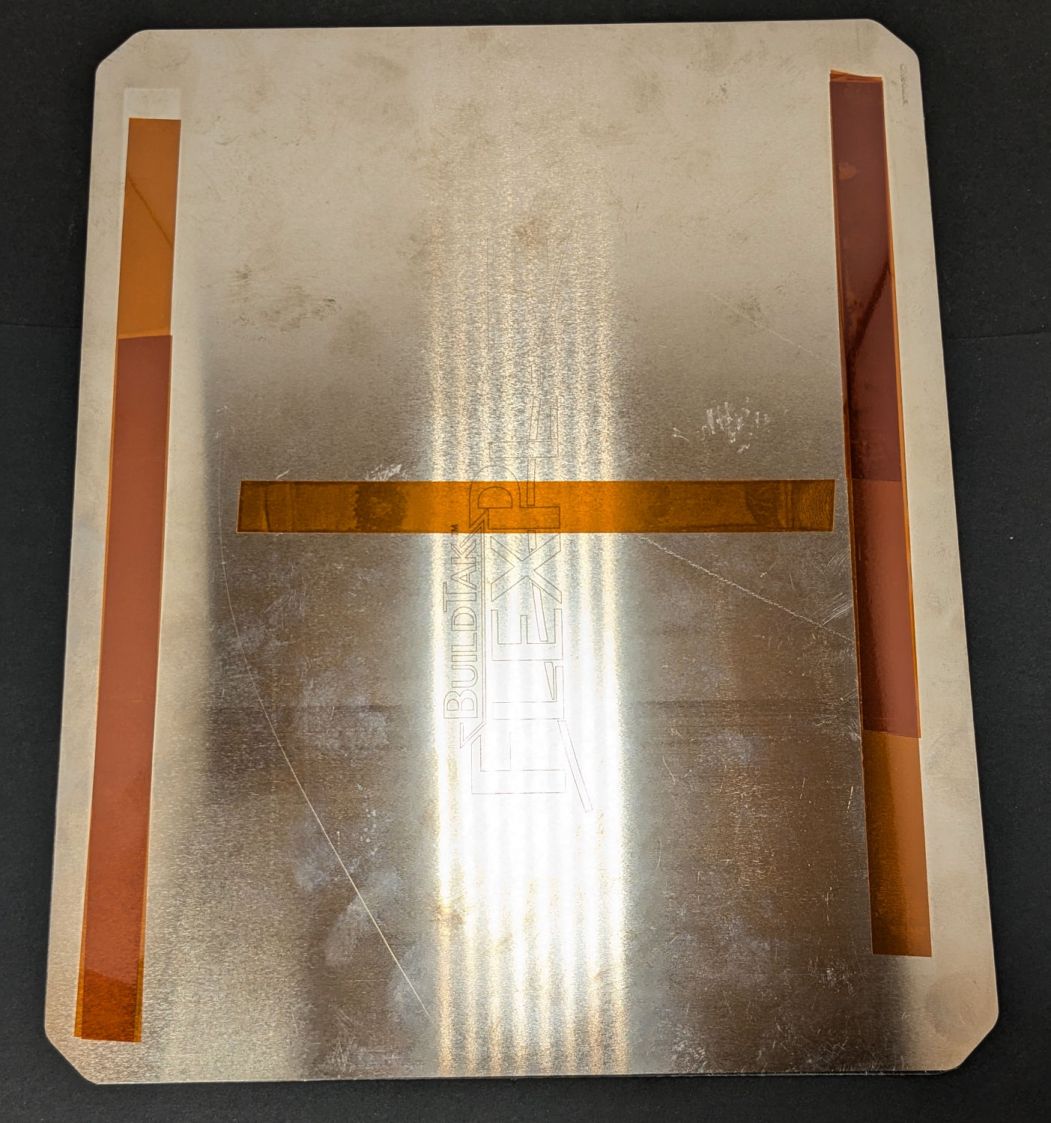
MakerGear M2 BuildTak – FlexPlate shims That’s really thick 4 mil = 0.1 mm tape, not puny 1 mil stuff. Two layers added enough height to very slightly warp the steel plate when held down by all those magnets.
The final result was flat within ±0.05 mm across the entire plate, with those two high spots reduced to +0.2 mm.
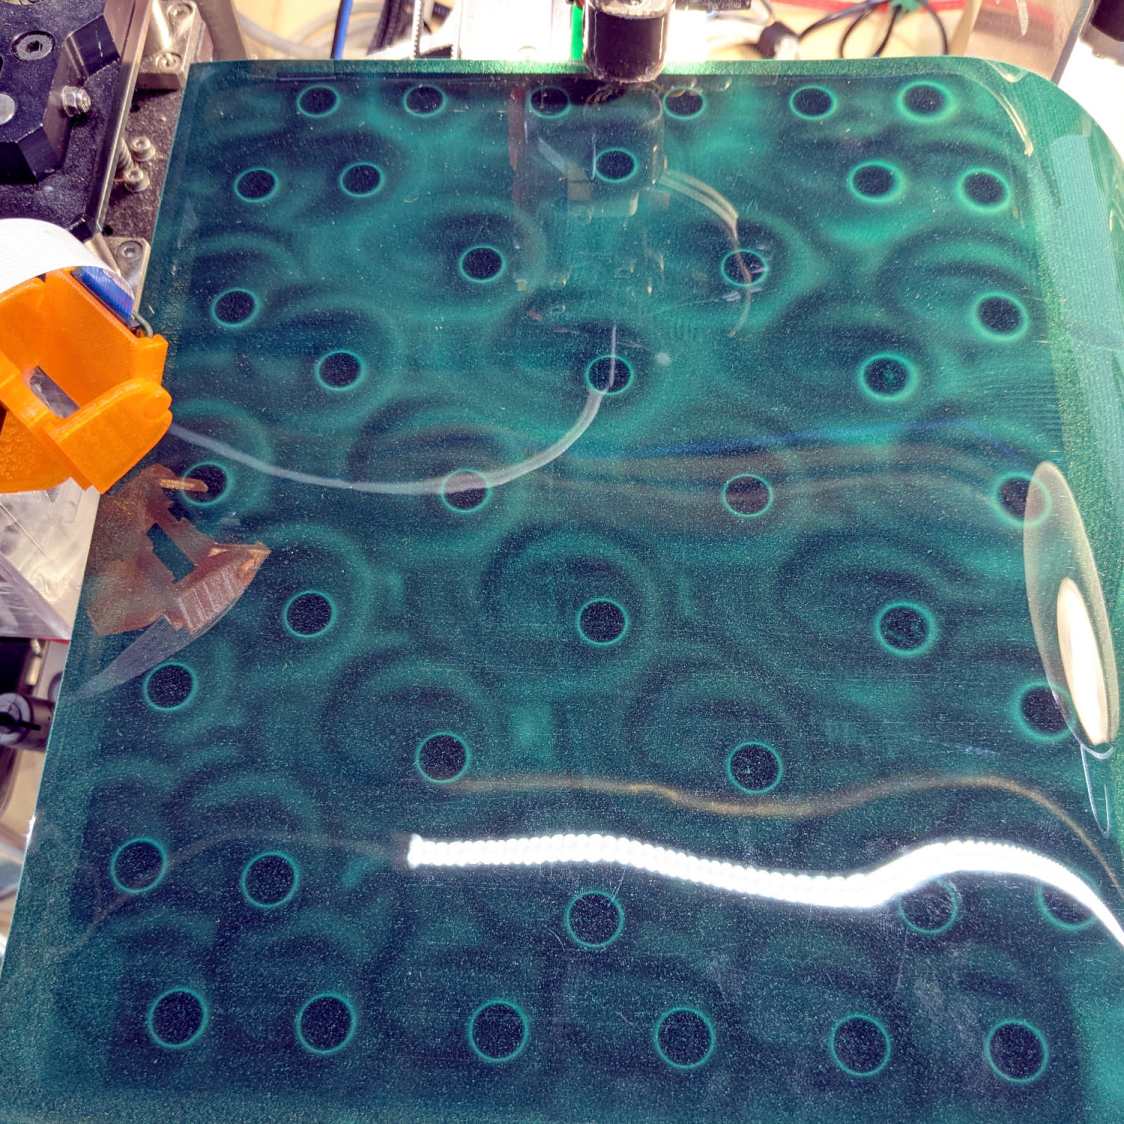
At which point, an array of thinwall calibration boxes came out perfectly:
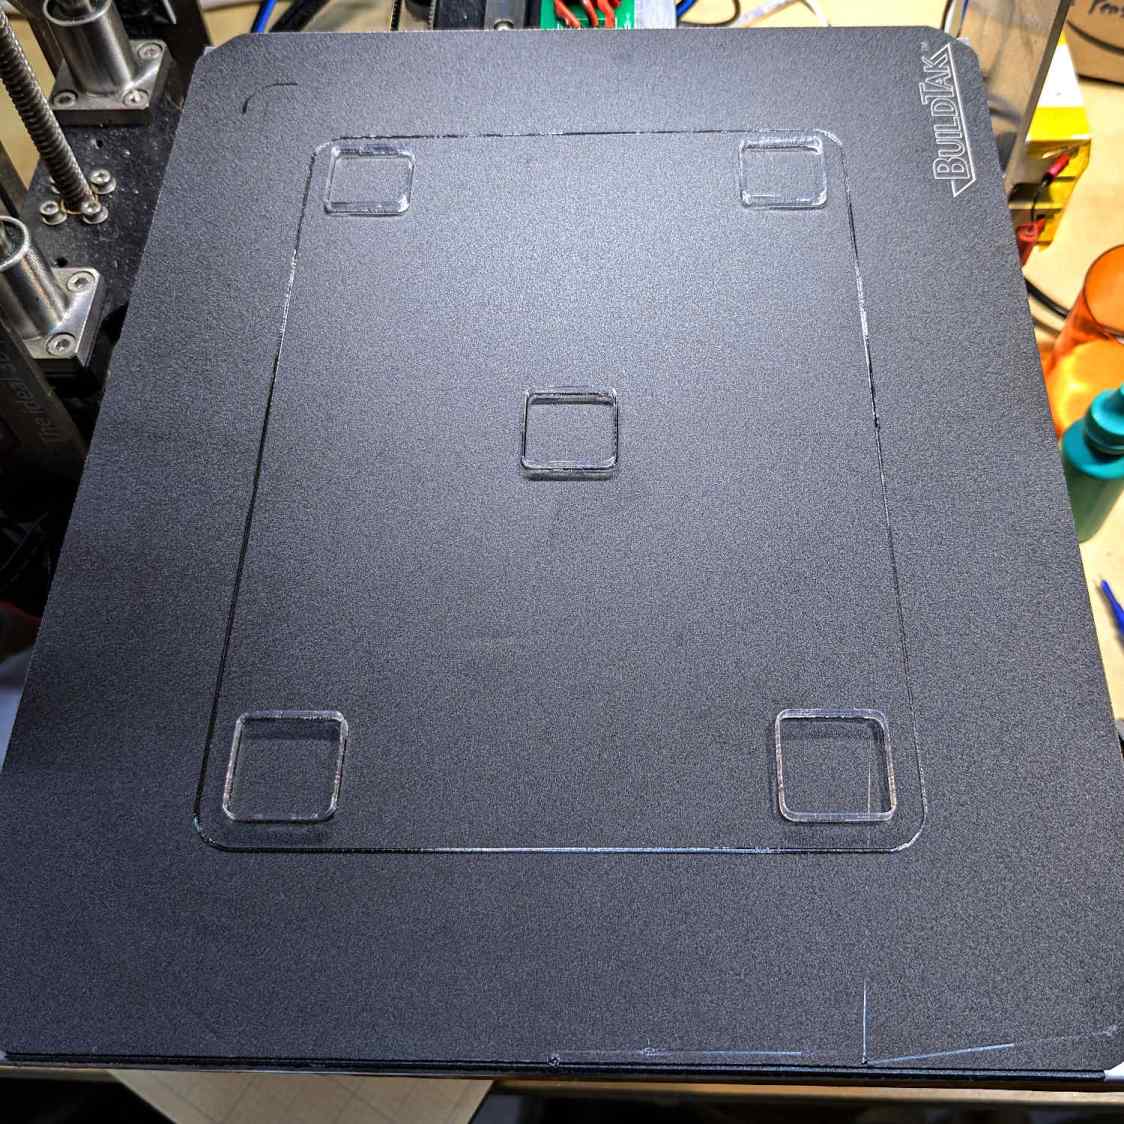
MakerGear M2 BuildTak – test square layout The high spots lie outside the skirt at the front & rear of the plate, where they should be easy to avoid with most models I can imagine building in TPU. Stipulated: I have a stunted imagination.
TPU boxes are bendy little things with 0.45 mm walls:
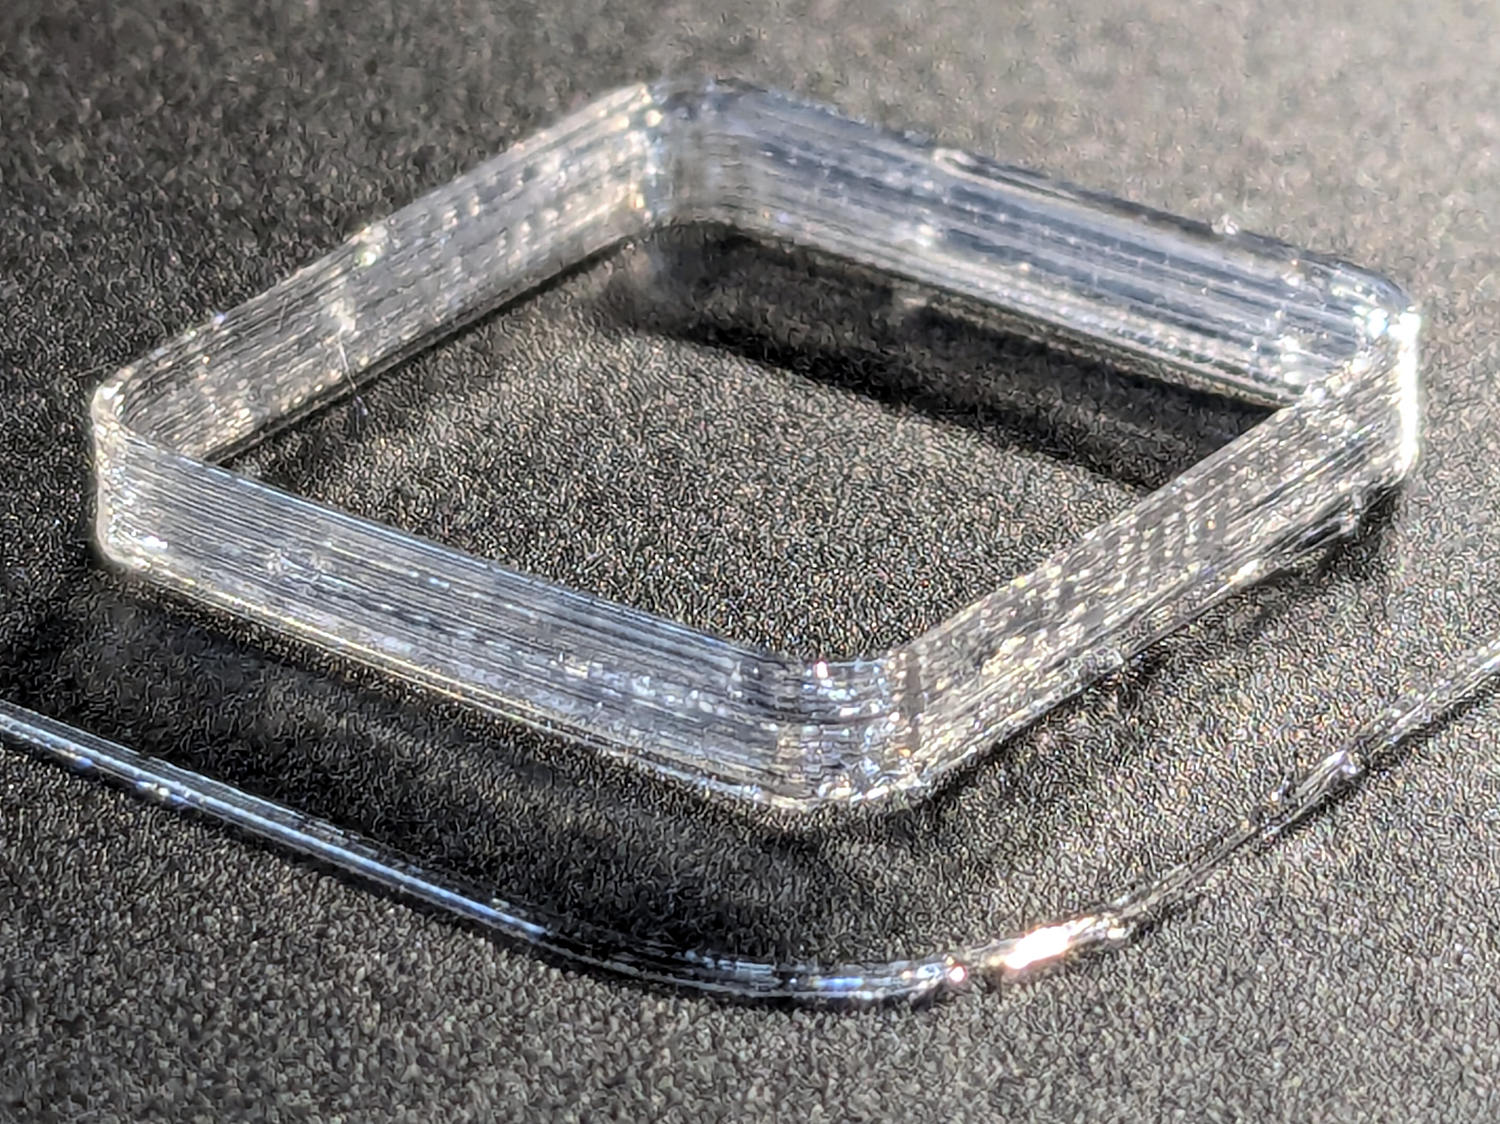
MakerGear M2 BuildTak – test square After I got the plate flattened, even a single-thread wall of TPU sticks to BuildTak like it was glued there.
I had PrusaSlicer print them sequentially to avoid excessive back-and-forth, although combining 2 mm
RetractionwithAvoid crossing perimetershas eliminated much of the previous stringing: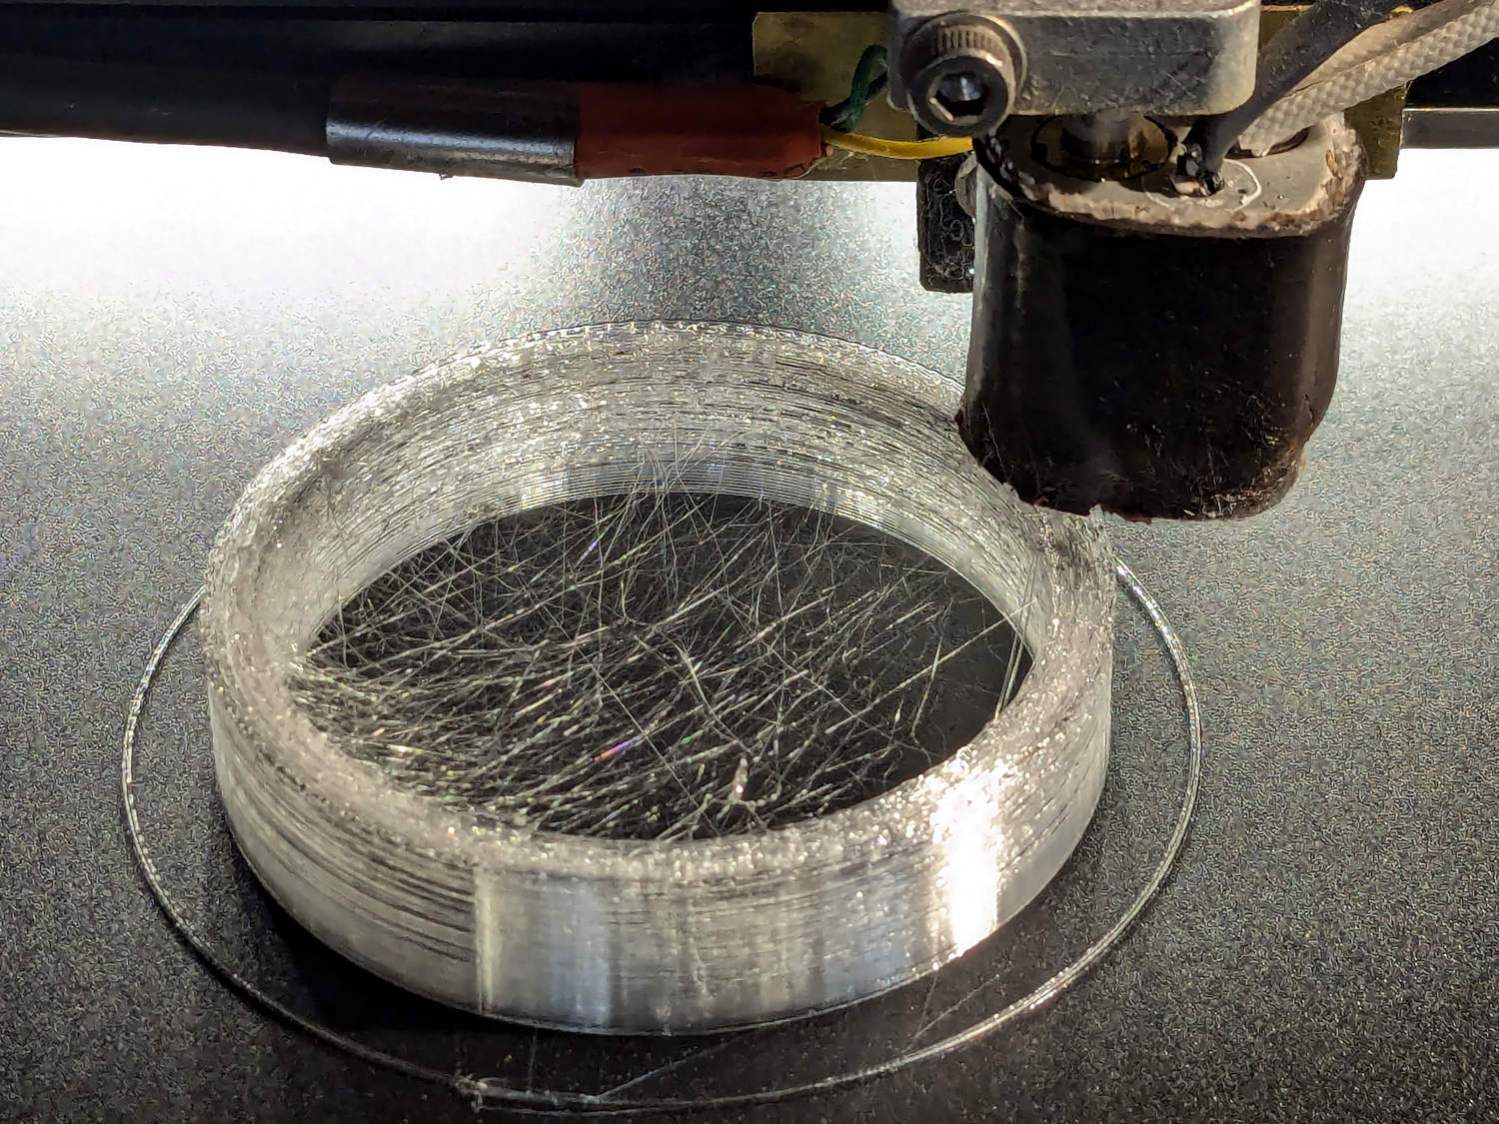
Terracycle Chain Idler Tire – TPU stringing I modified the startup G-Code to purge & wipe the nozzle at the right-front corner of the plate:
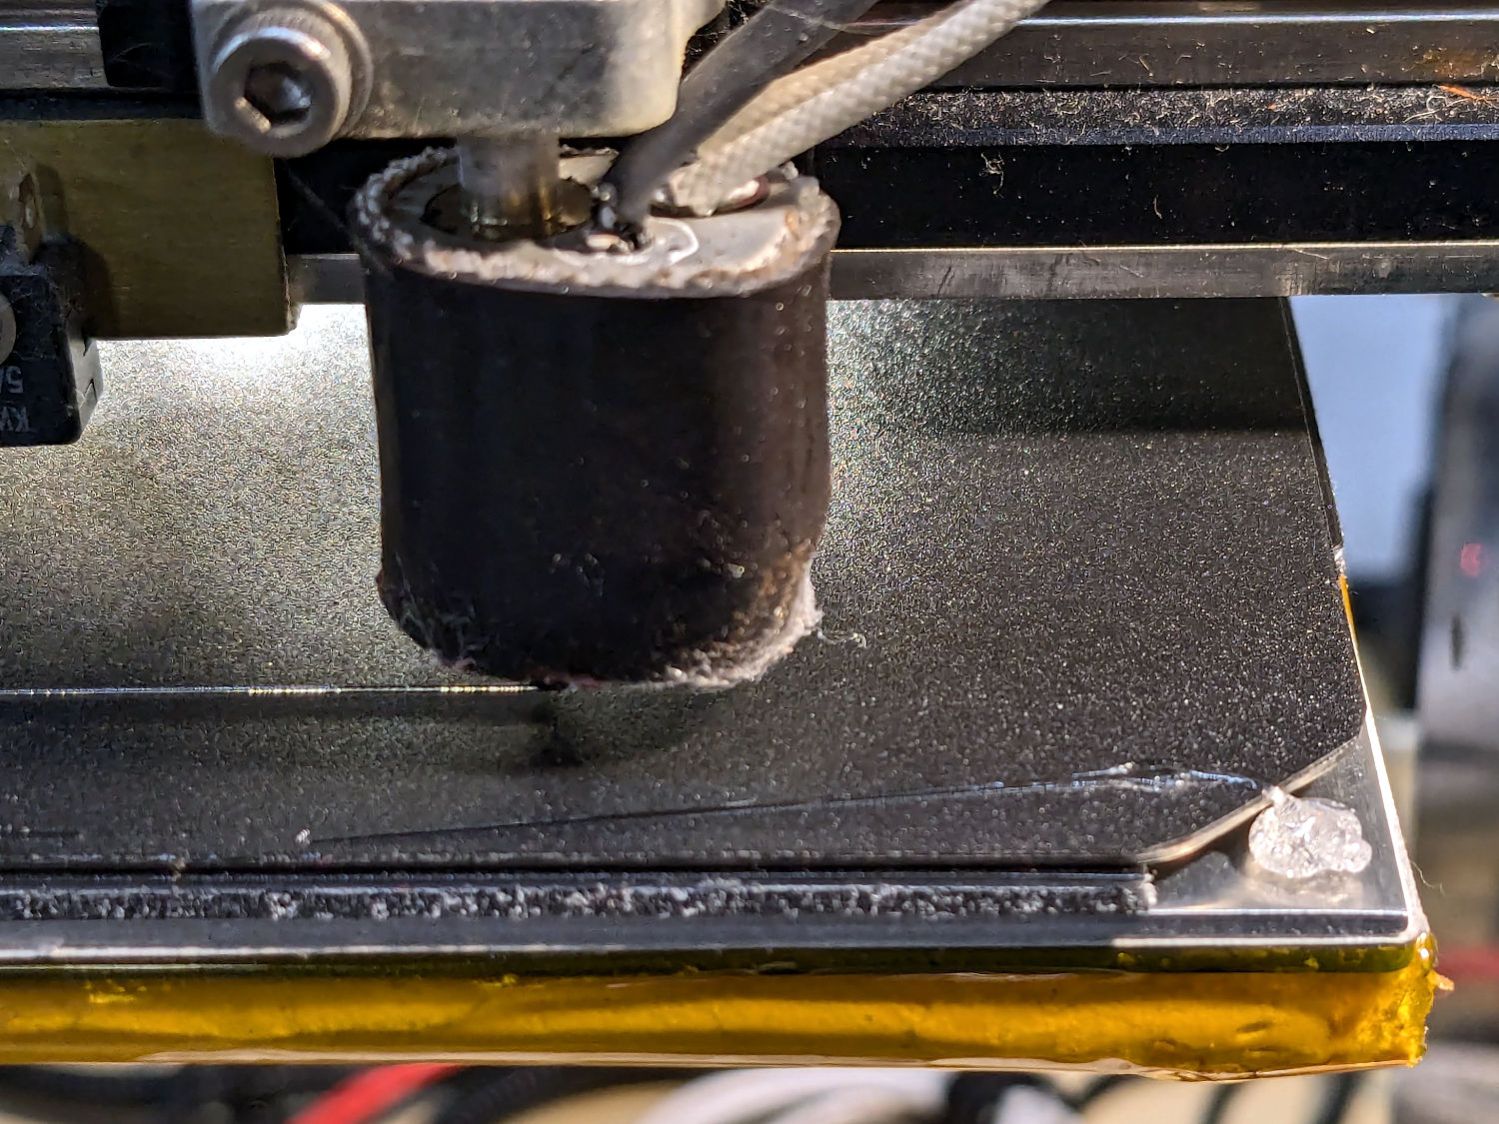
MakerGear M2 BuildTak – nozzle cleaning If I’d done that at the start, the BuildTak surface wouldn’t have a small divot melted into the center front edge where the previous G-Code paused the nozzle at the edge of the glass plate while heating. Pausing a millimeter off the diagonal seems to isolate the hot nozzle from the plastic surface.
The revised startup G-Code, with the earlier clearing motions commented out:
;-- PrusaSlicer Start G-Code for M2 starts --
; Ed Nisley KE4NZU
; Makergear V4 hot end
; Origin at platform center, set by MANUAL_X_HOME_POS compiled constants
; Z-min switch at platform, must move nozzle to X=135 to clear
; 2025-08-29 tweak priming spot to avoid scorching BuildTak surface
G90                                      ; absolute coordinates
G21                                      ; millimeters
M83                                      ; relative extrusion distance
M104 S[first_layer_temperature]          ; start extruder heating
M140 S[first_layer_bed_temperature]           ; start bed heating
M17                                      ; enable steppers
G4 P500                                  ; ... wait for power up
G92 Z0                        ; set Z to zero, wherever it might be now
G0 Z10 F1000                  ; move platform downward to clear nozzle; may crash at bottom
G28 Y                         ; home Y to clear plate, offset from compiled constant
G28 X                         ; home X, offset from M206 X, offset from compiled constant
G0 X135 Y0 F15000             ; move off platform to right side, center Y
G28 Z                         ; home Z to platform switch, offset from M206 Z measured
G0 Z2.0 F1000                 ; get air under switch
;G0 Y-126 F10000               ; set up for priming, zig around corner
;G0 X0                         ; center X
;G0 Y-125.5                    ; just over platform edge
G0 Y-121 F15000               ; set up for priming
G0 X96                        ; diagonally beyond trimmed corner of BuildTak plate
G0 Z0 F500                    ; exactly at platform
M190 S[first_layer_bed_temperature]   ; wait for bed to finish heating
M109 S[first_layer_temperature]       ; set extruder temperature and wait
G1 E25 F200                           ; prime to get pressure, generate blob on edge
;G0 Y-123 F5000          ; shear off blob
;G0 X15 F15000           ; jerk away from blob, move over surface
;G4 P500                 ; pause to attach
;G1 X45 F500             ; slowly smear snot to clear nozzle
G0 X94 Y-119 F5000      ; shear off blob
G0 X90 F15000           ; jerk away
G4 P500                 ; pause
G1 X50 Y-124 F500       ; smear snot
G1 Z1.0 F2000           ; clear bed for travel
;-- PrusaSlicer Start G-Code ends --
With all that done, the Small Hole Gauge came out much better:
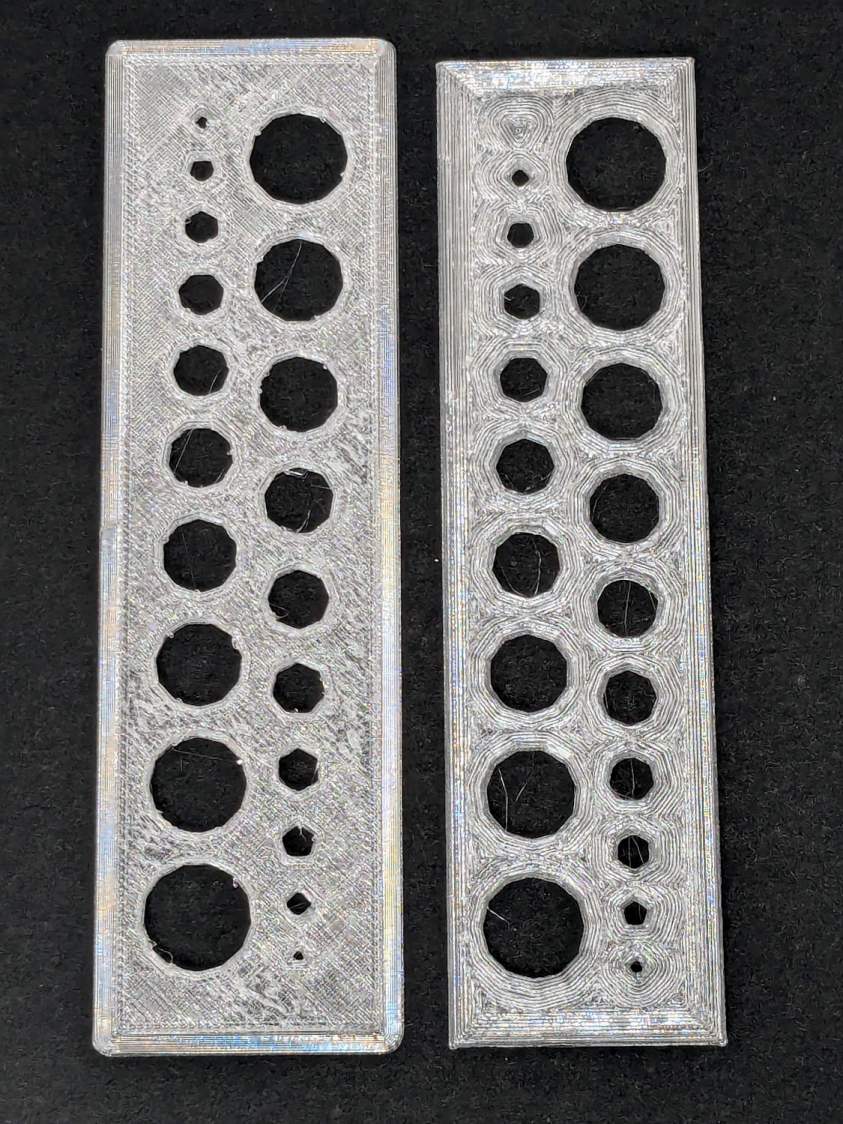
Makergear M2 BuildTak – small holes – front The one on the left came from the M2’s glass plate (with a brim barely improving its adhesion) and the one on the right was on BuildTak after all the fussing; I just noticed I laid them out in opposite directions.
An edge view shows the fuzzy surface on the left:
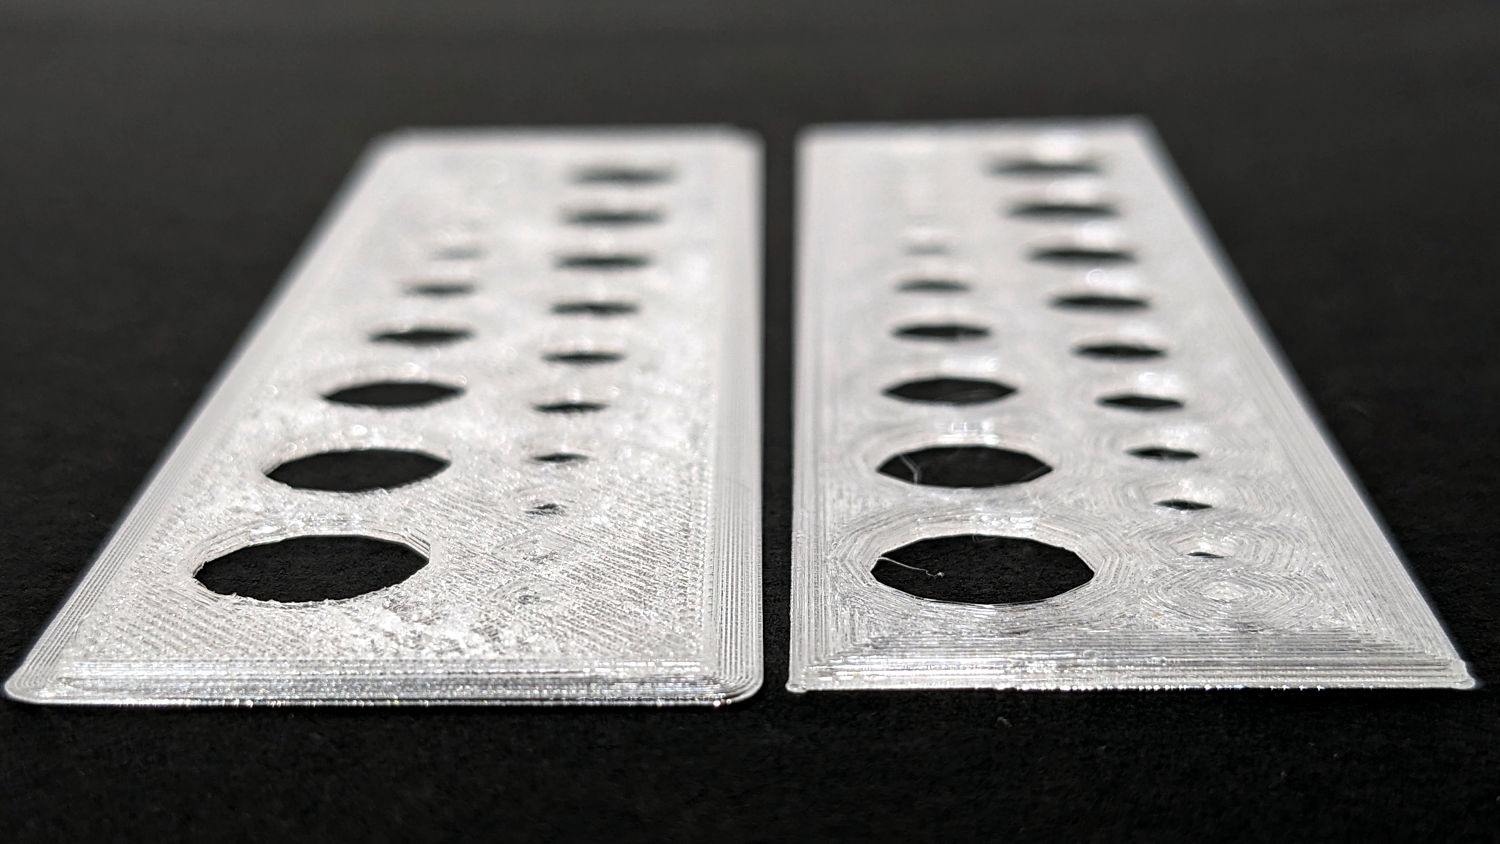
Makergear M2 BuildTak – small holes – edge The tiniest holes in both are undersized, but AFAICT you could ram a screw through that bendy sheet without much effort.
The BuildTak sheet works well enough that I have not tried the PEI-covered FlexPlate, which I’m sure will require similar shimming to get a level surface.
And, no, I am not going to install a surface probe on the M2’s hot end.
-
Subscribe
Subscribed
Already have a WordPress.com account? Log in now.
