-
Floor Lamp: Threaded Fittings
The reshaped copper elbow on the floor lamp now has the right angle, but lacks threaded connections to the tubes. The OEM tube threads are close to M15×1, thus prompting the change gear exercise persuading Tiny Lathe™ to cut metric threads.
Chuck up a length of 5/8 inch aluminum tube, clean up the end, and poke a thread runout slot into it:

Floor Lamp – tube fitting – thread runout Turn the soon-to-be-thread OD to 14.7 mm, well under the minimum 14.794 mm major thread diameter. I figure it’s better to match the existing not-quite-standard tube threads than to get all fussy about tolerances:

Floor Lamp – tube fitting – thread OD Drill out the tube to 27/64 inch = 0.422 inch = 10.7 mm, a bit larger than the OEM fittings, to easily pass the JST-SM connector I added so I could take the lamp apart:

Floor Lamp – tube fitting – drilling bore Yeah, you’re not supposed to let the swarf build up like that, but it’s hard to stop when you’re getting good chip.
Break the sharp edges:

Floor Lamp – tube fitting – ready for threading Set up for threading:

Floor Lamp – tube fitting – external threading setup That’s a really nice Warner laydown threader I won as a Cabin Fever door prize quite some years ago.
A comprehensive discussion of threading may be handy.
The compound is at 90° to the cross slide, because the DRO housing doesn’t let the compound swivel to the proper angle for thread cutting. I’m just ramming the threader straight into the tube, taking sissy cuts, and hoping for the best.
Kiss the OD with the cutter, set the cross slide DRO to zero, position the cutter just off the end of the tube, close the split nuts around the leadscrew, engage the threading dial at a conspicuous mark:
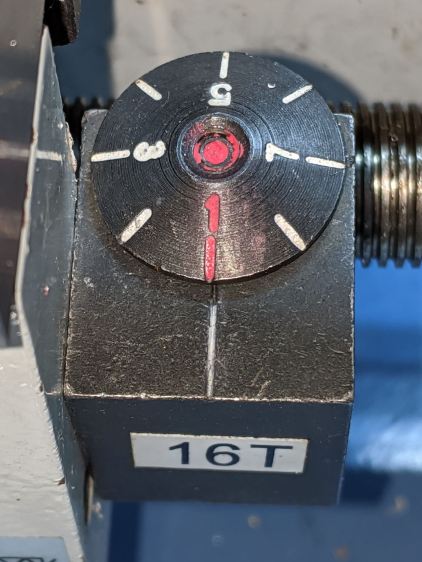
Mini-Lathe Threading Dial – aligned The first real pass looked good:

Floor Lamp – tube fitting – first thread pass The runout slot is 1/16 inch = 1.6 mm wide and I’m running the lathe dead slow, so there’s plenty of time to punch the STOP button as the cutter enters the slot and let the spindle coast down. Flip the switch to REVERSE, crank the cross slide out a turn (1 mm with 0.3 mm of crank backlash), run the cutter back to the starting point, crank the cross slide in, and iterate until the fitting screws into one of the OEM lamp tubes:
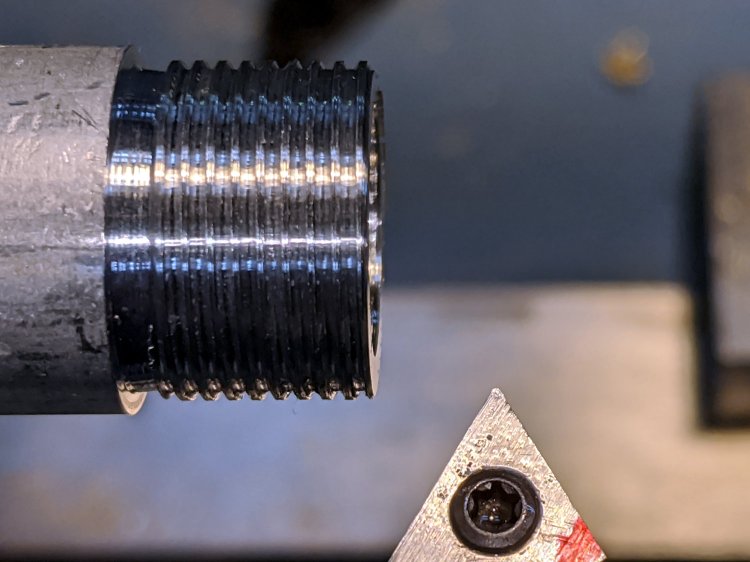
Floor Lamp – tube fitting – final thread The 5/8 inch tube is just a smidge too small for the copper fitting, so knurl the fitting to enlarge the OD slightly more than a smidge:
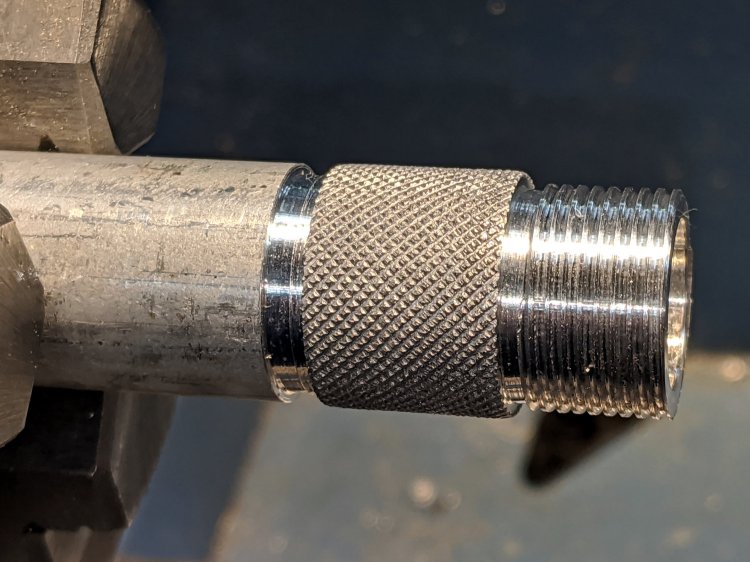
Floor Lamp – tube fitting – knurled Break the knurl edges, part off the fitting, clean up the new end, and do it all over again:

Floor Lamp – tube fitting – threaded adapters The knurls got filed down to an exact slip fit in the copper elbow and will eventually be epoxied in place.
The cut-off tube on the lamp head also needs internal threads, so bore out the interior to flatten the weld seam:
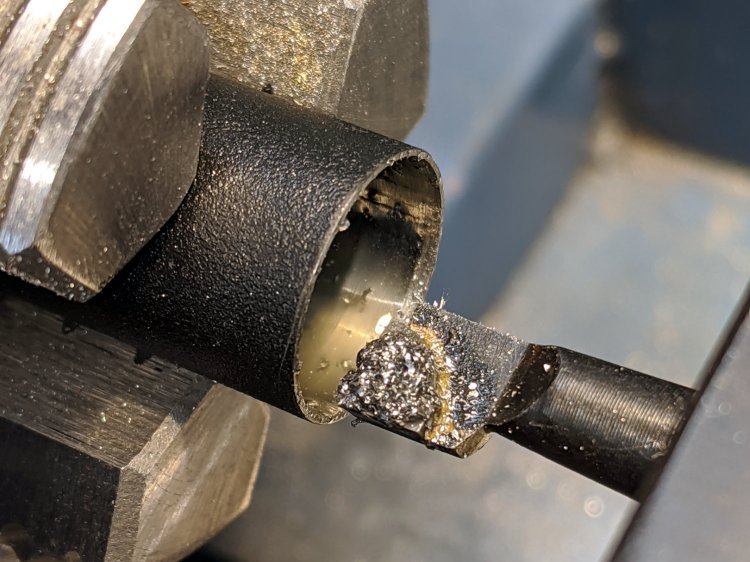
Floor Lamp – tube fitting – cleaning tube bore No pix of the threading, but you have the general idea; the tube wall is a scant 0.6 mm thick, so this isn’t the place for full-spec threads. I stopped when the OEM tube screwed in place.
Apart from the hideous solder job, it came together pretty well:
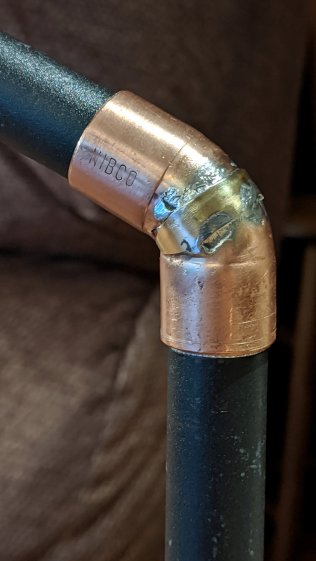
Floor Lamp – tube fitting – unpainted It’s much more stable than Kapton-wrapped tubes jammed into a bare copper fitting, although that’s not saying much.
A rattle-can finish seems appropriate …
-
Subscribe
Subscribed
Have a WordPress.com account? Log in now.

