-
Tour Easy 1 W Amber Running Light: Internal Plate
A semi-scaled doodle laying out an Arduino Nano and the MP1584 regulator board suggested they might fit behind the heatsink with the 1 W LED:
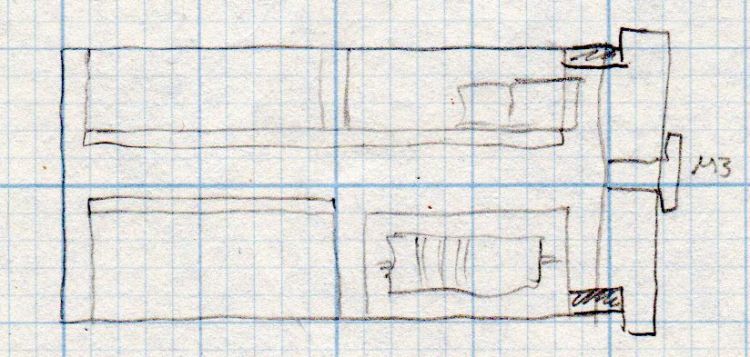
Amber running light – board layout doodle – side A somewhat more detailed doodle of the end view prompted me to bore the PVC pipe out to 23 mm:
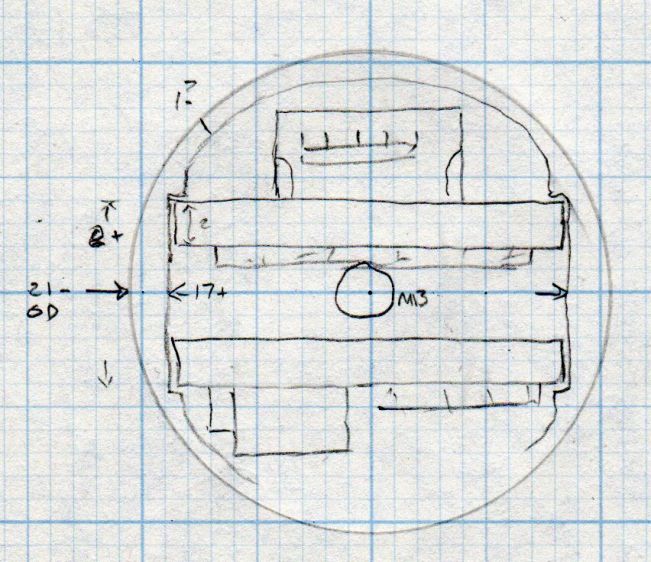
Amber running light – board layout doodle – end The prospect of designing a 3D printed holder for the boards suggested Quality Shop Time combined with double-stick foam tape would ensure a better outcome.
So I bandsawed the remains of a chunky angle bracket into a pair of rectangles, flycut All The Sides to square them up, and tapped a pair of M3 holes along one edge of each:
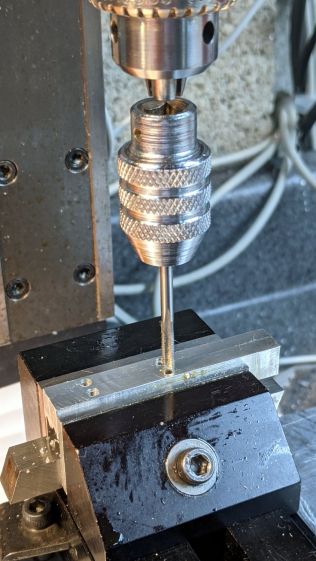
1 W LED Running Light – baseplate tapping The other long edges got the V groove that killed the Sherline’s Y axis nut:
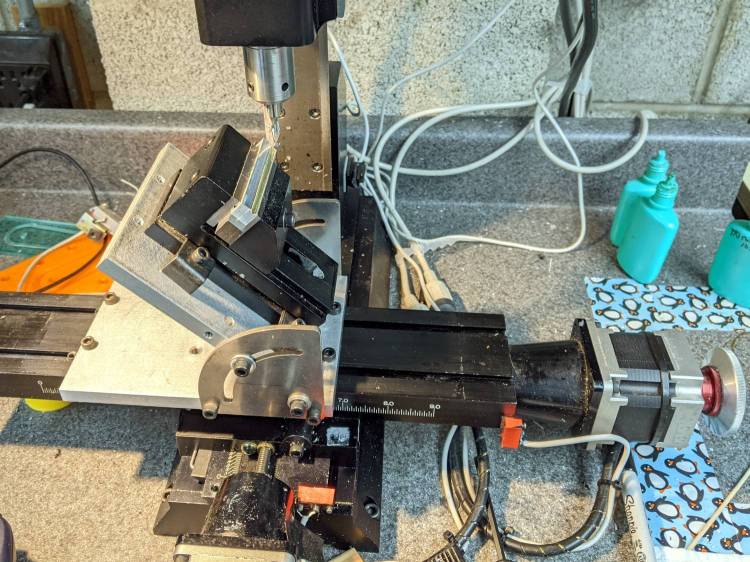
Sherline Y-Axis Nut Mishap – setup The groove holds a length of 4 mm OD (actually 5/32 inch, but don’t tell anybody) brass tubing:
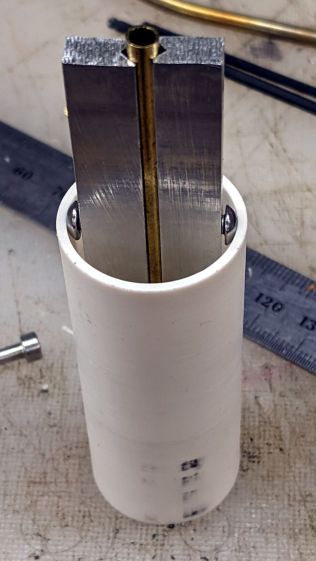
1 W LED Running Light – baseplate trial fit The M3 button head screws are an admission of defeat, as I could see no way of controlling the width + thickness of the aluminum slabs to get a firm push fit in the PVC tube. The screws let me tune for best picture after everything else settled out.
A little more machining opened up the top of the groove:
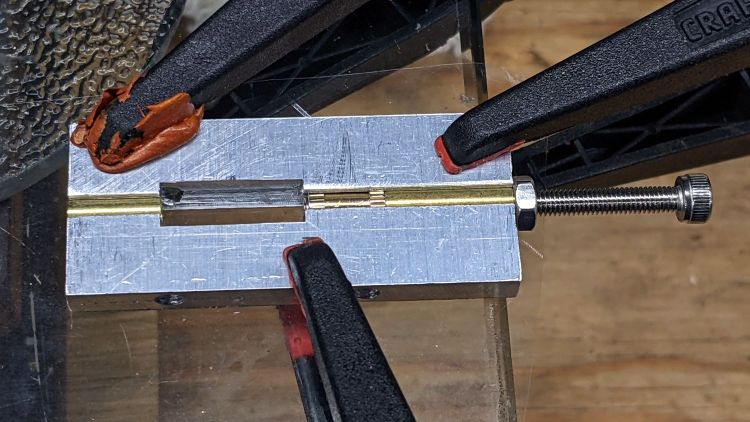
1 W LED Running Light – baseplate dry assembly A short M3 button head screw (with its head turned down to 4 mm) drops into the slot and holds the slab to the threaded hole in the LED heatsink. The long screw is holding the threaded insert in place for this dry fit.
I doodled a single long screw through the whole thing, but having it fall off the heatsink when taking the rear cover off seemed like a Bad Idea™. An M3 button head screw uses a 2 mm hex key that fits neatly through the threaded insert, thereby making it work.
Butter it up with epoxy, scrape off the excess, and let things cure:
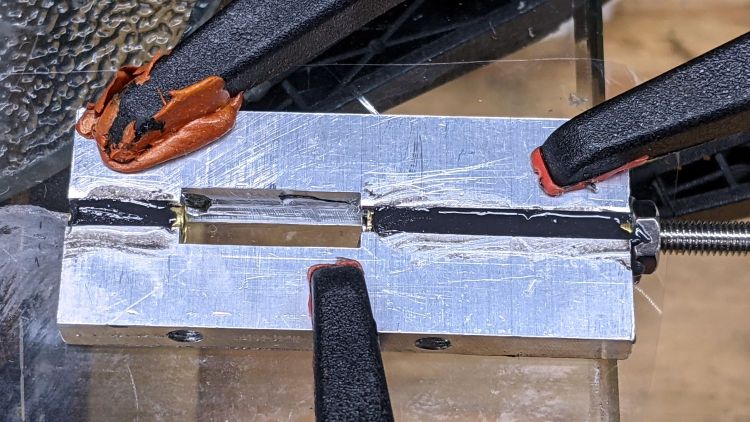
1 W LED Running Light – baseplate curing This was obviously made up as I went along …
-
Subscribe
Subscribed
Already have a WordPress.com account? Log in now.
 The Smell of Molten Projects in the Morning