-
Tour Easy Rear Running Light: LED Heatsink
Because the rear running light will have a higher duty cycle than the front light, I made the (admittedly too small) heatsink slightly longer, with a deeper recess to protect the lens from cargo on the rear rack:
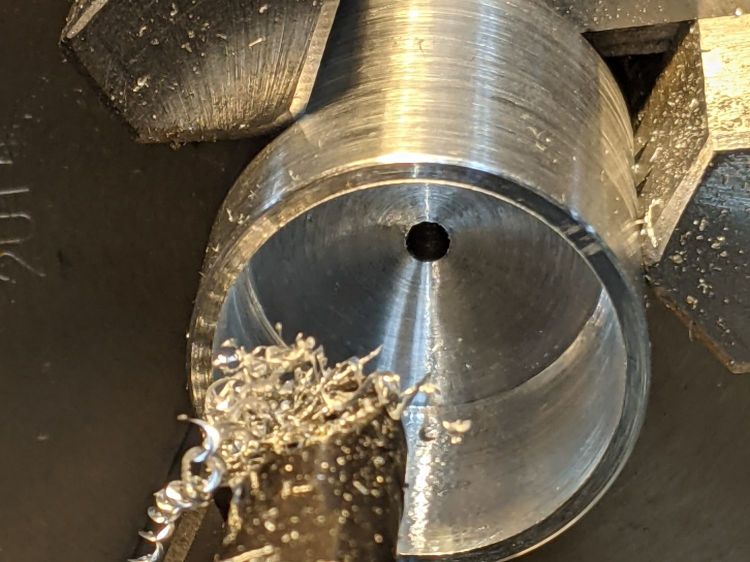
Tour Easy Rear Running Light – boring LED recess Boring that nice flat bottom is tedious; I must lay in a stock of aluminum tubing to simplify the process.
Drilling the holes went smoothly:
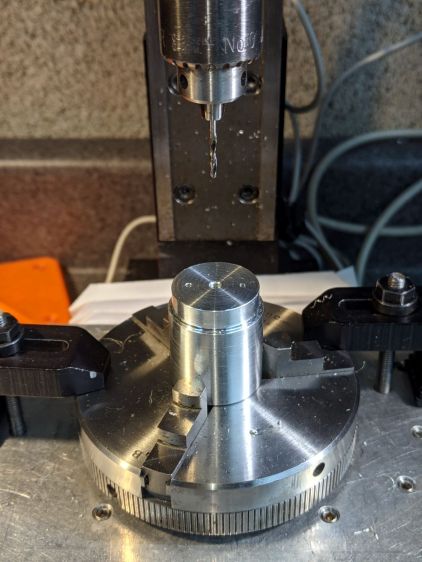
Tour Easy Rear Running Light – drilling LED heatsink Those two holes fit a pair of pins aligning the circuit plate, with a screw and brass insert holding it to the heatsink. Scuffing a strip across the aluminum might give the urethane adhesive (you can see uncured globs on the pins) a better grip:
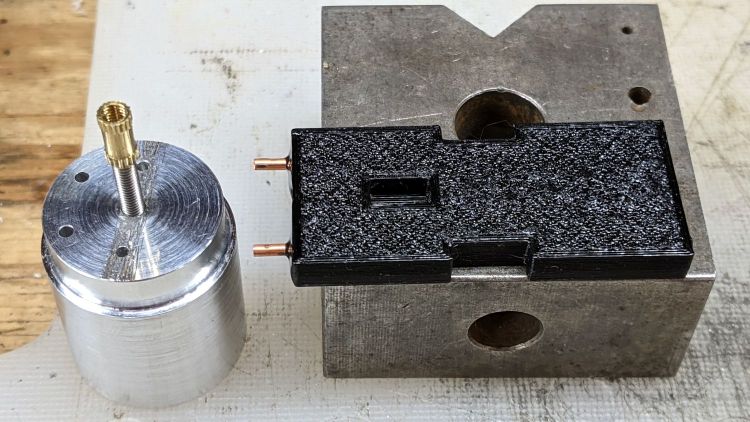
Tour Easy Rear Running Light – circuit plate attachment The screw / insert /pins are glued into the plate to permanently bond it to the heatsink. The screw occupies only half of the insert, with the longer screw from the end cap pulling the whole affair together.
The two holes on the left pass both LED leads to one side of the circuit plate, where they connect to the current regulator and its sense resistor.
-
Subscribe
Subscribed
Already have a WordPress.com account? Log in now.
 The Smell of Molten Projects in the Morning